Handmade Journal Ideas Part 1: Mixed Media & Gelli Print Inspiration for Creative Pages
Nov 10, 2025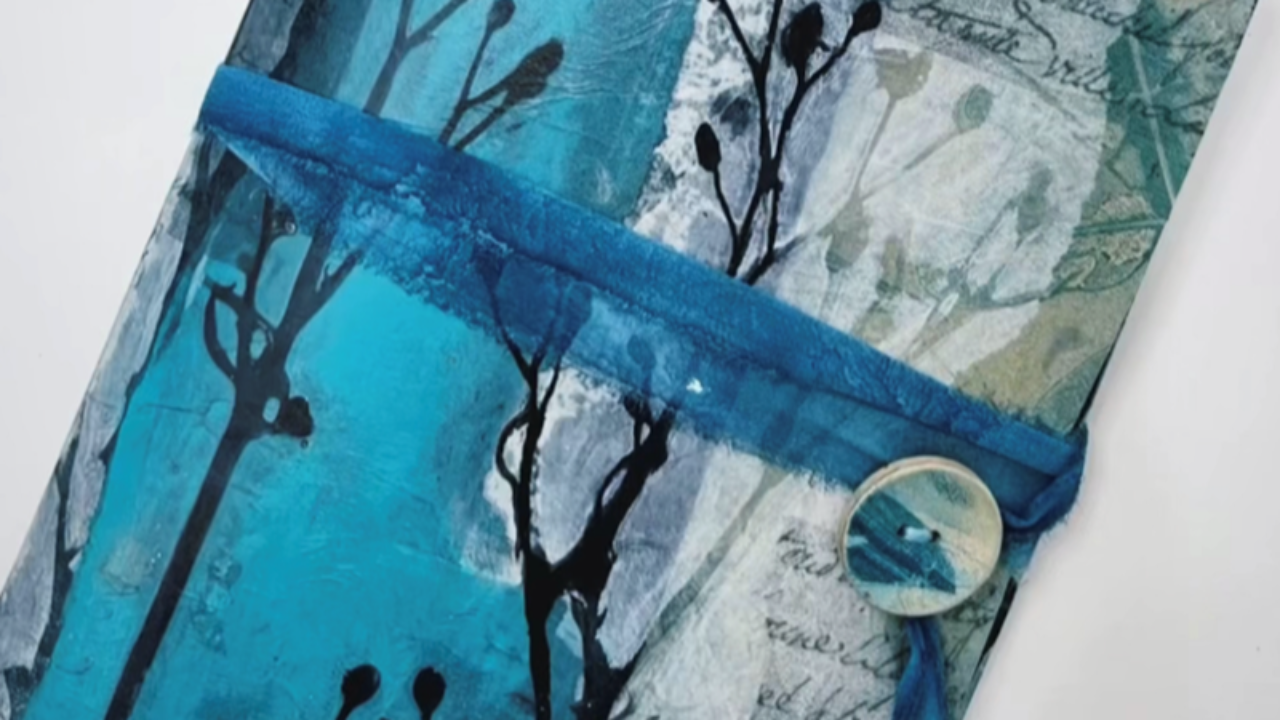
Have you got an art journal full of blank pages, just waiting to be filled? Or perhaps you've started one but aren't sure what ideas to try next.
For me, working in journals like this is pure joy - it's my happy place, where I can get lost in creating. I also love seeing other people's journals on social media, especially when they're lovely and chunky, thick with layers, bits of paper, and threads hanging out. They just feel so full of inspiration.
I also understand just how daunting a blank page can feel. That's exactly why I put together this 3-part series: to share simple, approachable ways to begin filling your pages. With a few techniques and some fresh approaches, you'll see that anyone can turn a blank journal into something full of colour, texture, and personality.
This first instalment focuses on those first steps and how I like to get into a creative flow. Each part builds on the last, offering techniques and inspiration you can adapt to your own style. By the end, you'll have plenty of ideas to bring your journal pages to life.
From choosing papers and layering Gelli prints to adding details with paint, pencils, and collage techniques, I'll guide you through creating pages that are rich in texture and full of character. If you've been looking for inspiration to start a journal, or just fancy some new creative prompts, this series is for you!
Let's get started.
Materials You'll Need
Art journal:
Can be a brand new journal or one you've already started
Collage papers:
This can be a combination of blank pages and Gelli printed ones
Winsor & Newton Matt Medium:
For adhering your collage papers
A selection of paintbrushes
Catalyst Wedge:
A silicone tool for smoothing out your prints
Acrylic Paint:
I've used black for this project, but use any colour that suits your artwork
Ruler
A glue stick
Precision scissors:
These are brilliant for detailed cutouts
Stabilo ALL Marks pencil:
Black, water soluble, works on all surfaces
White Charcoal pencil:
For those lovely highlights and other details
Uni-ball Signo Pen:
Brilliant for embellishing your prints. I used white
Please note: As an Amazon Associate, I earn from qualifying purchases.
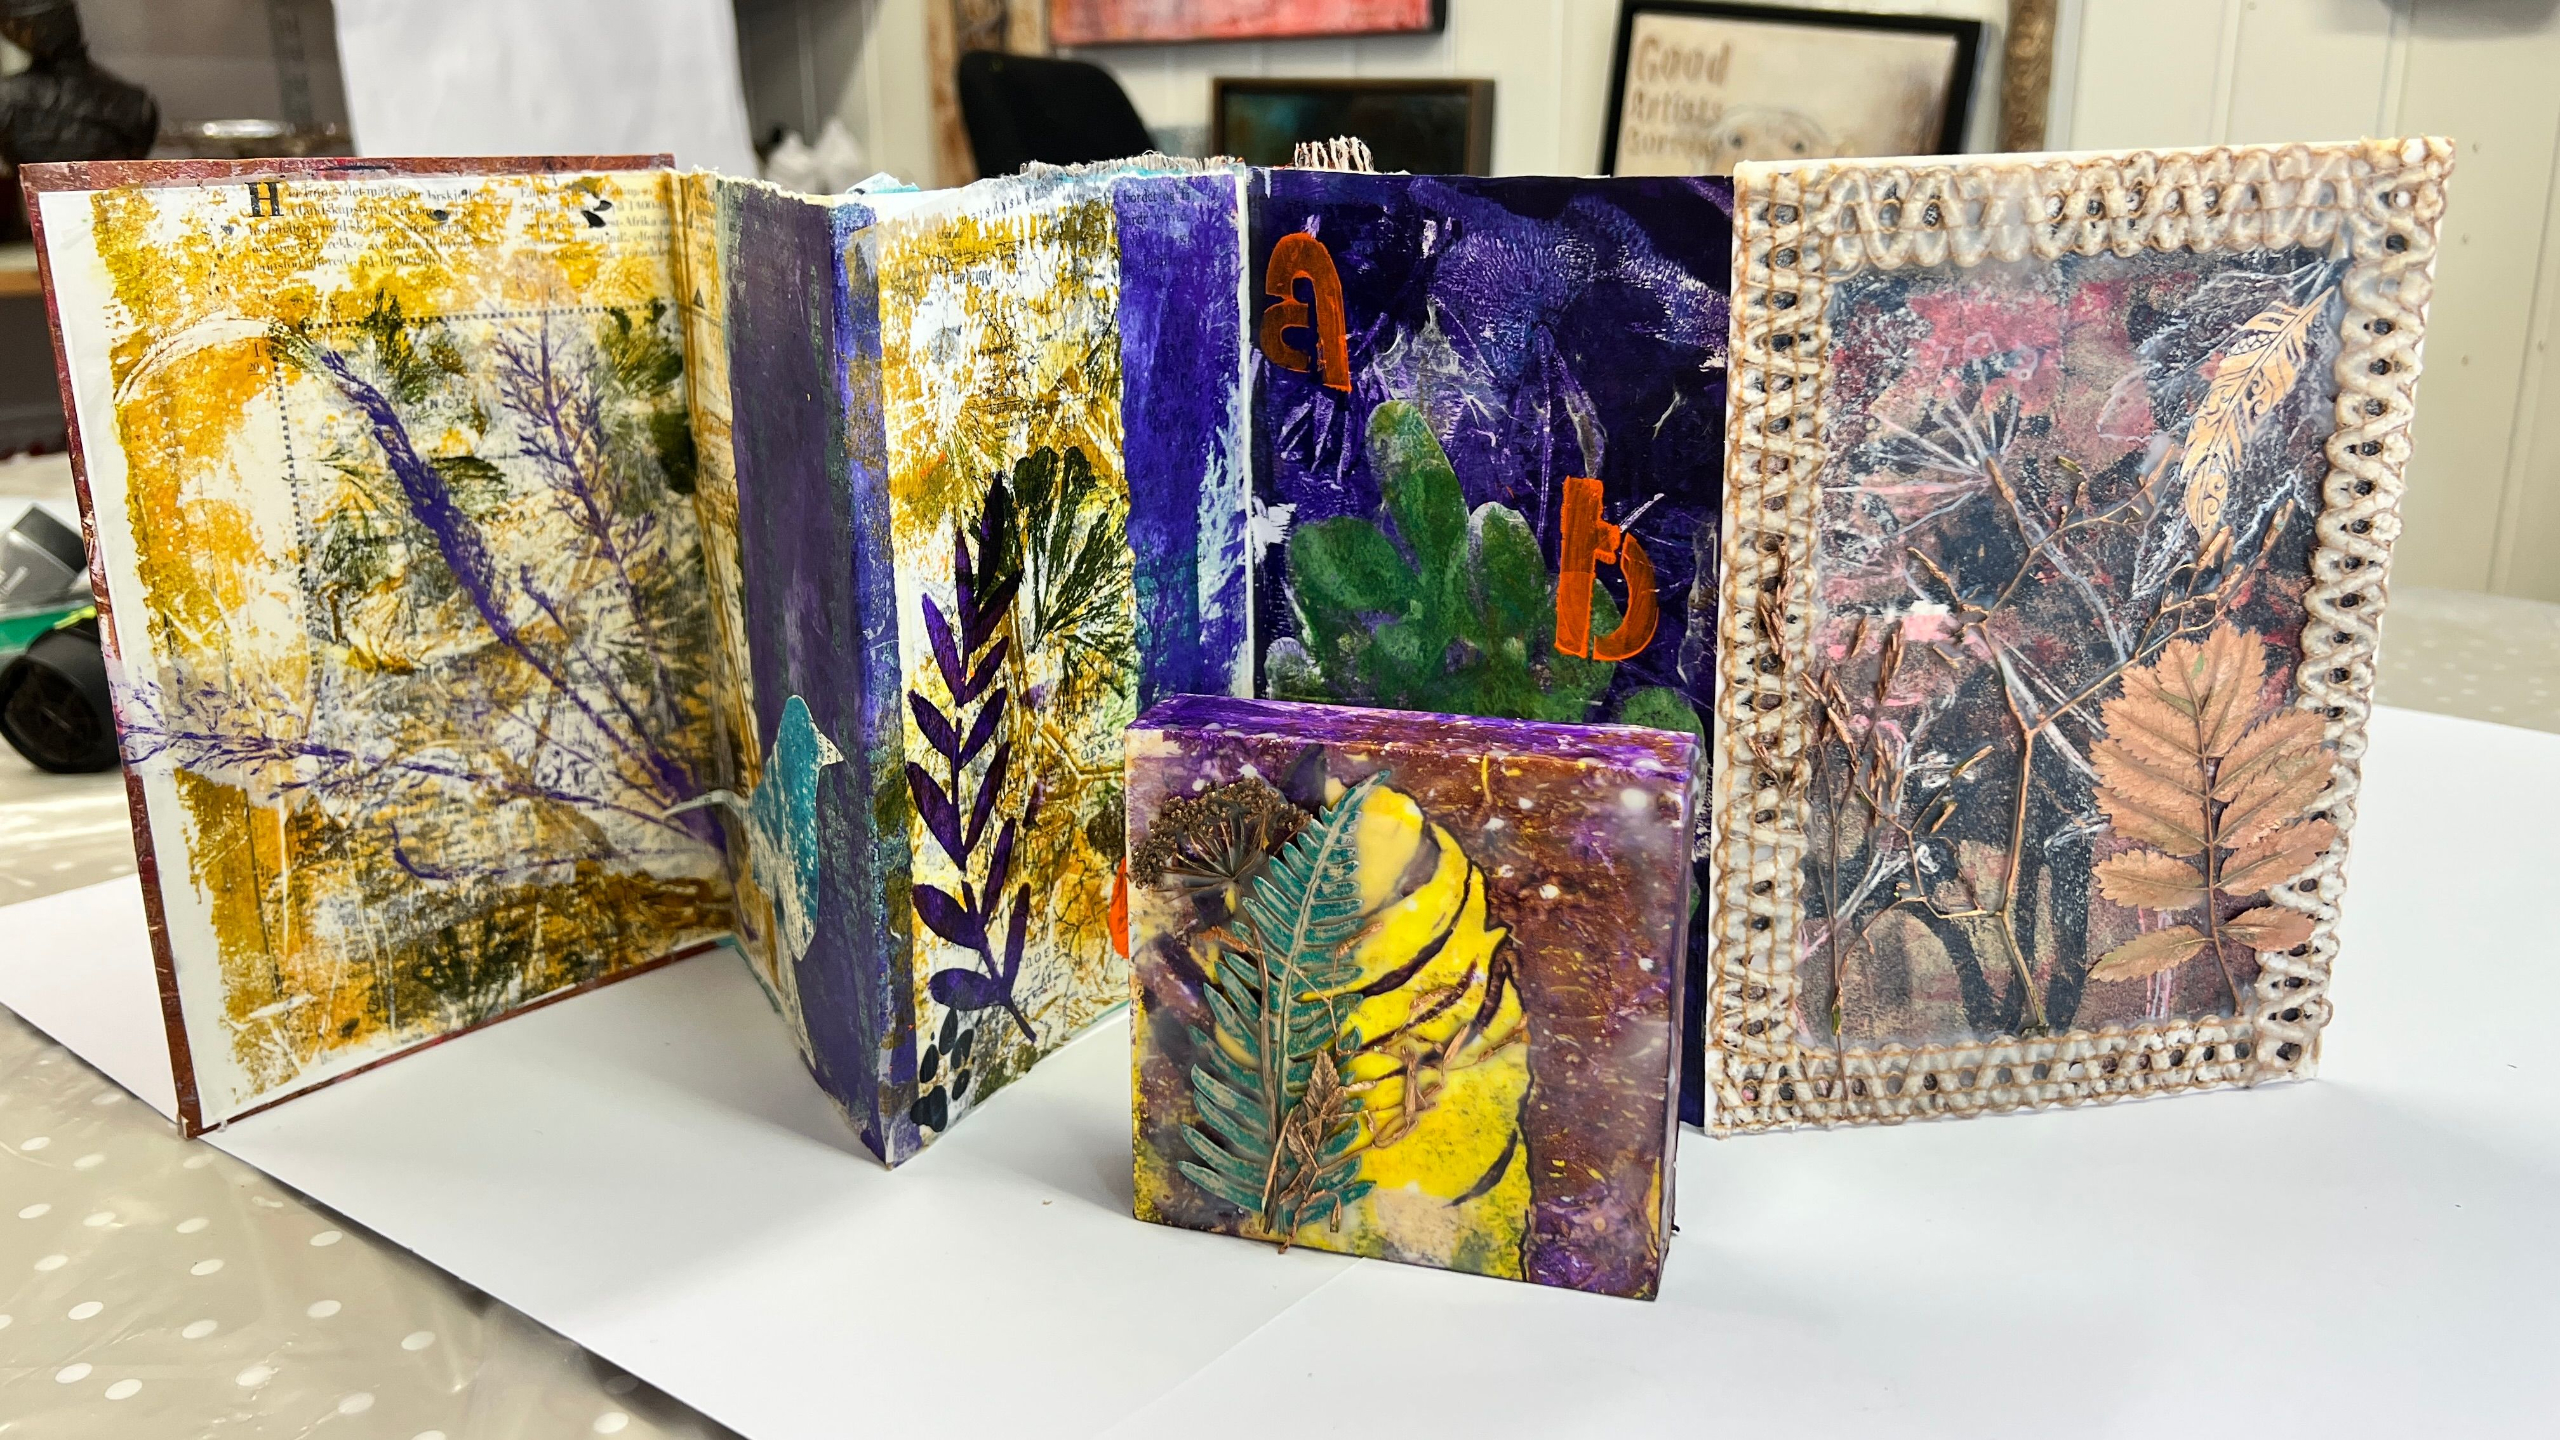
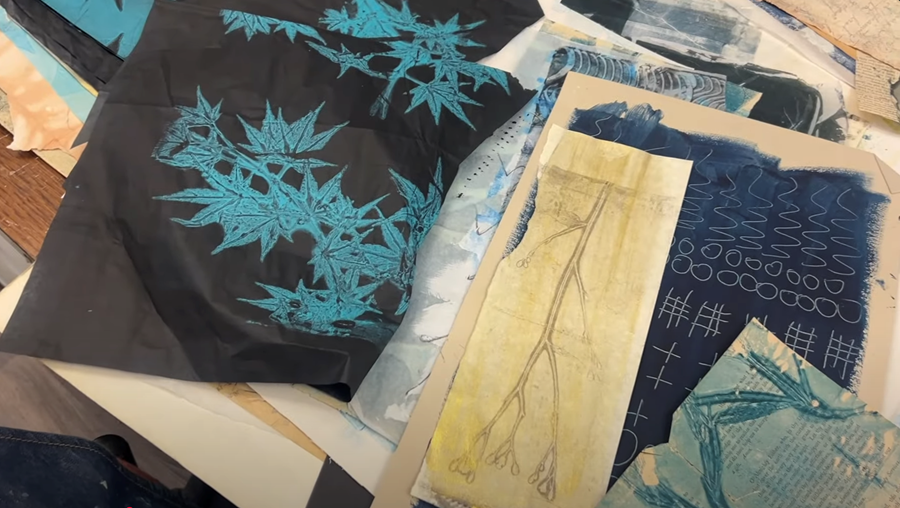
My journal pages so far..
I started this journal a little while ago as part of a project for my new book, but I hadn't really done much beyond a few pages. I wanted to pick it up again and show you how I find my creative flow. I'm excited to spend some time playing in this journal, working on a mix of printed and blank pages and hopefully sparking some ideas for you too.
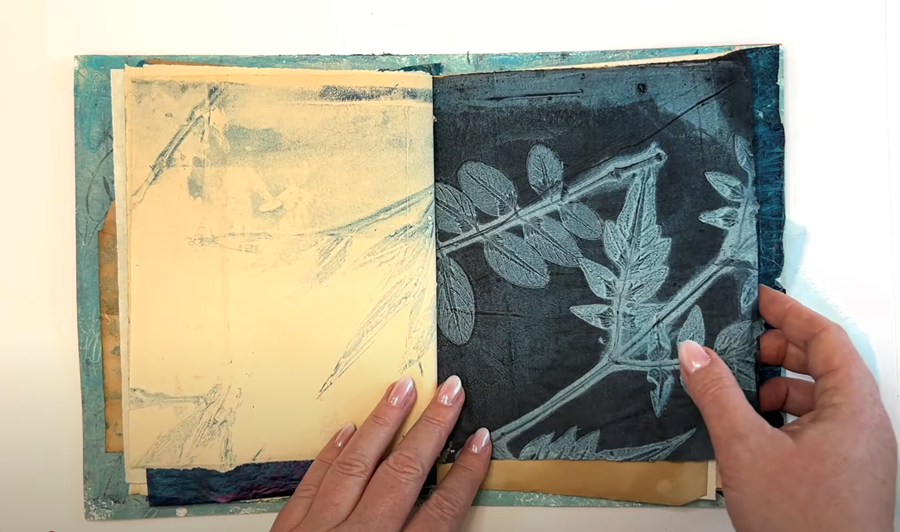
Here are a few of the pages I've already finished. This first one is quite a simple composition, but I really like that it's all in same colour palette and the fine linework. Sometimes the simplest pages can be the most satisfying.
This was just an envelope I'd printed on. I love it because you can tuck little delicate prints inside, or letters, or other bits that mean something to you. It's a simple way to add a bit of interest to your journal.
I've got a few ideas I'd like to try out here: I'm hoping to add a bit of stitching on the page, and maybe even burn out a few areas to create little windows, and to use some of my image transfers alongside different backgrounds. It should be fun to see how it all comes together.
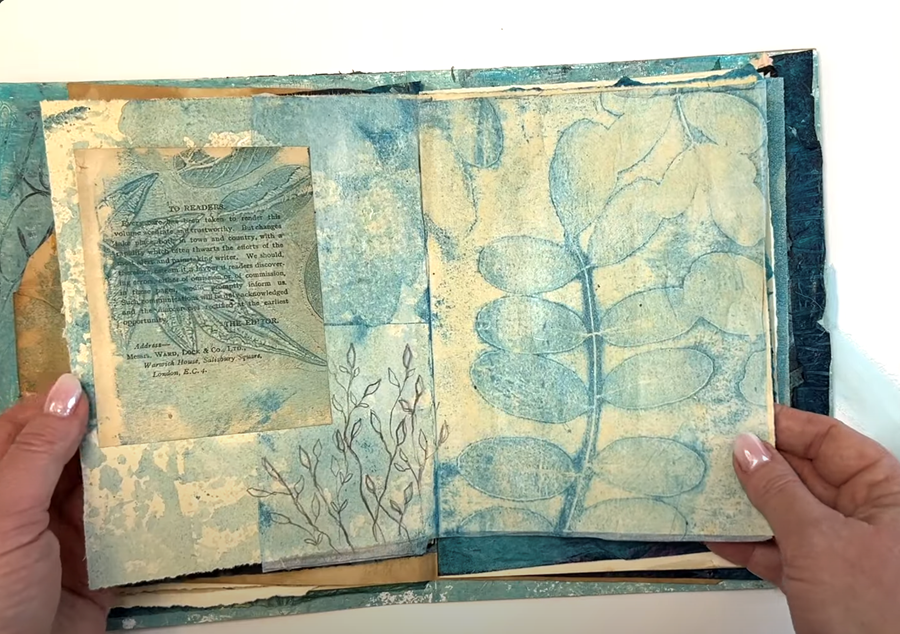
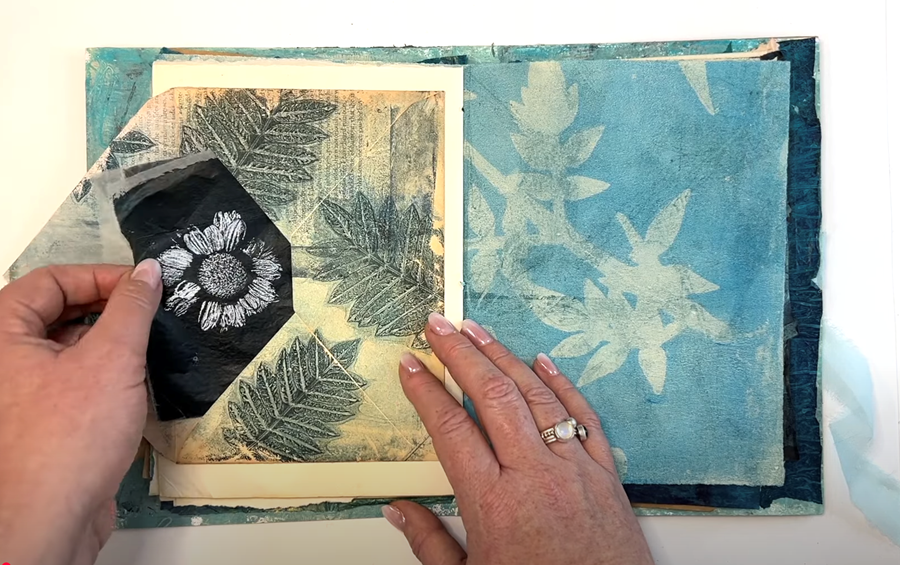
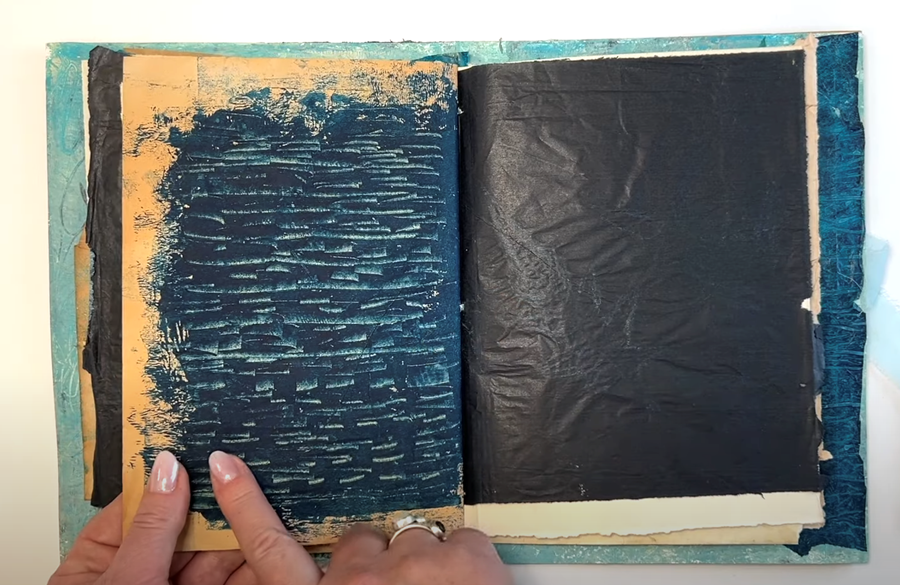
These are pages where I've played with leftover paint. Rather than toss it in the bin, I like to use up paint by making little patterned pages. I can use them for collage or as backgrounds later on.
How to get started
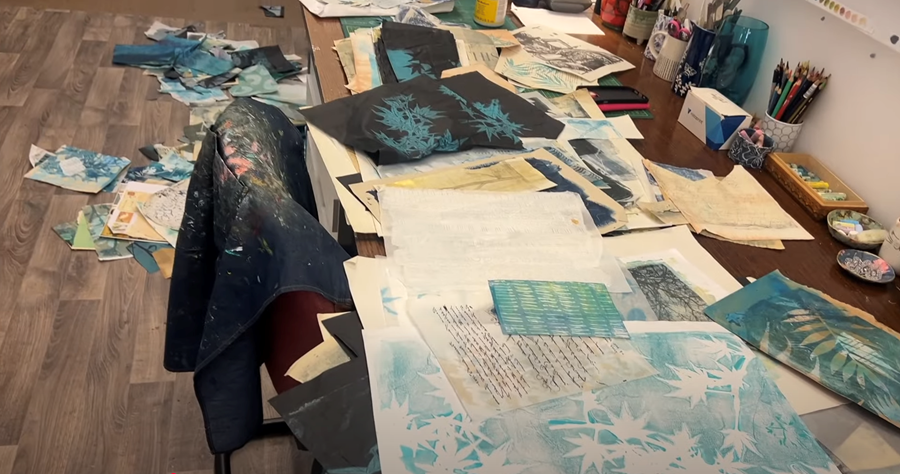
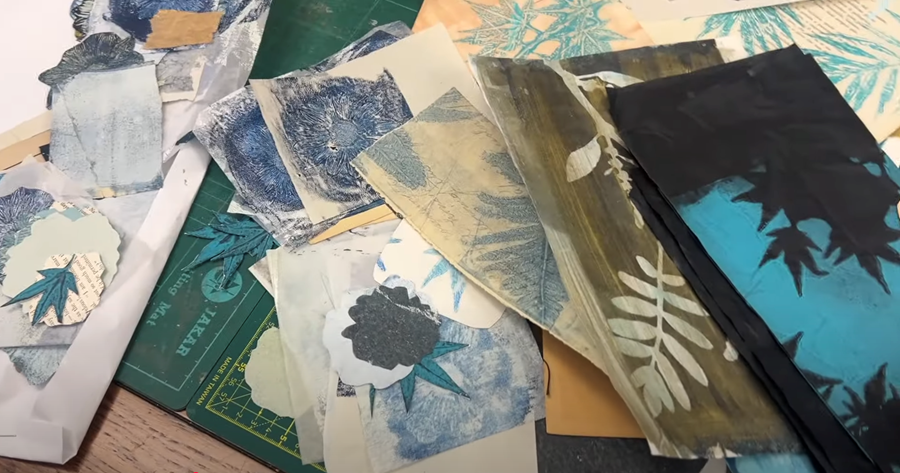
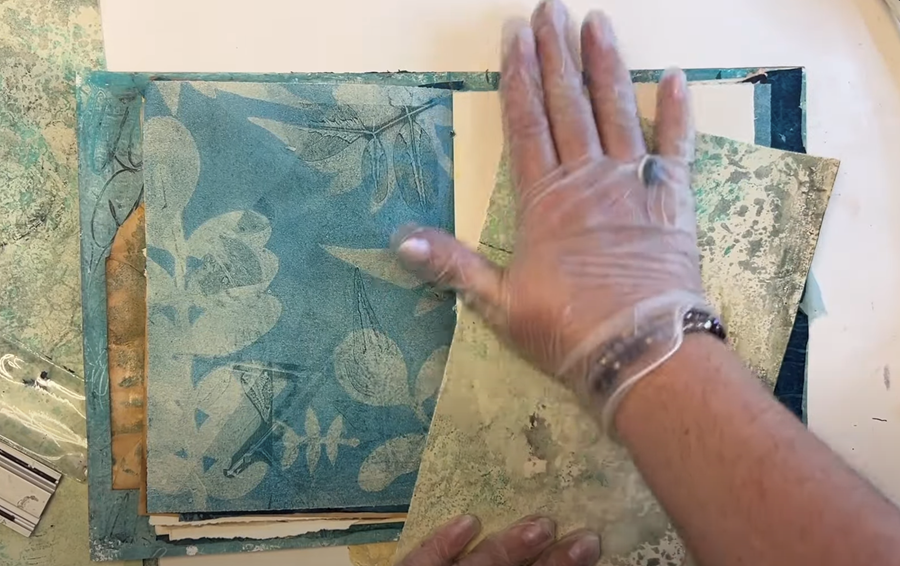
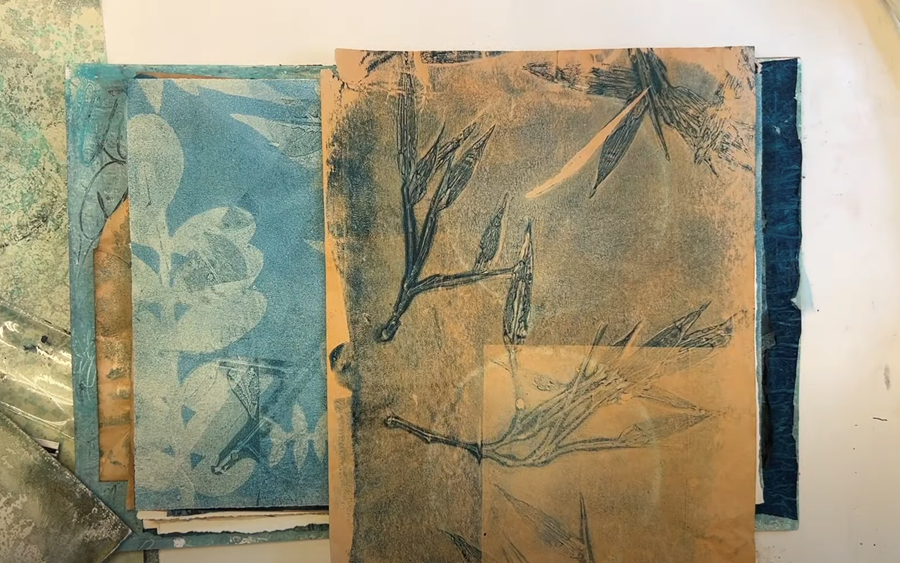
One of the ways I like to begin a project is by spreading out all of my collage papers and having a good look through them. I pull out the ones I'm drawn to, gradually whittling down a big pile into smaller, more manageable stacks. That way, I'm left with the papers that I feel most inspired to work with.
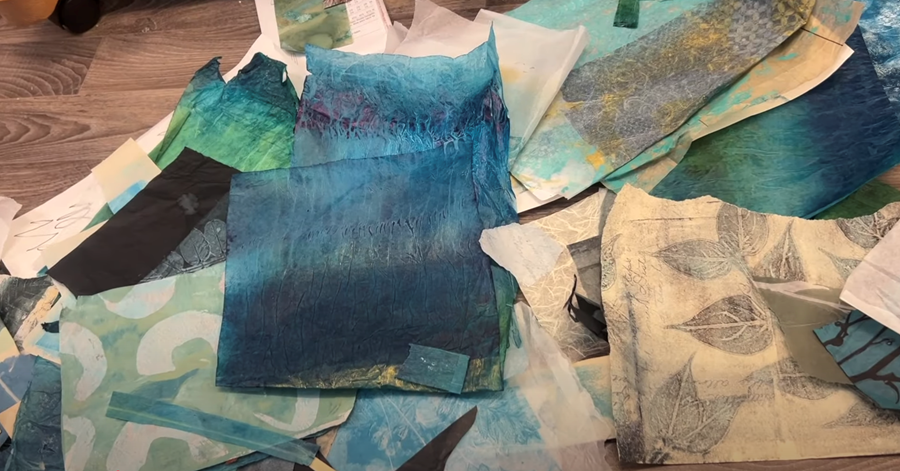
I then take a moment to go through the smaller piles to see what papers will work best together. Having all my papers spread out and just letting them speak to me really helps - you can almost see where each piece will fit. And once you begin gluing papers down, you'll find yourself thinking, "Oh, this is just the right bit for the next layer."
It might look a bit of a mess at first, but it's part of the process when you're getting going. It's how you start to get into a flow.
I've also started looking through some of my image transfers. I’m thinking about which backgrounds would work best with my bird prints. They're printed on Maruishi paper, a lovely thin tissue paper that's perfect for layering.
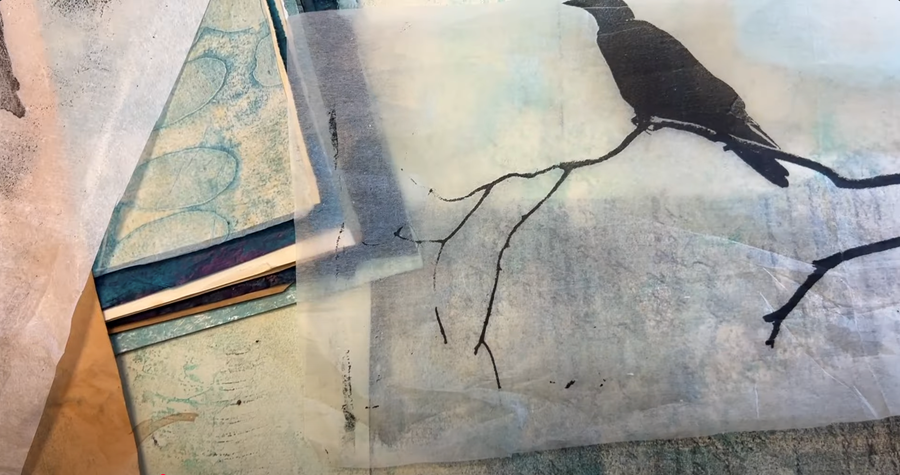
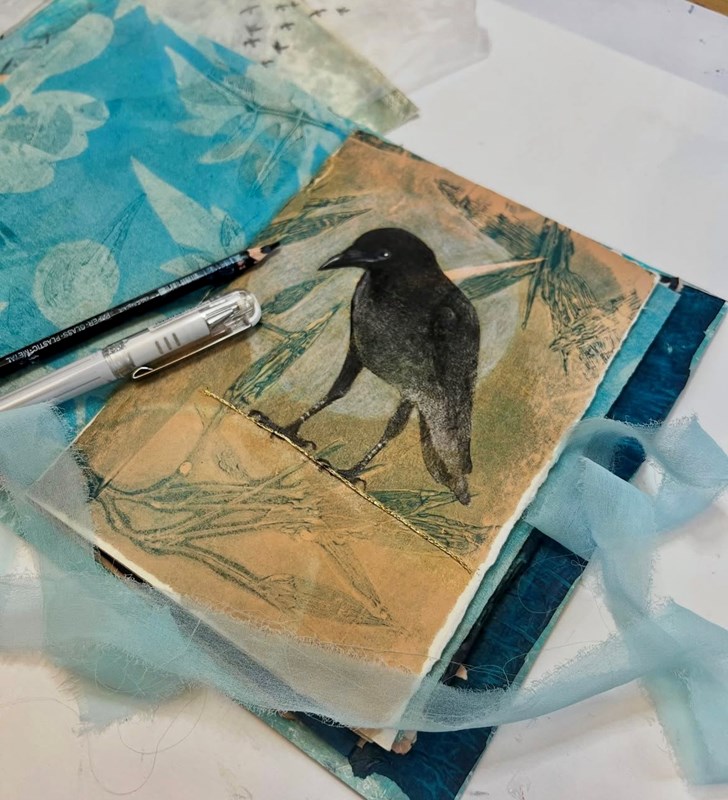
Print 1
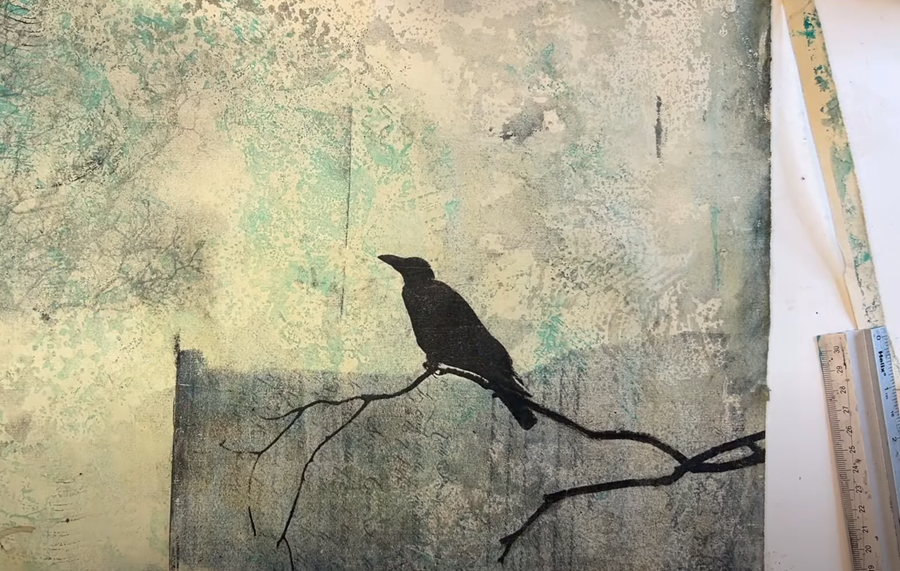
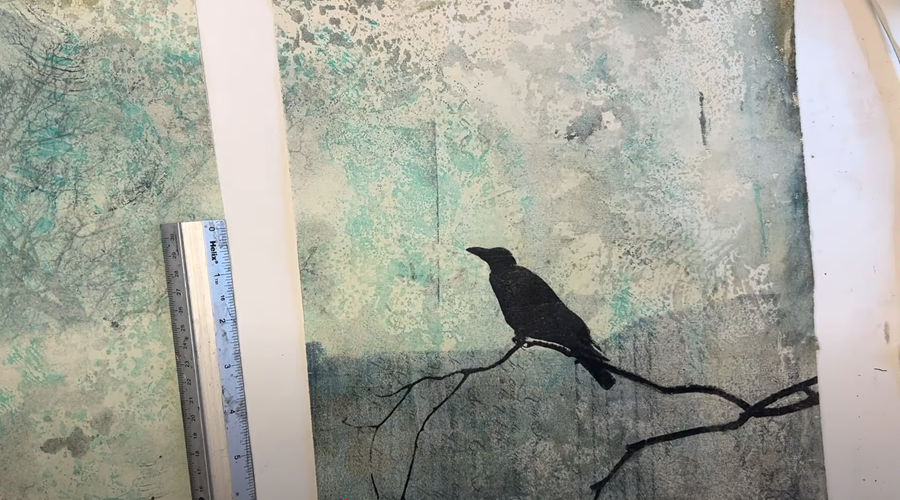
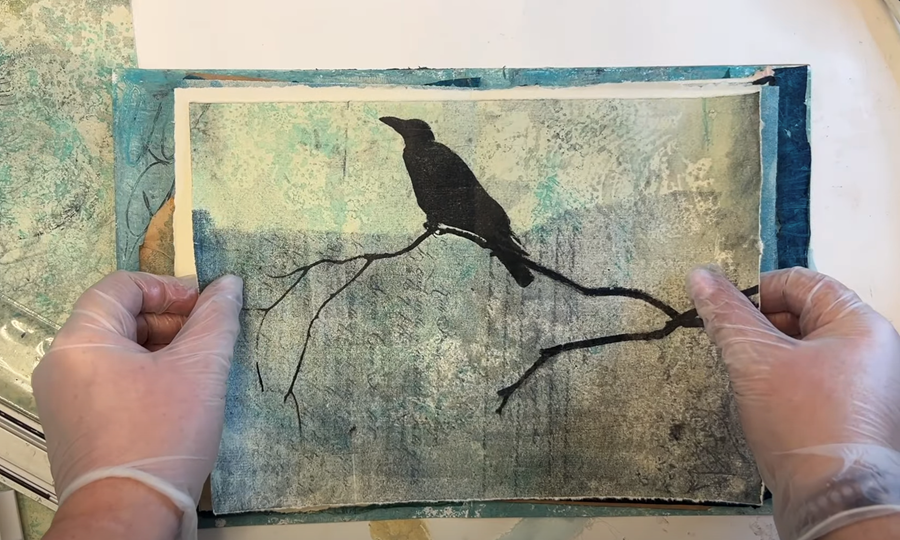
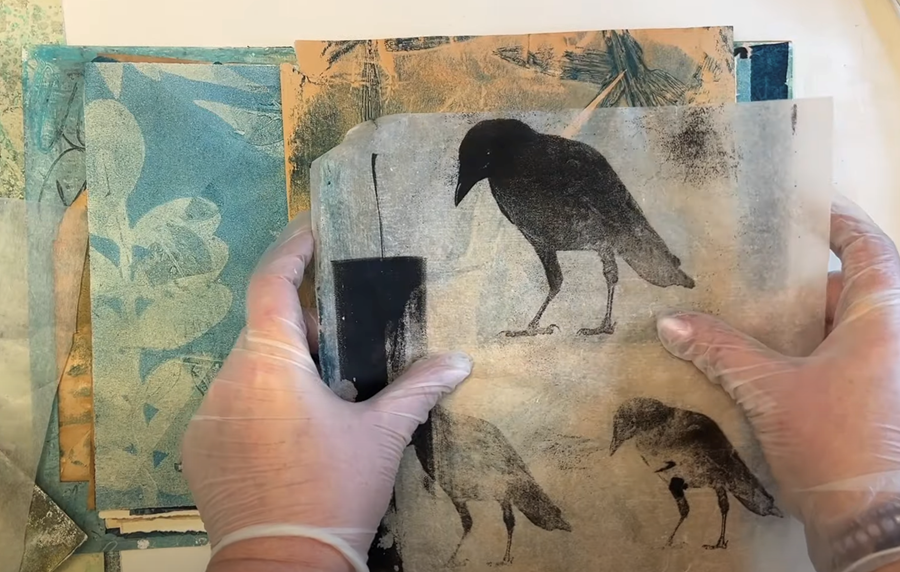
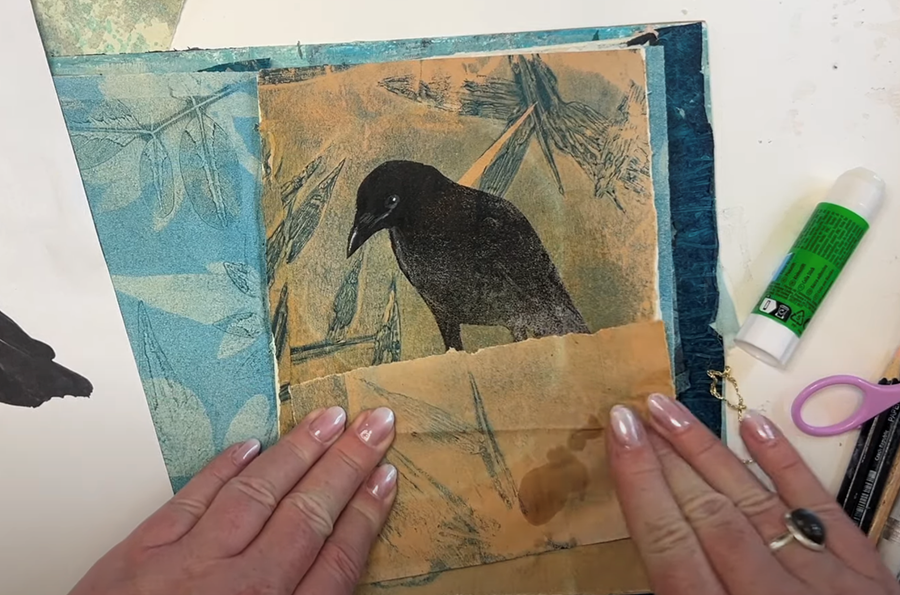
Right, I'm just going to start with my first page and see where it takes me. I really do like this crow on top of this lovely, watery background. I think they work together really nicely.
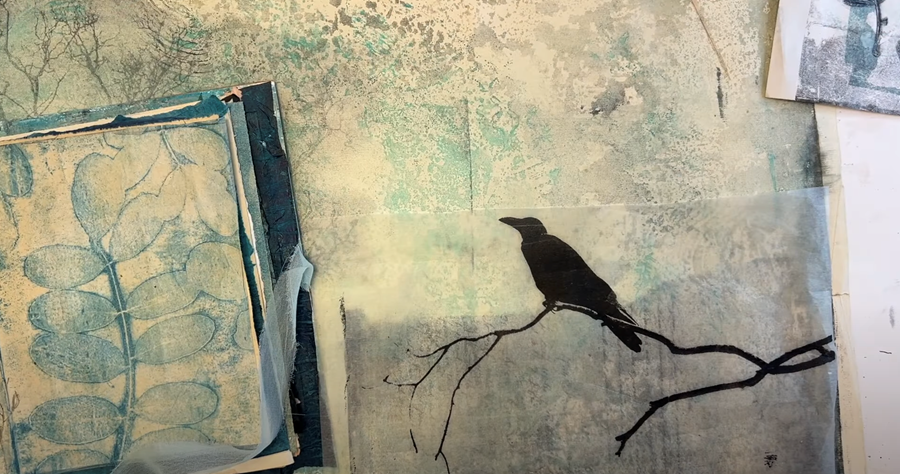
I'm going to glue them together on this flat surface first, rather than doing it in the book. Once it's dried, I can trim it so it fits.
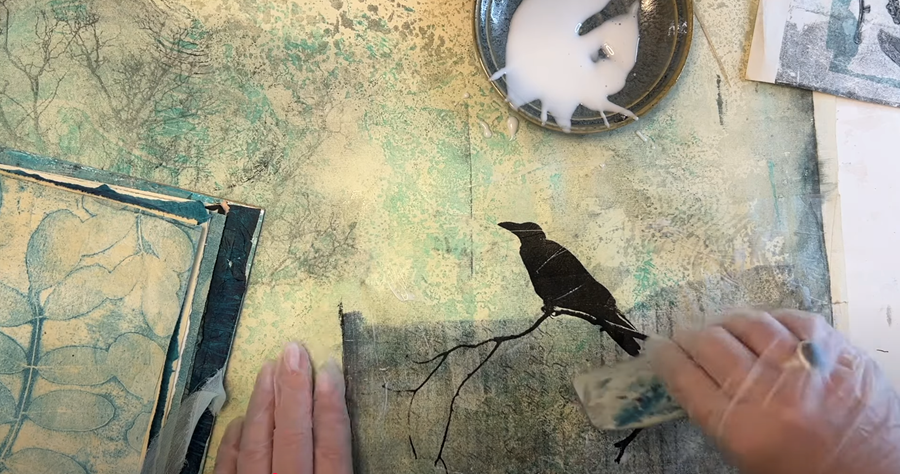
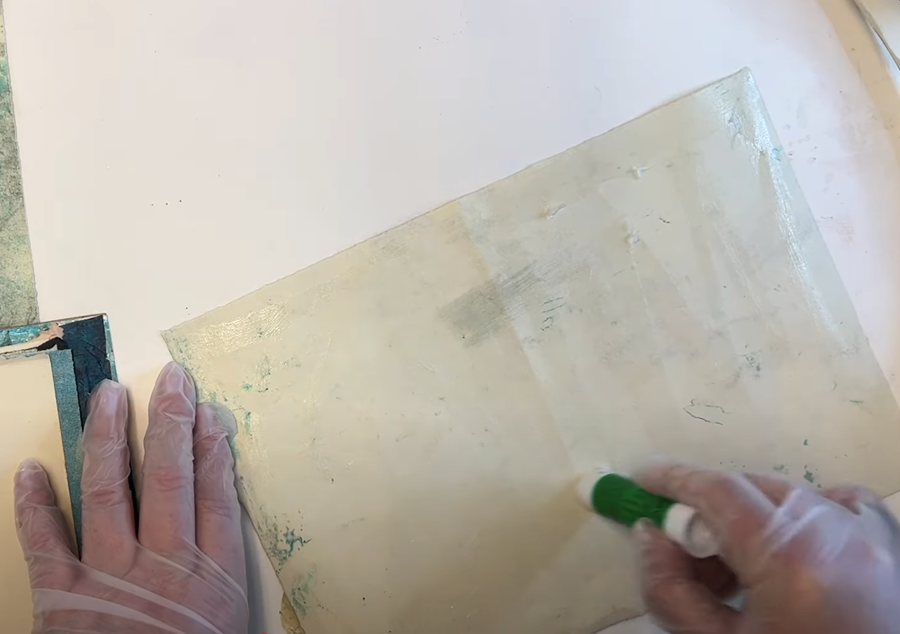
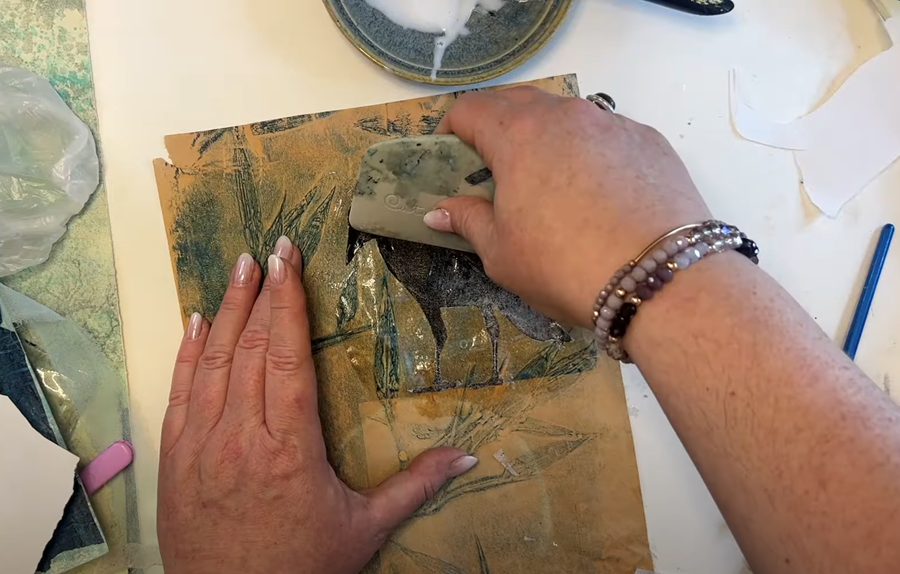
I've got my gloves to protect my hands, some matt medium to adhere the layers, some brushes, and my Catalyst Wedge for smoothing out the papers after I've glued them. Since the tissue paper is so thin, I start by brushing a bit of matt medium on the bottom layer, which is a thicker paper.

Next, I place the paper over the glued surface. Using my catalyst wedge, I gently smooth it out, working from the centre outwards. This Mariushi paper is just beautiful. It practically disappears, and you can’t even see the edges anymore.

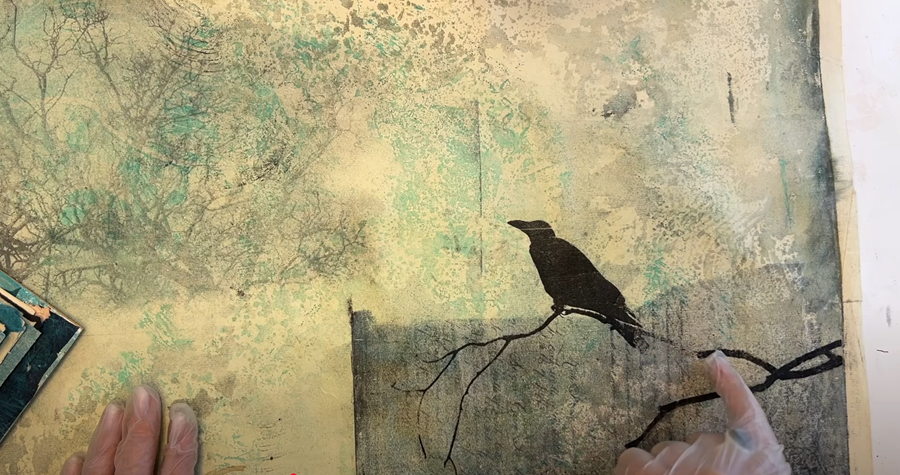
I've let that dry, but there was a spot that didn't quite stick down properly. I tried wetting it and gluing it again, but in doing that I've lifted a bit of the paint.
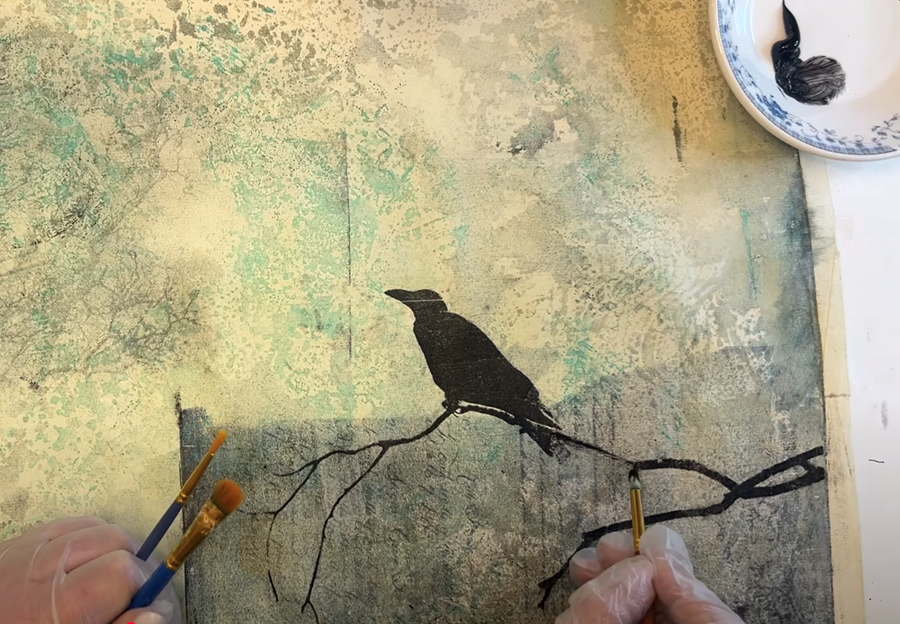
I'm going to touch that up with some black paint. There's also a line across the bird's head that I don't want, so I'll fix that at the same time.
I'm using quite a dry brush because I still want it to have a sort of printed feel about it. Tip: I'm thinning my paint with a bit of matt medium. Unlike water, which can dilute the colour, matt medium keeps your pigment nice and strong.
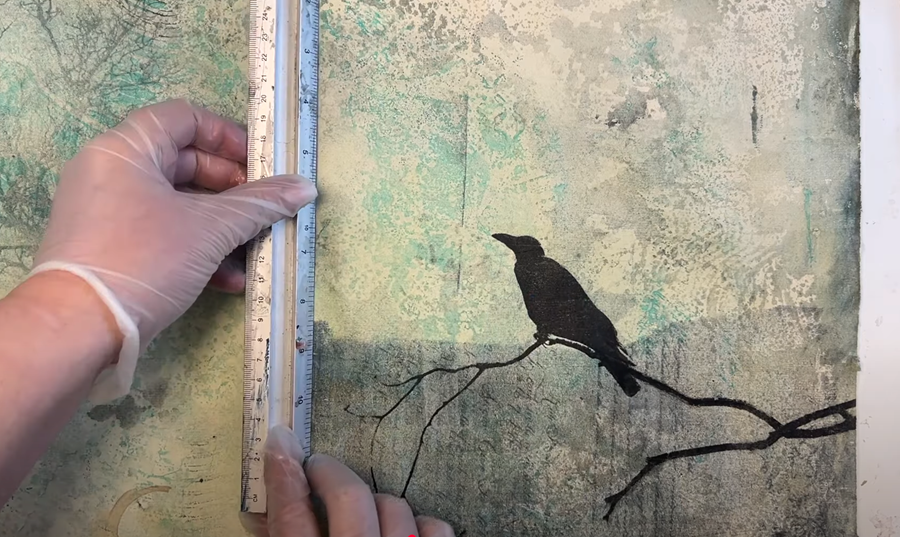
I think it might be nice to fill the whole spread with this print.
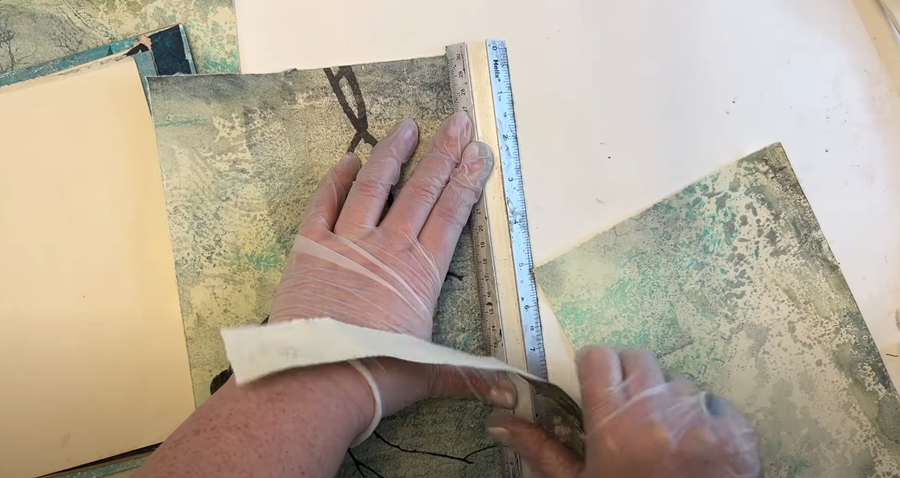
I place the ruler exactly where I want the edge to be, then gently fold the paper back and tear it off against the ruler.
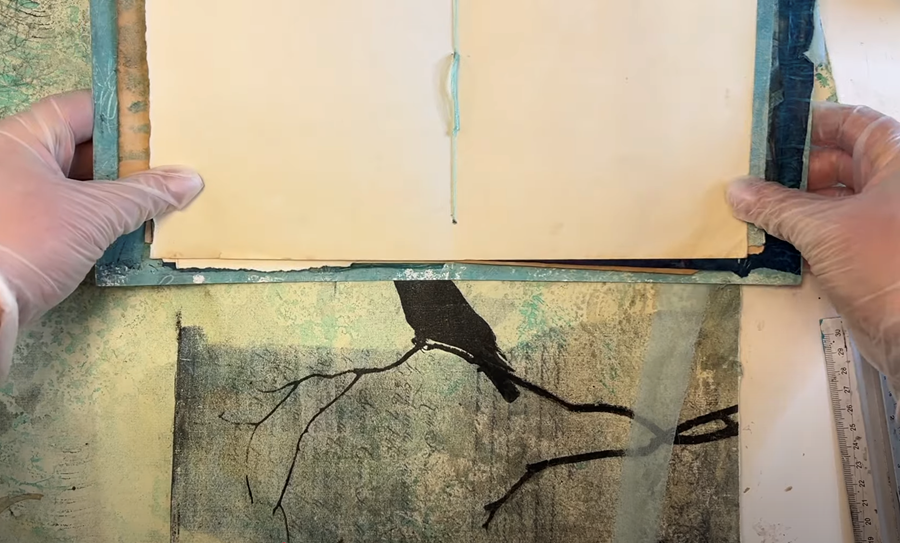
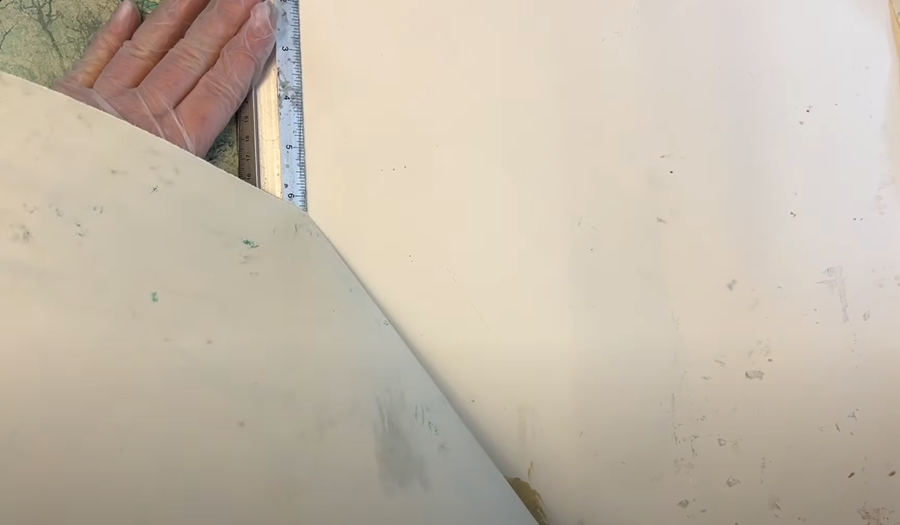
I do the same along the top and bottom edges - first checking that it fits the book, then placing my ruler along the edge and gently tearing off the excess.
Now that my paper is sized to fit, I fold it in half.
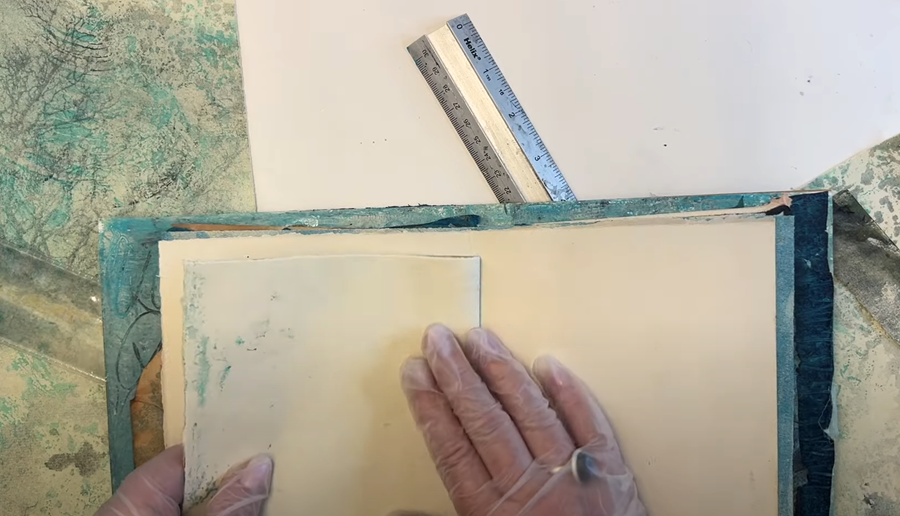
I'm using a glue stick to secure this page. I brush the glue evenly over the back and carefully lay it into place.
It’s really helpful to put a clean piece of paper on top and gently but firmly smooth it down with your hand - this makes sure everything sticks nicely and evenly.
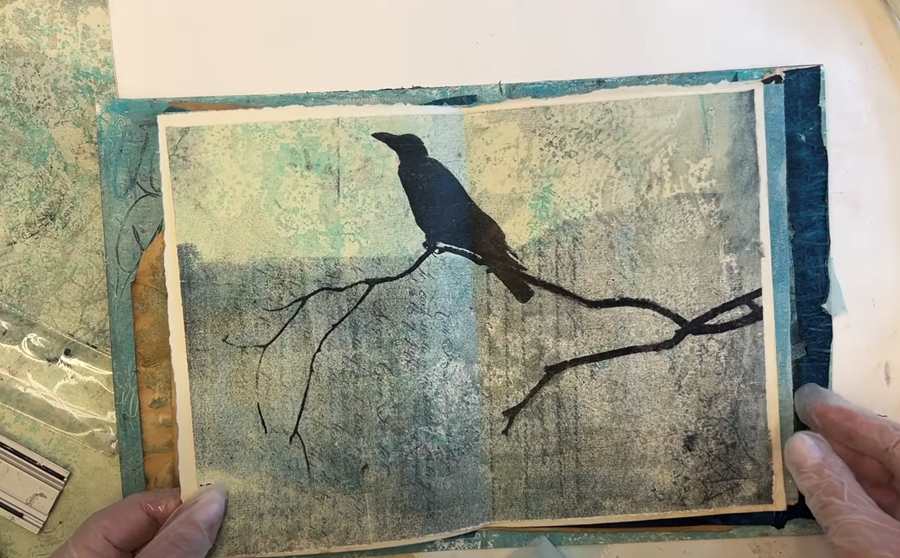
Yes, I think that makes a lovely centerpiece for our book. I’m very happy with it! I love the texture in the background, the horizon line, and the hint of text - it's really quite pretty.
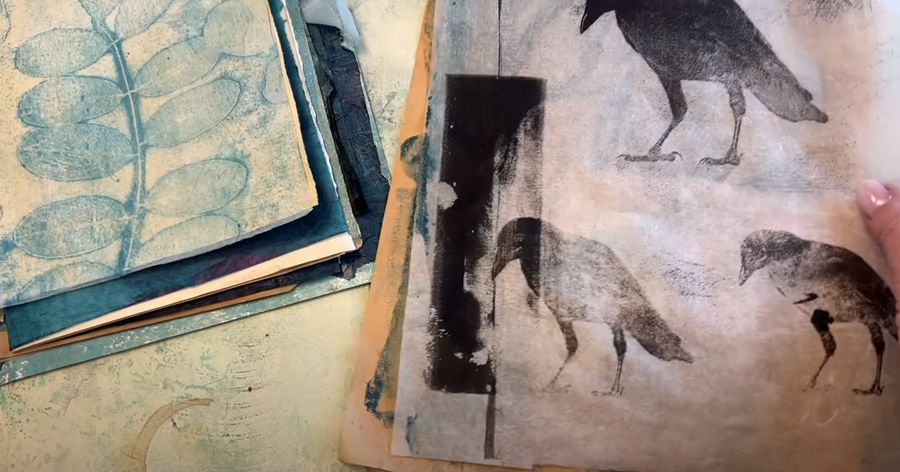
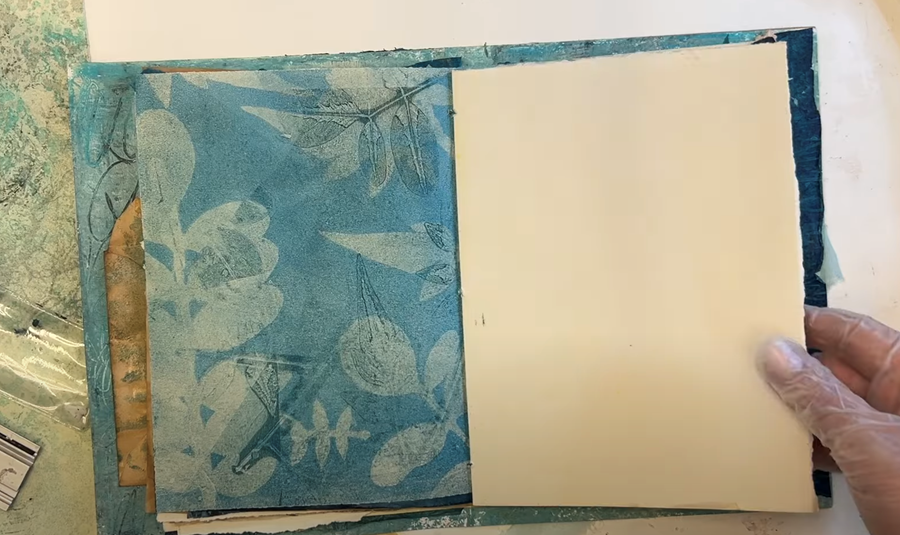
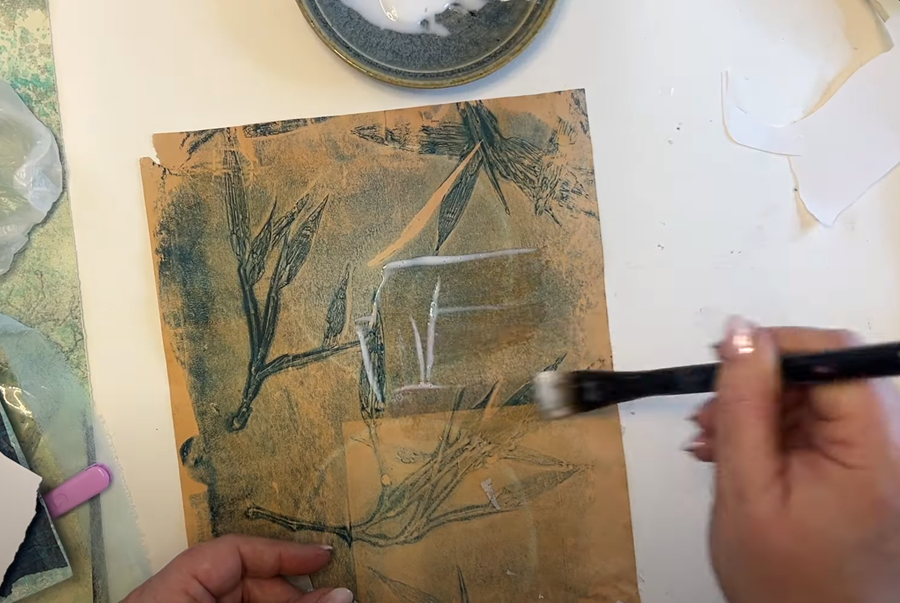
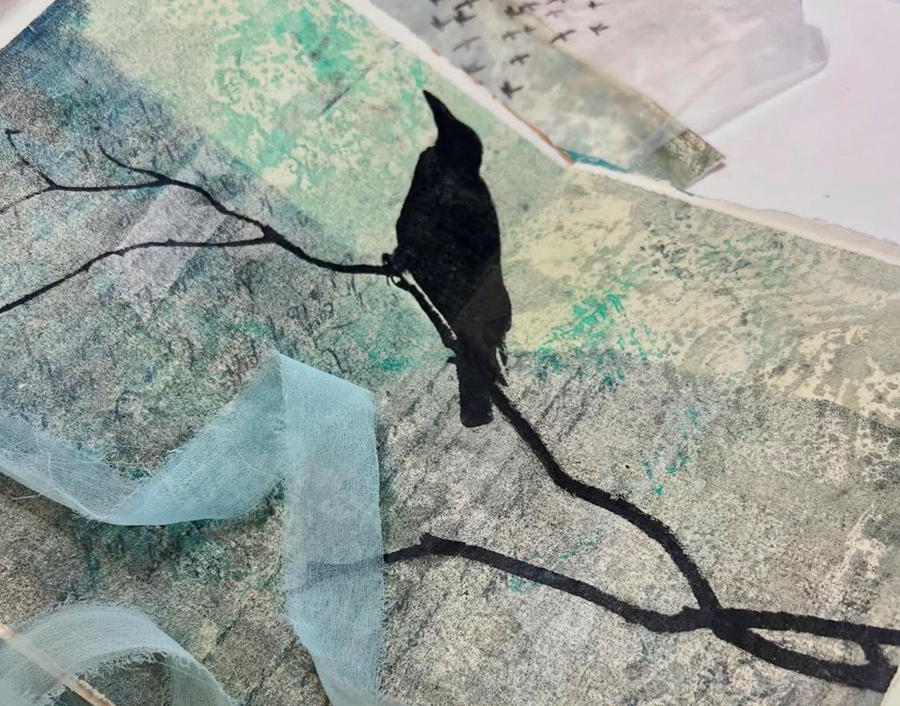
Now - what to do with this page here?
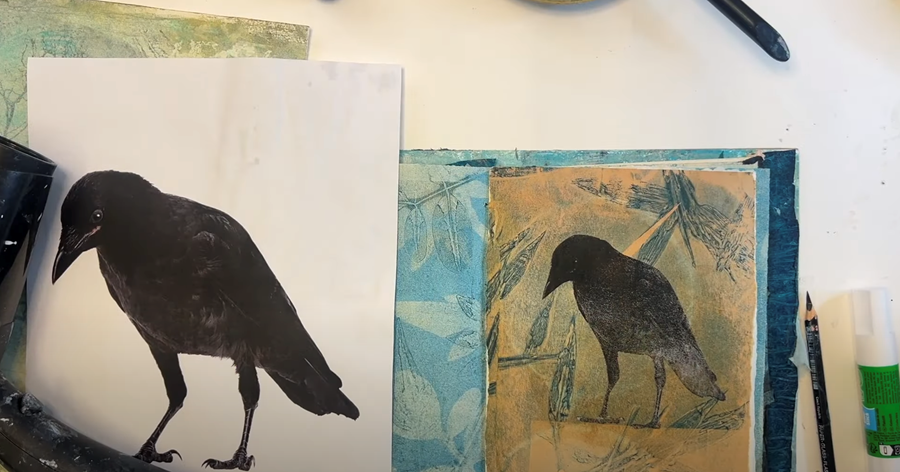
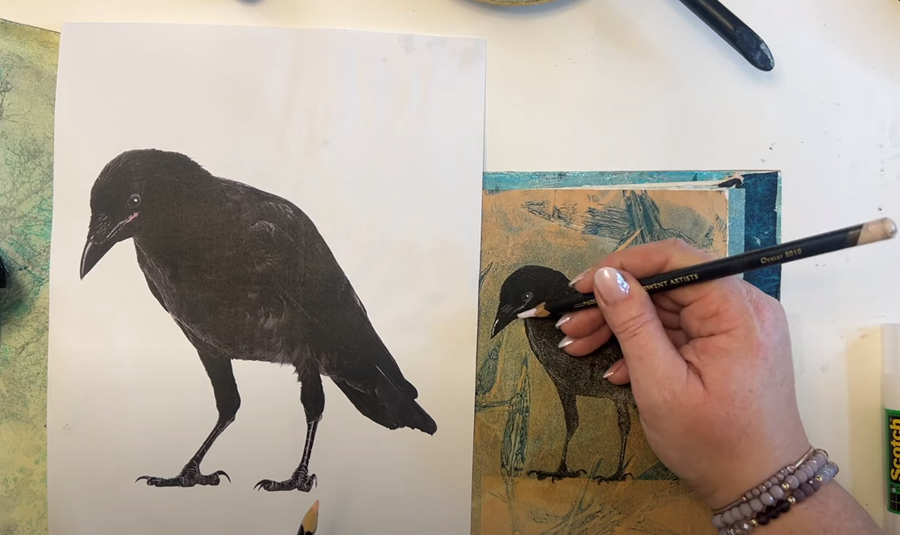
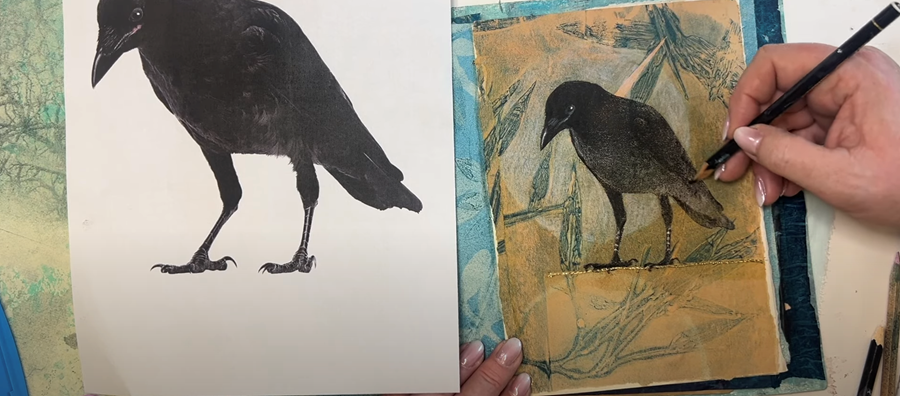
I quite like the square area in the print. I think it would be nice to have a bird sitting on it.
First, I cut out the overall bird shape, then go in with my tiny scissors for the finer details.
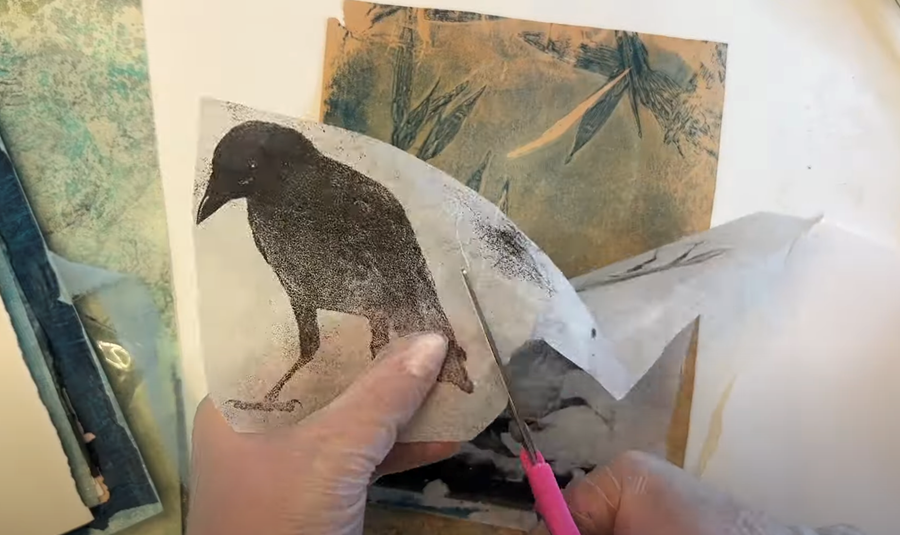
Next, I'll repeat the same process as in Print 1, adhering the bird to the background and allowing the print to dry before trimming it to fit the book.
I brush some matt medium onto the page, carefully place the bird cut out on top, and then gently smooth him out with my Catalyst wedge.
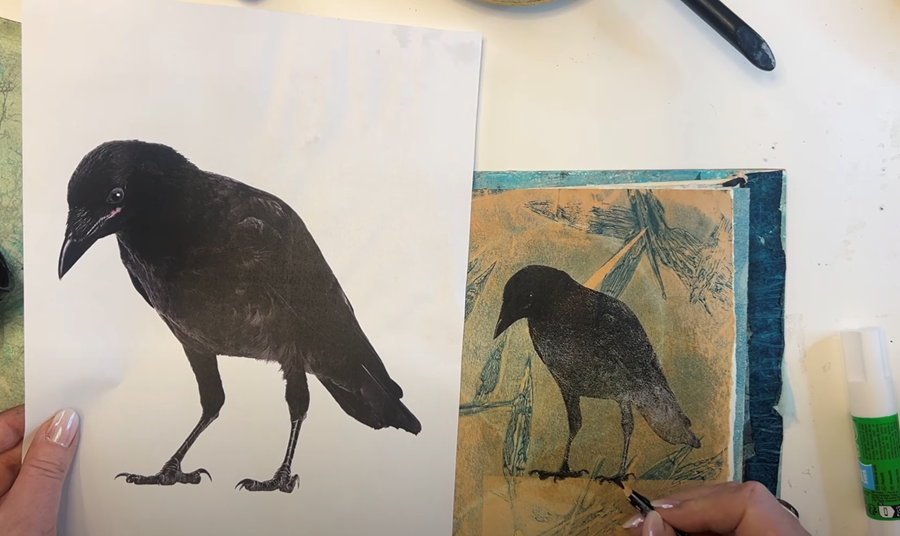
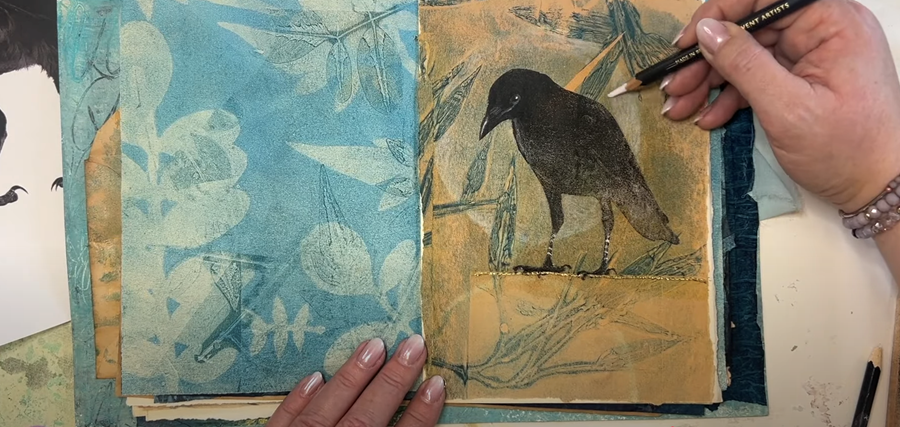
I’m comparing my reference photo - it’s got quite a bit more detail, so I’ll give him some more definition too.
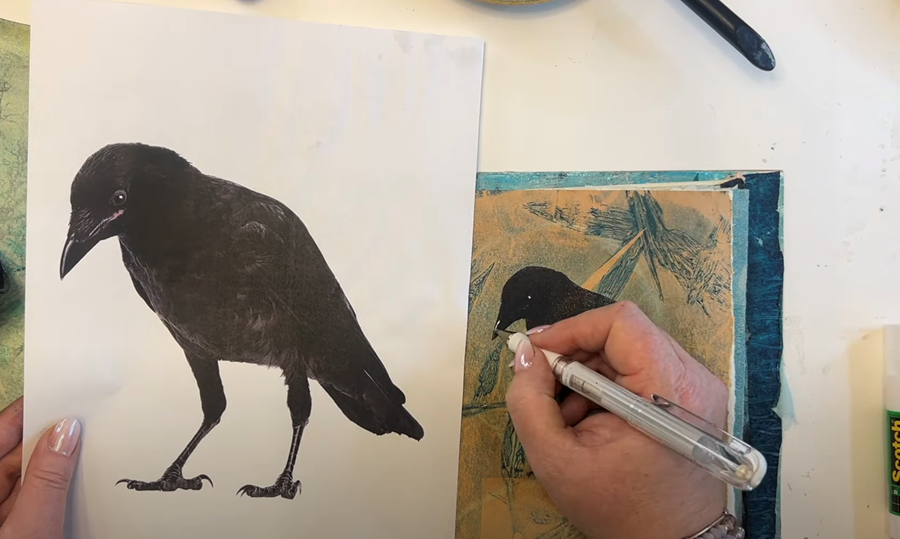
I’m using my black Stabilo pencil. I really love this pencil; it has a strong pigment and it’s water-soluble as well.
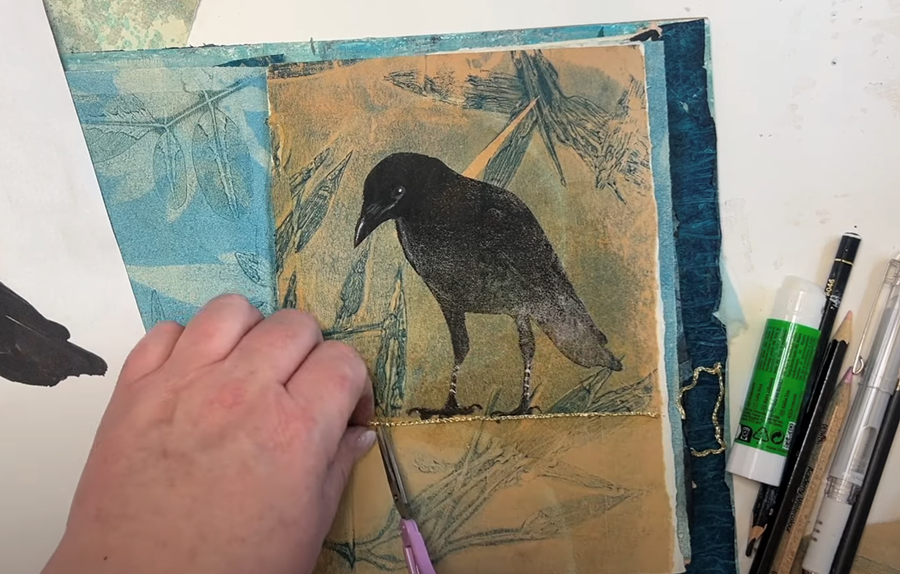
Next, I use my white gel pen to add highlights to the eye and beak, and my white charcoal pencil to bring out some feather details.
Much better!

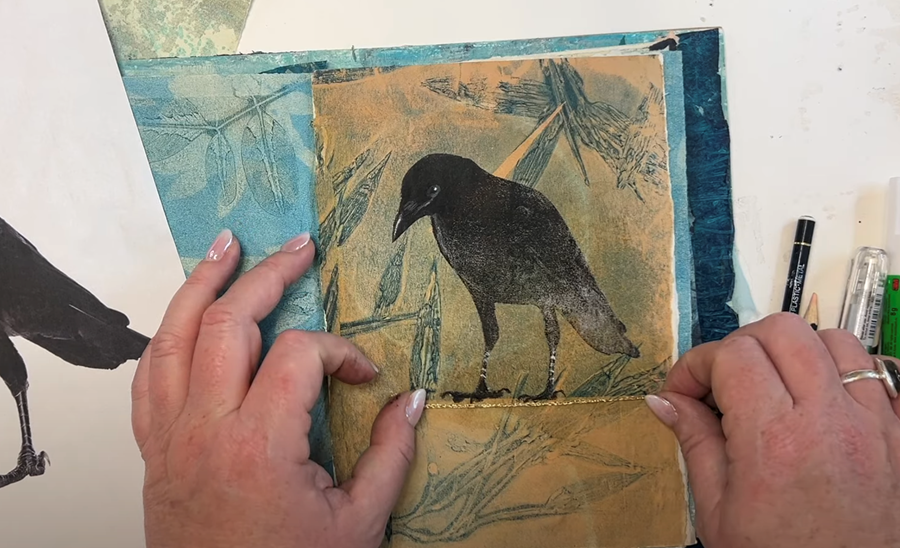
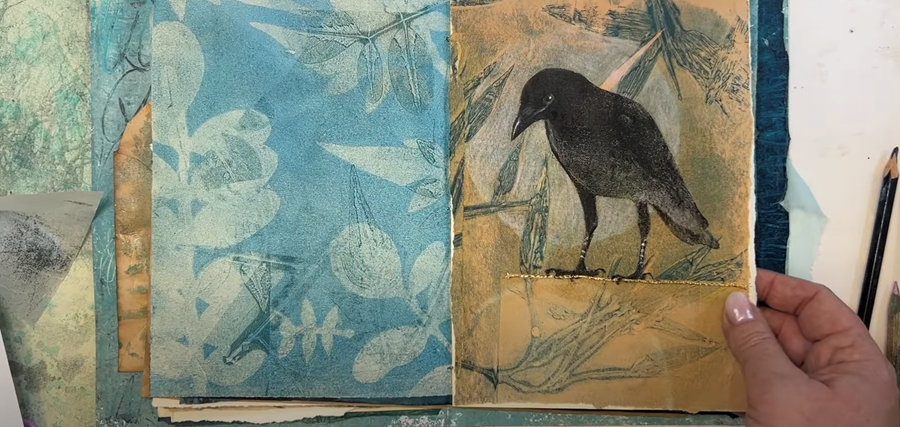
I found this piece of gold thread and thought it would be lovely on this page. I’d love to stitch it in, but that would show through onto the next spread, so that’s not going to work.
I try placing it under his feet, and I really like it there - it looks as if he’s standing on it, with that little hint of gold sparkle adding a subtle, pretty touch.
I attach the thread onto the page with my glue stick.
Once it’s stuck down, I use my scissors to trim it to size, then place a clean piece of paper over the top and press to make sure it's well adhered.
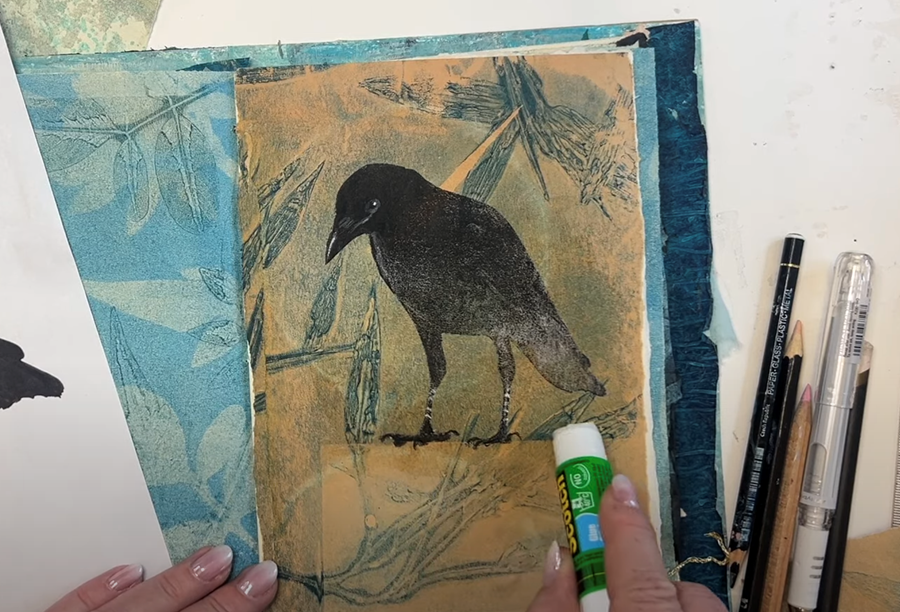
Next, I take my white charcoal pencil and draw a soft moon shape behind him. It's kind of like a harvest moon, glowing gently behind him in the background.
Next, I use my black pencil to add some shadows and give a little more definition.
Okay, I think I’ll leave it there for today and come back to do a bit more tomorrow.
It’s a nice start, and I’m really pleased with what I’ve made in the journal so far.
I hope that’s given you some ideas and inspiration for filling your journal pages - to spend just a few hours getting lost in creating!
Stay tuned for Part 2, where I'll share some of my favourite composition tips and demonstrate how to create burnt-paper designs.
Be sure to sign up for my newsletter so you never miss a new tutorial. I also offer a FREE course called The Essence of Landscape, where I teach how to turn your prints into finished paintings.
Thanks so much for following along, everyone!
We hate SPAM. We will never sell your information, for any reason.