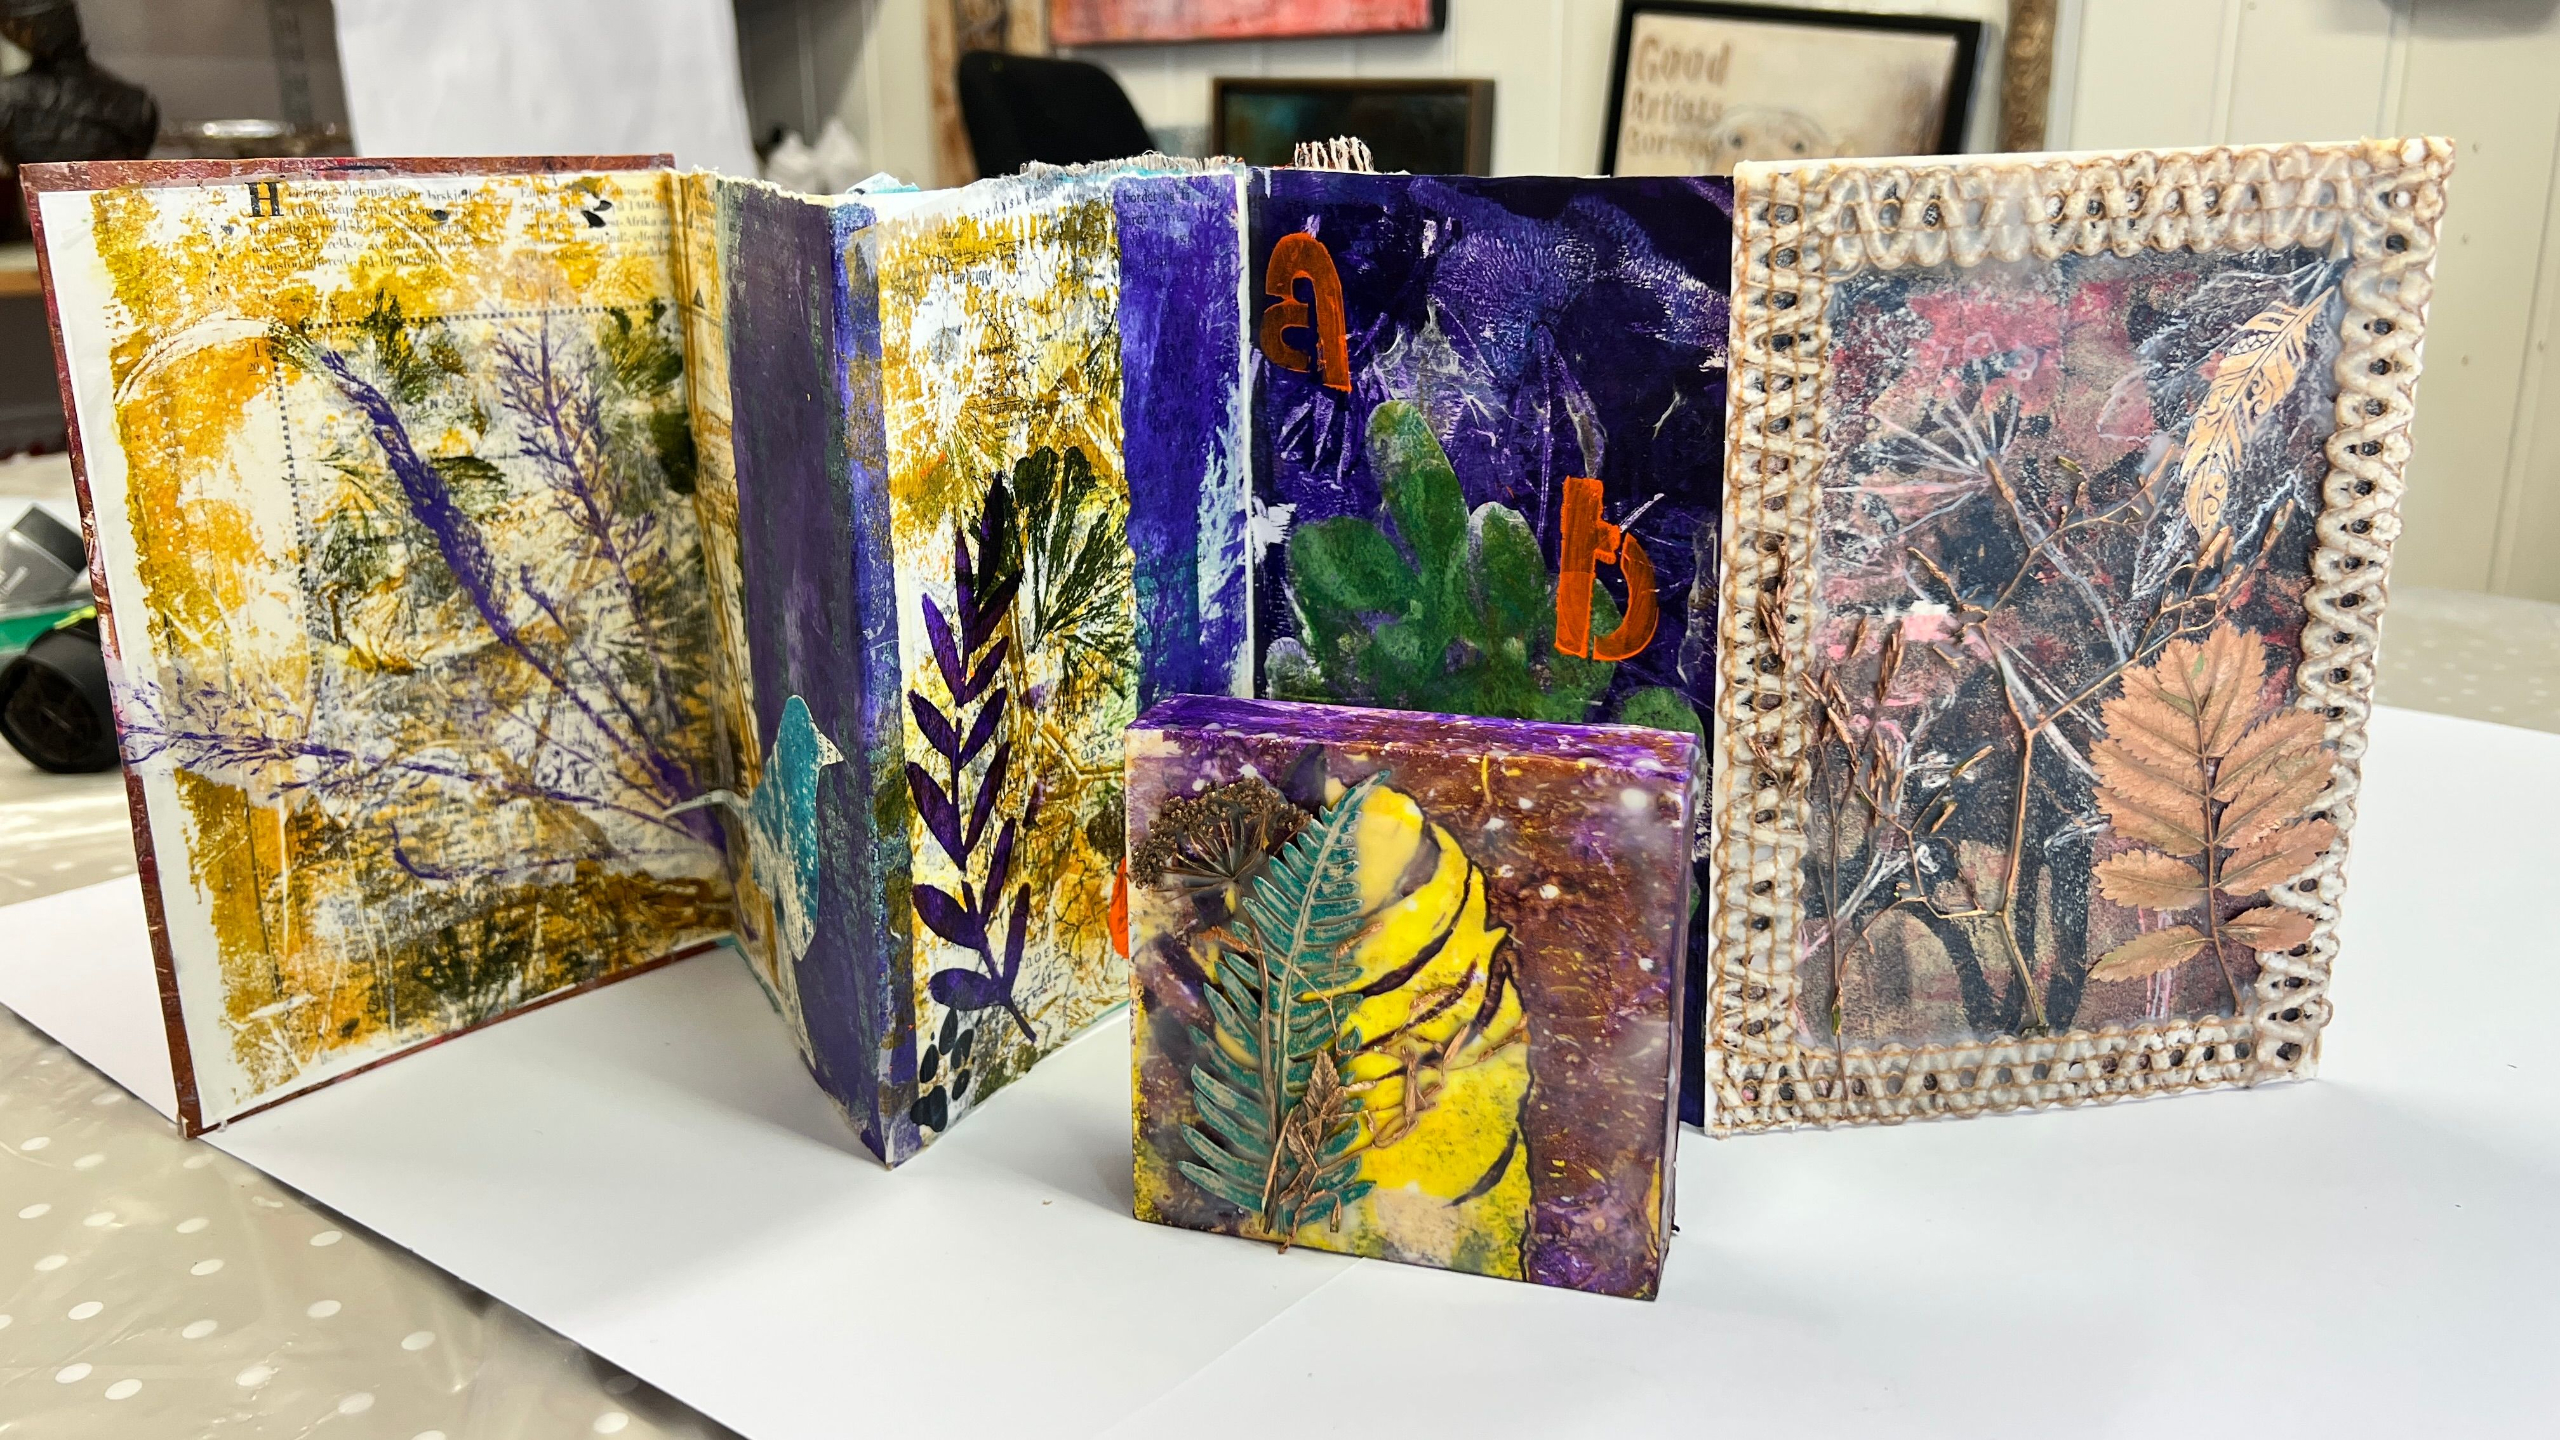
Handmade Journal Ideas Part 2: Burned Paper Art & Composition Tips
Nov 12, 2025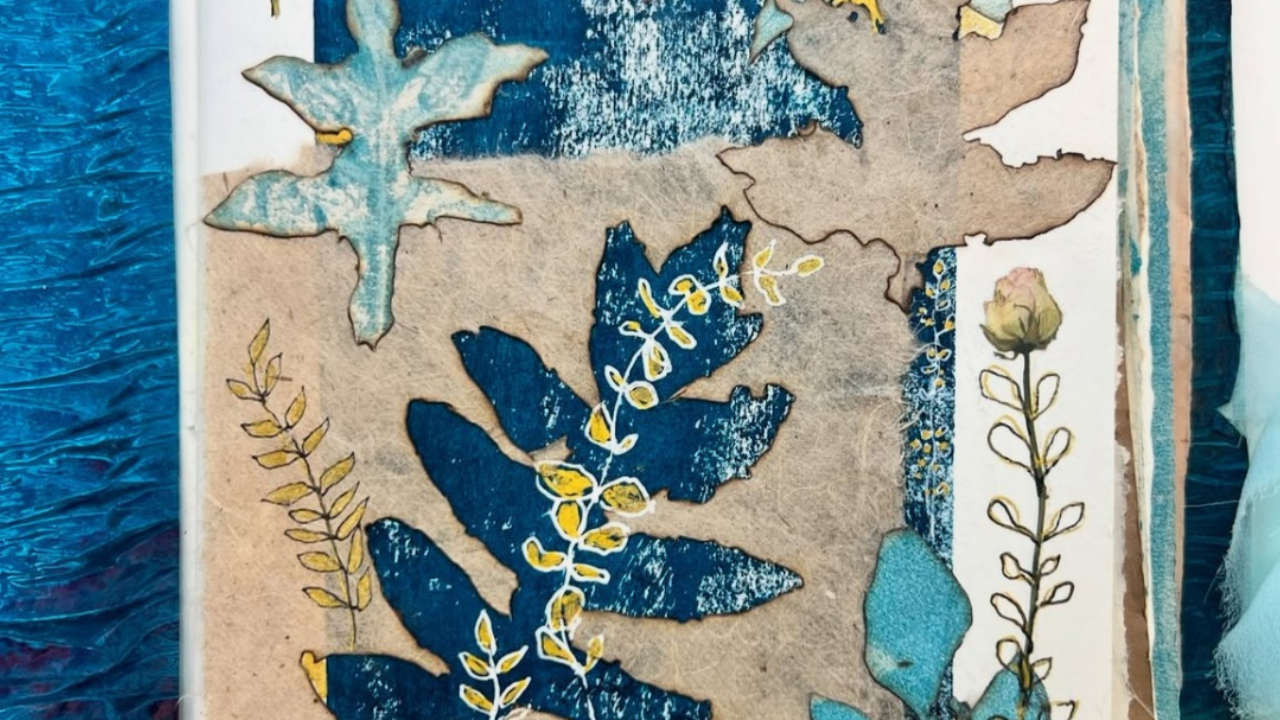
Have you ever tried burning through paper to create texture in your collage work?
It might sound a bit unusual, but with the right tool - a pyrography iron - you can get some really lovely, layered textures. It works beautifully in a handmade journal, giving you little cut-outs and windows that let the background layers peek through.
In this lesson, I'm picking up where we left off in Part 1. I'll show you how I burn through gelli prints and other papers, and share a few tips along the way. I'll also show you how I use some of my favourite pens to add finishing touches that bring it all together.
If you sometimes struggle with composition, you might find some useful ideas as you watch the page come together. With a bit of patience and play, you'll see this technique is a simple way to add something really special to your collage pages!
If you're interested in seeing more, let's get started.
Materials You'll Need
Art journal:
Can be a brand new journal or one you've already started
Collage papers:
This can be a combination of handmade papers and Gelli printed ones
Pyrography Tool (wood-burning iron)
Mount board:
Used as a backing to protect the pages below as you're burning
Transfer Leaf Shapes:
Adhesive leaf and flower designs
Bone Folder:
Used for smoothing or flattening edges or for pressing transfers
Uni-ball Signo Pen in gold
Posca Acrylic Paint Pen .7 mm in white and black
Please note: As an Amazon Associate, I earn from qualifying purchases.
Burning Leaf Designs in Paper
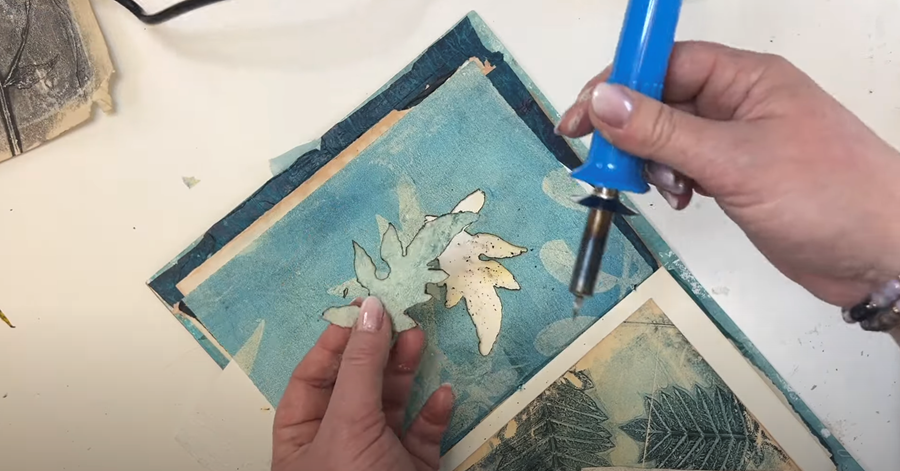
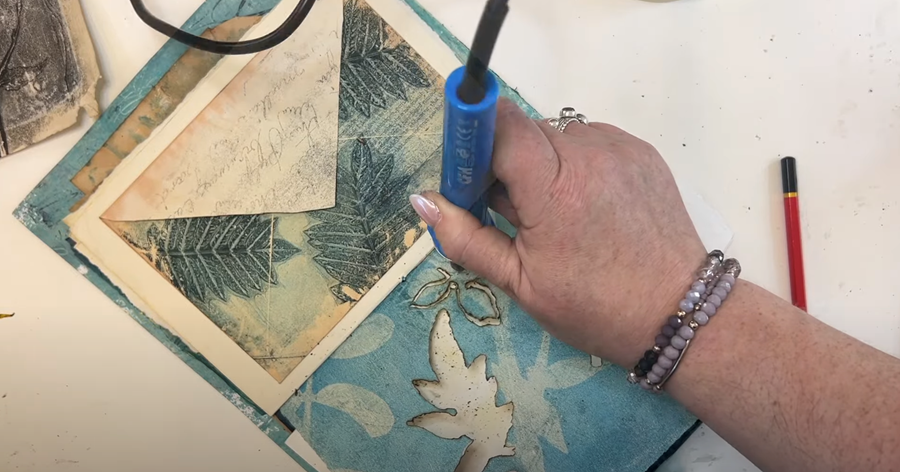
To get started, I place a piece of mount board underneath the page - this helps protect the layers below as I burn in my designs. I begin by tracing out a leaf shape with the pyrography tool, gently following the outline with the hot tip. The paper takes the heat quickly, so keep a light and steady touch. I turn the book as I go to give myself space.
AN IMPORTANT NOTE: Paint fumes can be harmful. Even with a thin layer of paint, you'll need plenty of fresh air. I recommend working outside if you can, or by an open window.
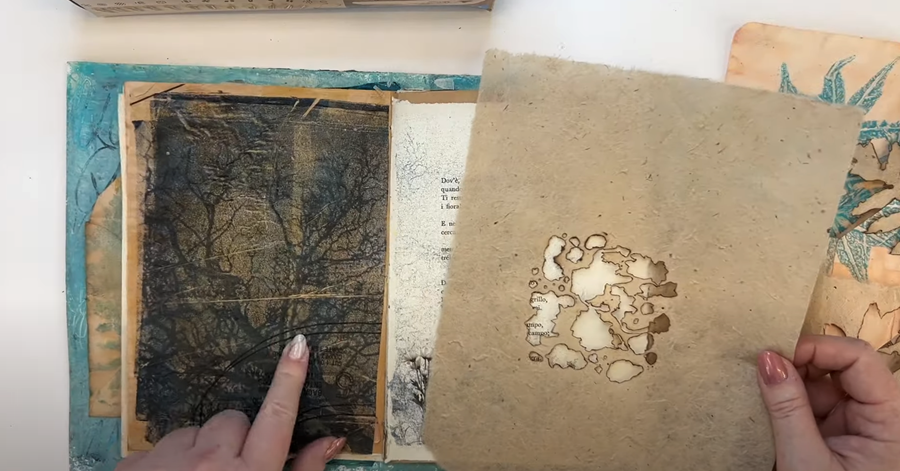
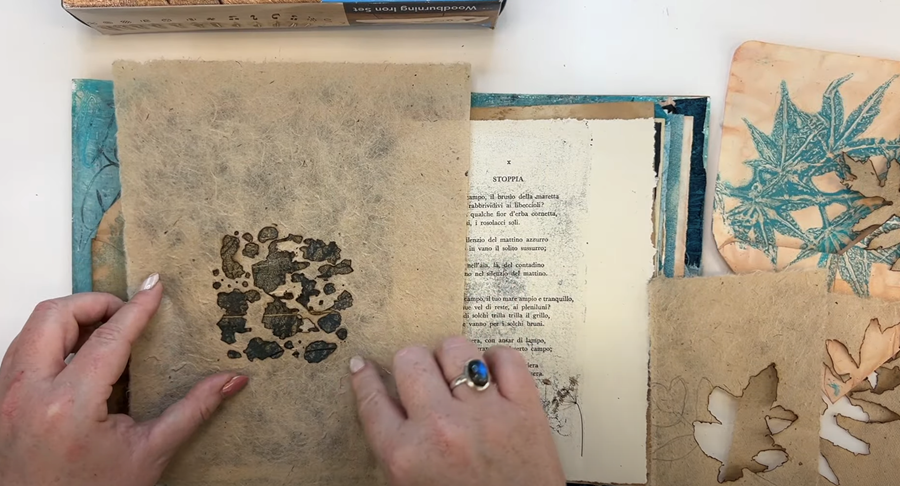
There's the first leaf shape done! I set these aside as I go so I can use them elsewhere in my collage, then remove the mount board to get an idea of how it looks.
I just love how that inky blue peeks through the burn marks!

There's the first leaf shape done! I set these aside as I go so I can use them elsewhere in my collage, then remove the mount board to get an idea of how it looks.
I just love how that inky blue peeks through the burn marks!
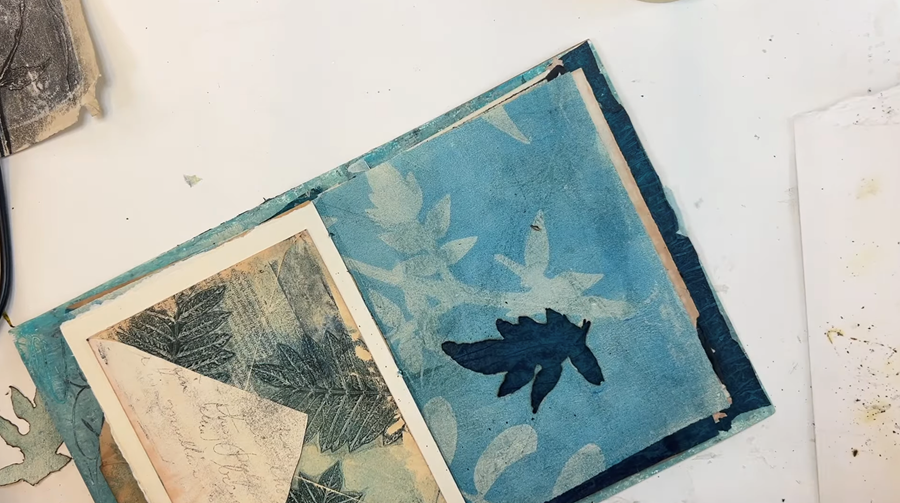
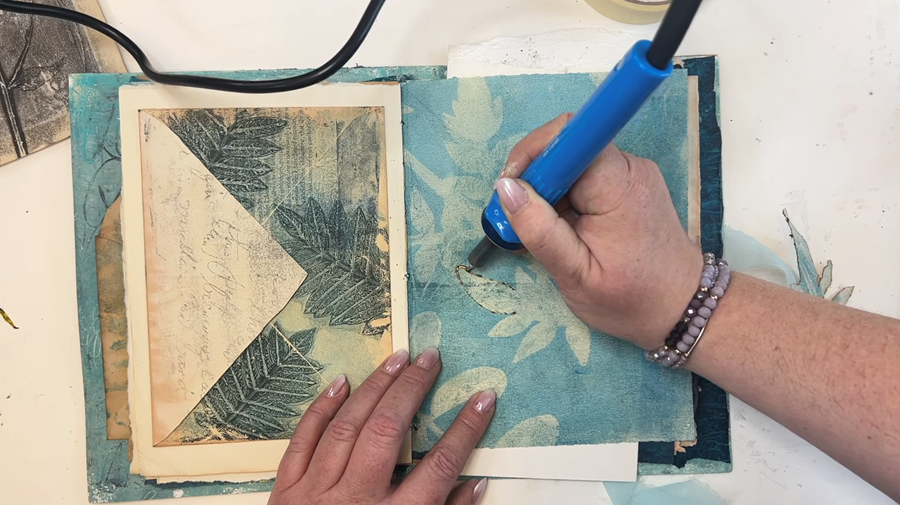
I decide to draw another similar leaf shape in a different area of the page, then repeat the steps to burn it out. This helps balance the composition and ties the page together.
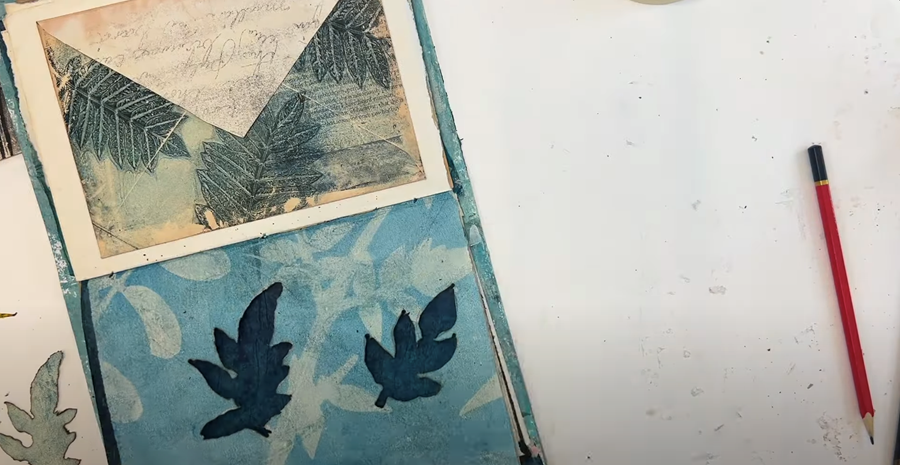
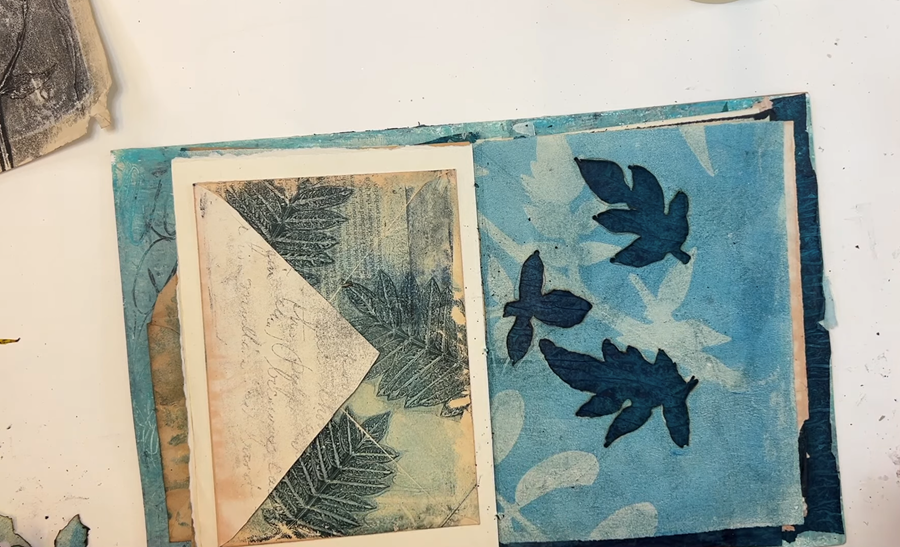
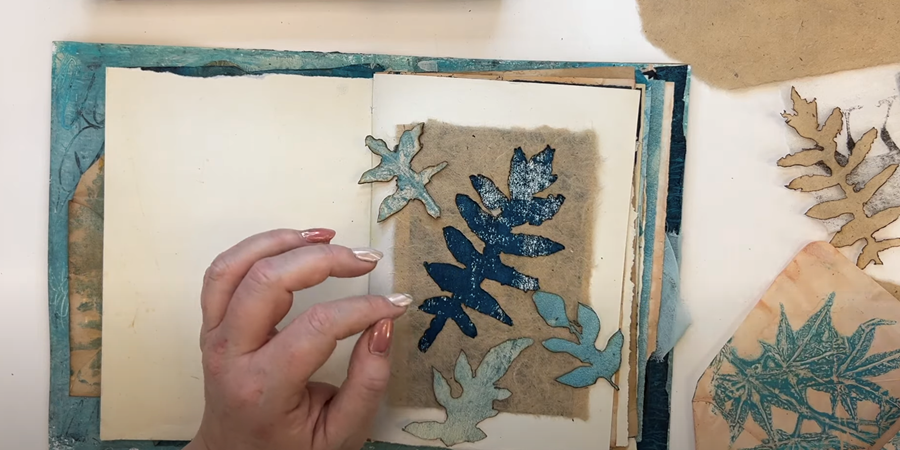
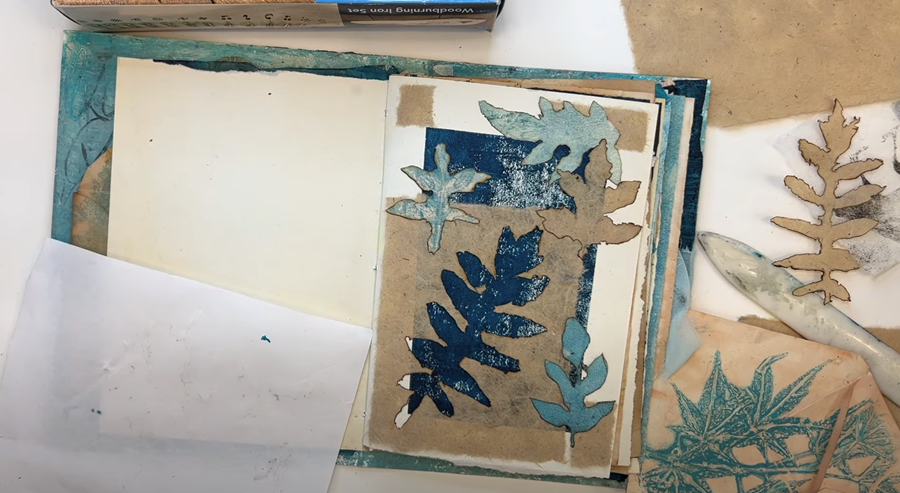
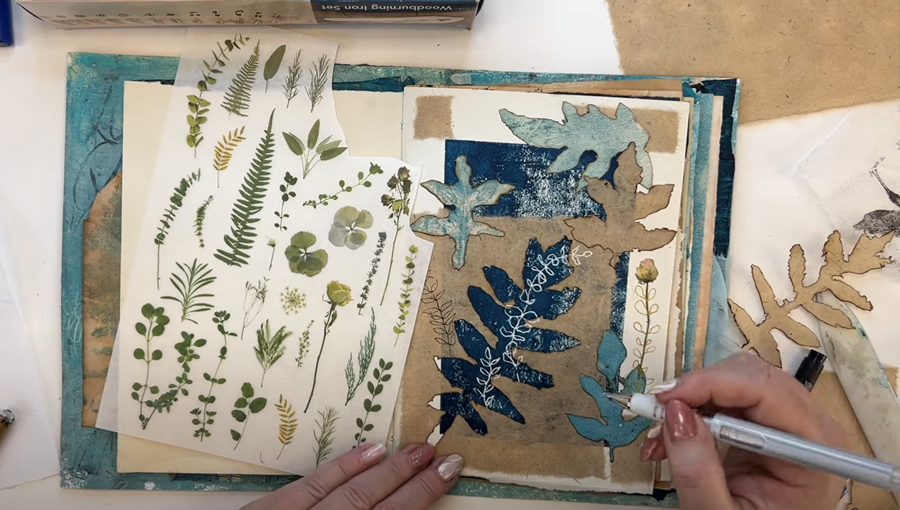
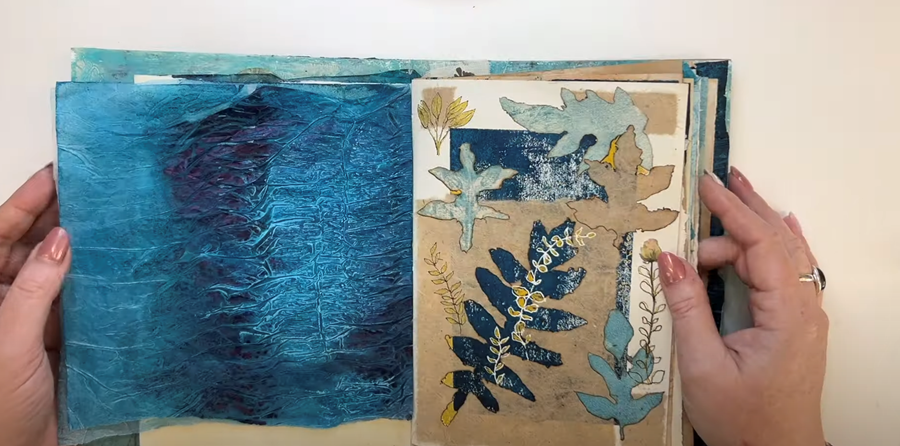
Next, I arrange my cut-outs around the page, moving them about to experiment and play with different composition ideas.
Assembling the Collage
I love using natural-coloured handmade papers for these designs - the texture and tone suit the burned edges beautifully.

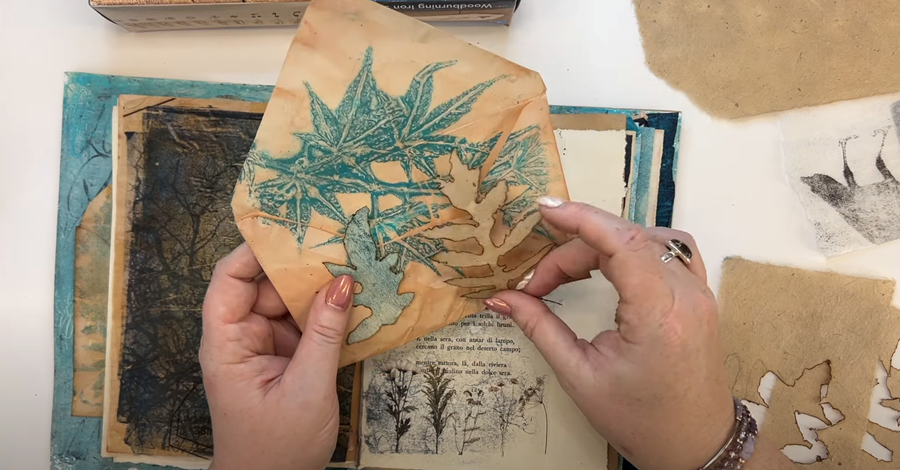
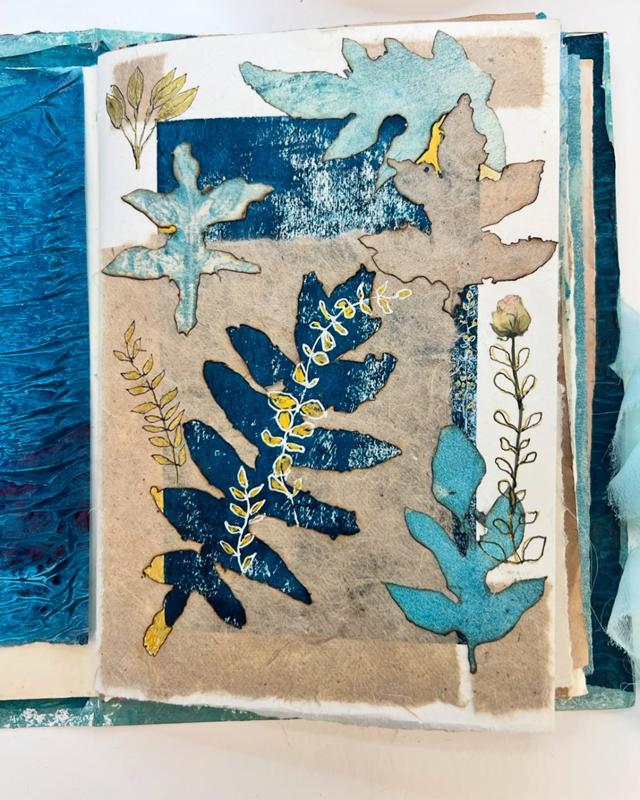
I like to layer my cut-outs over existing gelli prints, letting the background peek through. It works so well with the burned edges and adds a nice sense of layering.
For example, this cut-out looks brilliant placed over a tree silhouette, with little bits of the tree branches showing through.
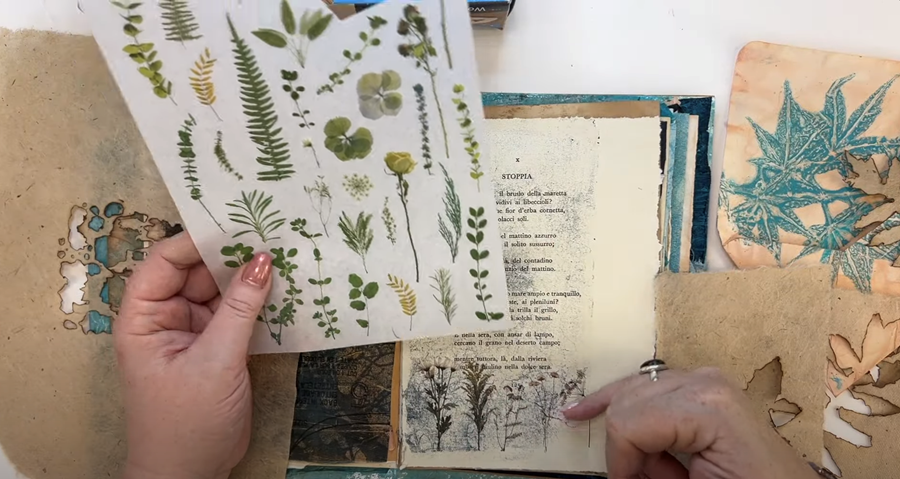
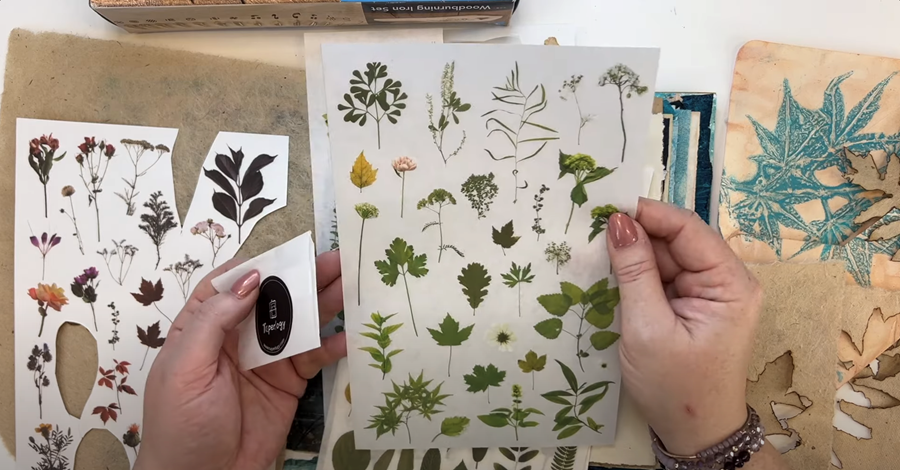
To create delicate elements, I like to use small leaf-shaped transfers. Mine are from a company called Taperology, which has lots of lovely little leaf and floral designs. They also make excellent references for adding hand-drawn details to your collages, giving your pages a more personal touch.
TIP: Before I cut them up, I always photocopy the sheets. This way, I have the full set for future reference. I keep my photocopies in a folder with all my favourite botanical shapes, so inspiration is always at hand.


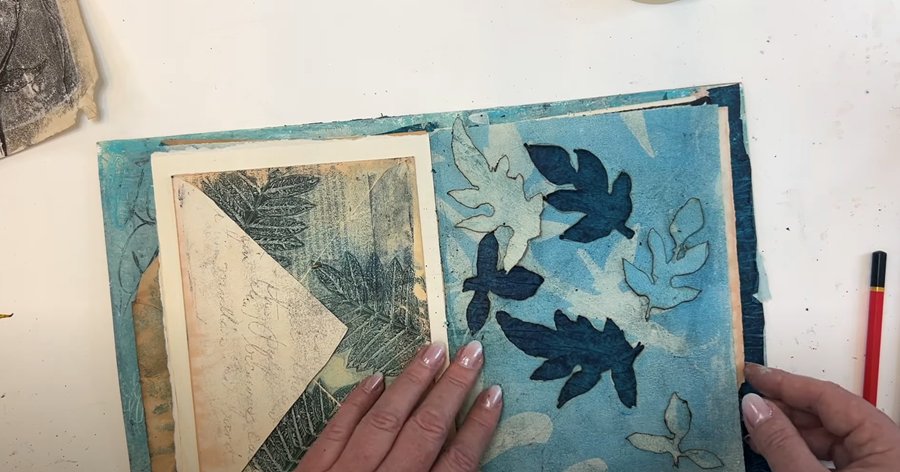
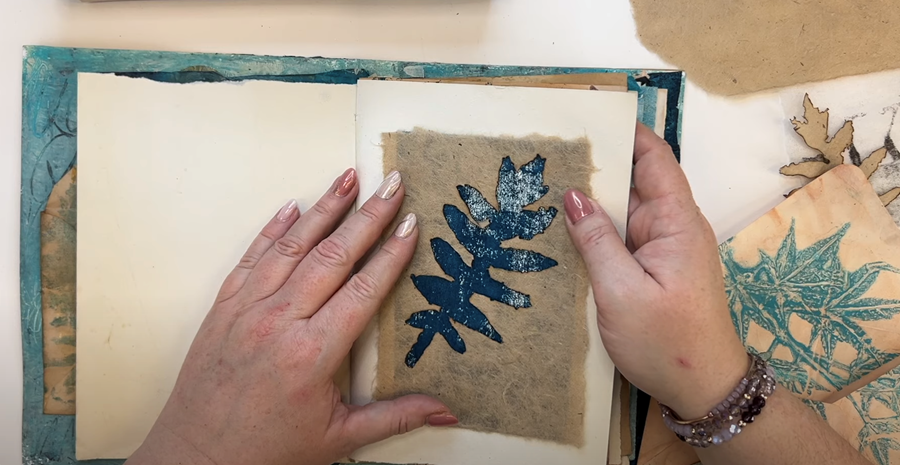
I love how the natural tones of the handmade paper sit against the blue background. I place my leaf cut-outs on the page, letting them extend over the edges and shifting the direction slightly so the composition feels more organic and relaxed.
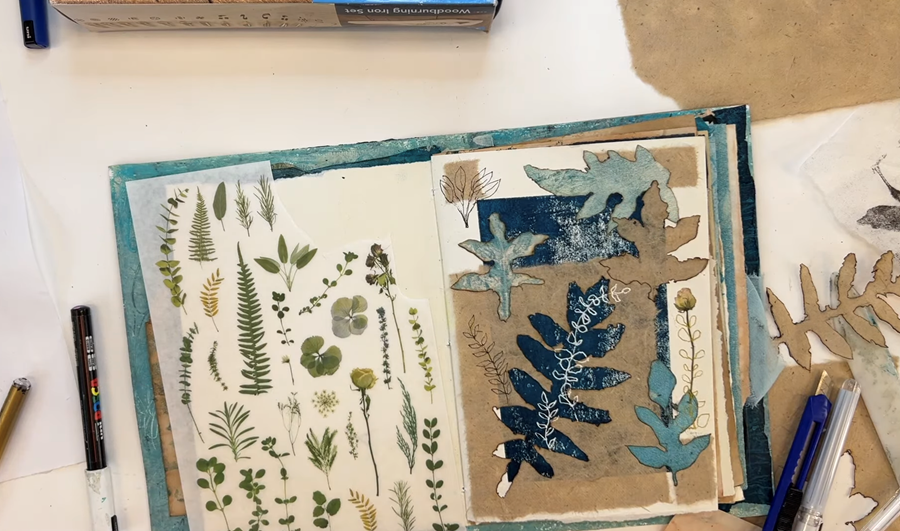
One of the best things about collage is that you can experiment with layouts and play around before committing to anything.
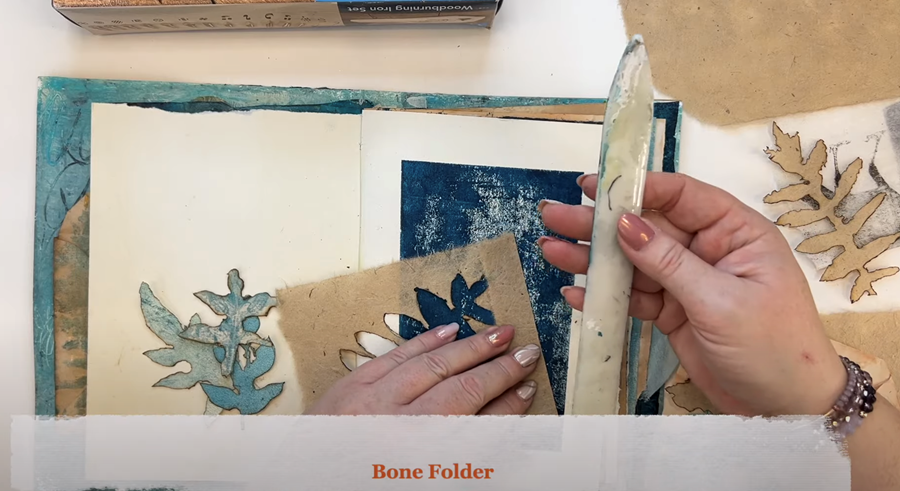
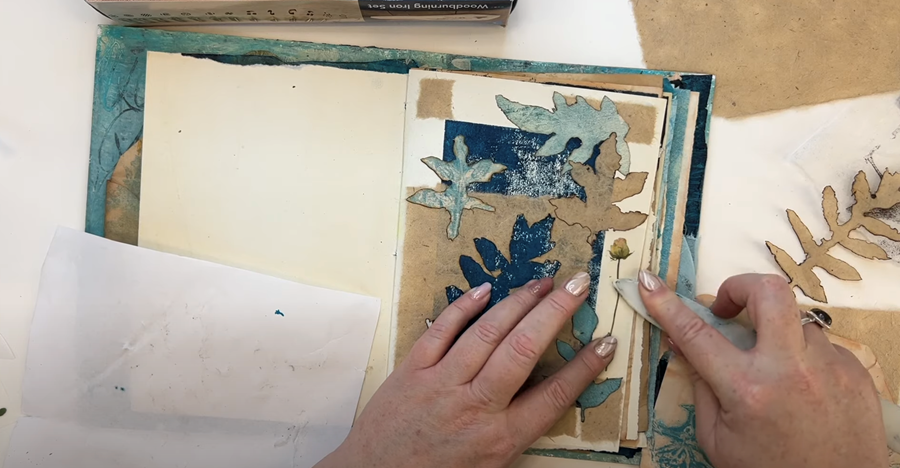
My leaf print is just a wee bit too long, so I'll need to give it a trim. Rather than cutting it with scissors, I fold the edge over and tear the excess paper off - it gives a more natural, organic finish.
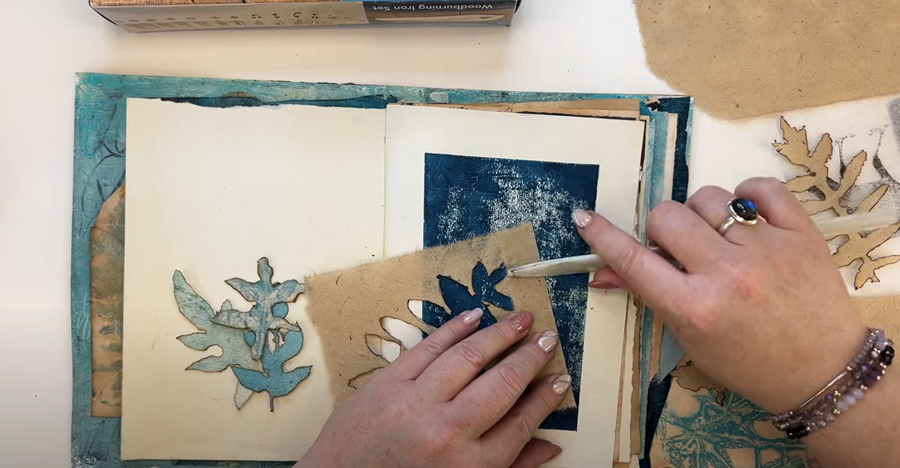
I use my bone folder here to flatten the edge for a nice, clean tear - it's a handy tool for smoothing things out or flattening edges. I also use it to gently burnish my floral transfers.
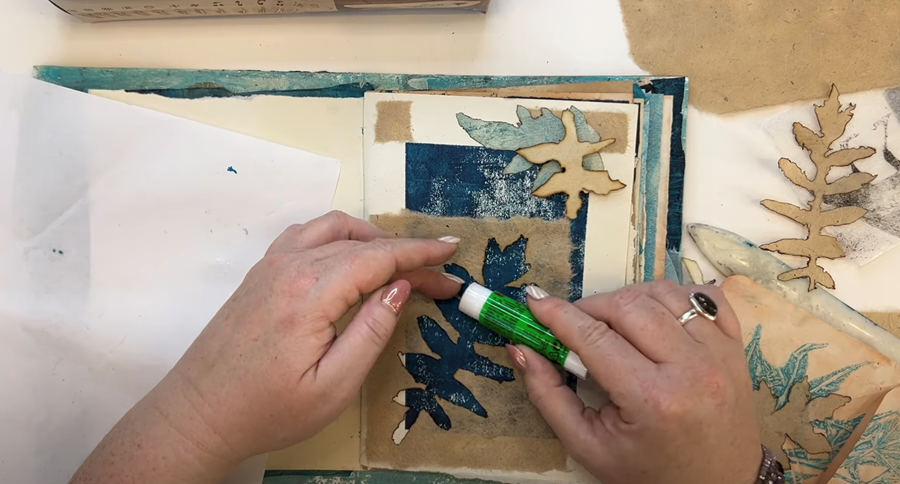
Now that the design is in place, I use a glue stick to secure everything to the page.
TIP: Take a photo of your collage before you glue it down. Once everything's lifted up from the page, it can be difficult to remember exactly where each piece was positioned!
I like to work in threes or fives for a balanced composition, but don't be afraid to break the rules! They're just there to guide you - in the end, do whatever feels right for your page.
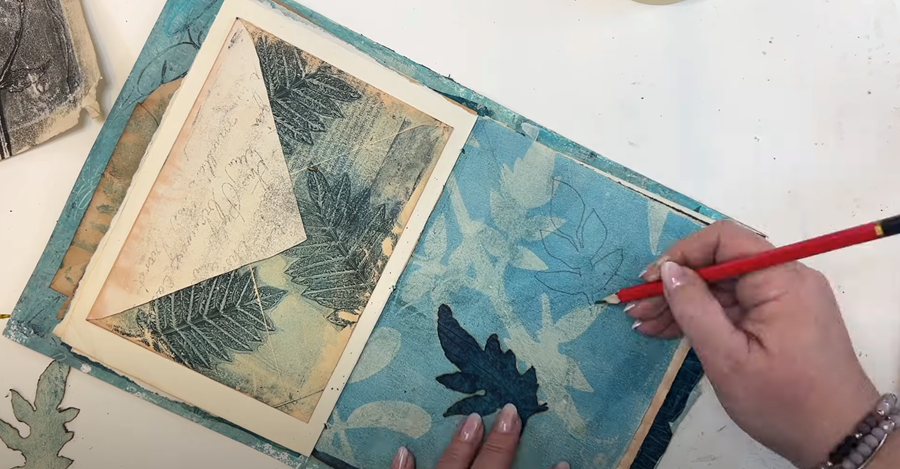
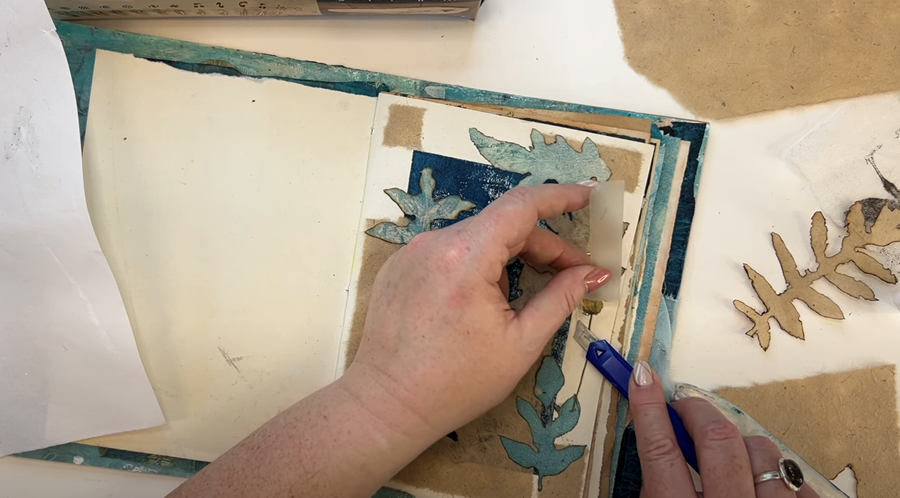
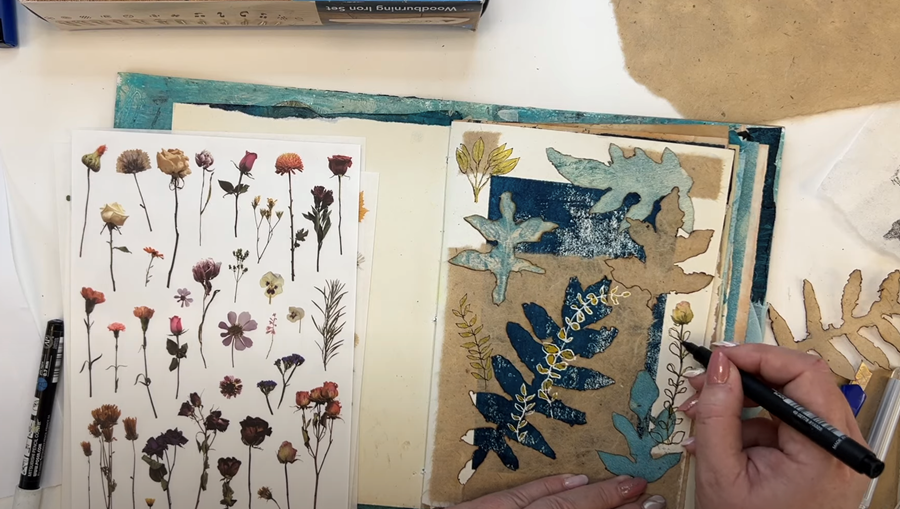
Now that my elements are glued down, I feel like that empty white space needs filling. I've decided to add a small rosebud from my transfer sheets. I use my bone folder to press it down, as a bit of pressure helps it stick nicely. You can also use the back of a spoon if you prefer.
Once the transfer is stuck down, I gently lift up the clear plastic overlay. Then I use my Uni-ball pens to draw in some fine details, using one of the other transfer images as a reference.

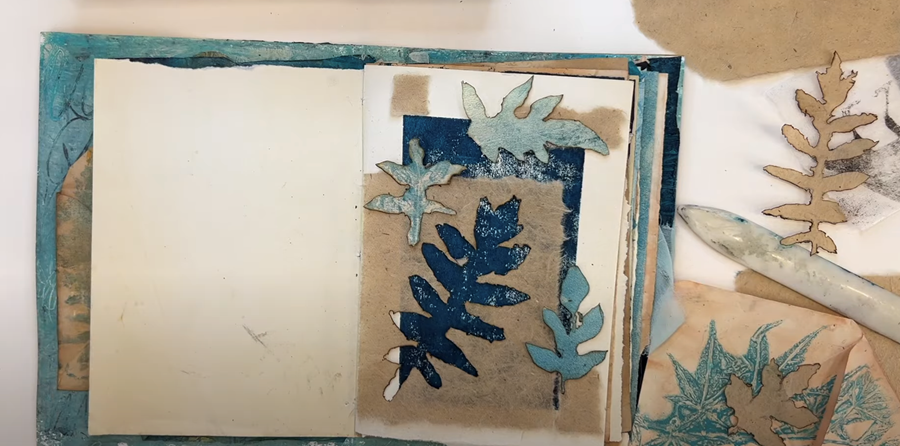
Next, I go in with my pen and add in little details - filling some of the leaf shapes with gold, outlining others with black, and even filling a bit of the negative space with gold to add interest.
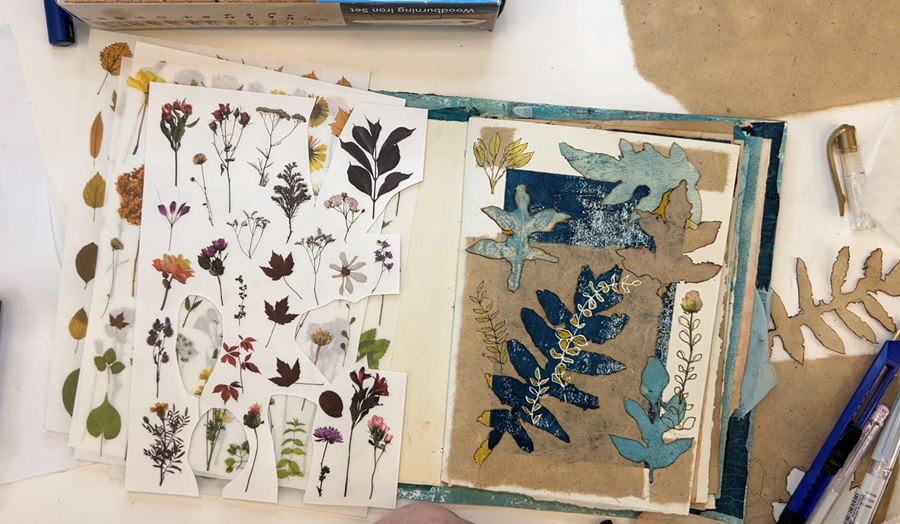
I’m really pleased with how this page turned out.
Thanks so much for following along! I enjoyed creating this page, and I hope you enjoyed seeing the process unfold.
Join me in Part 3 of the handmade journal series, where I demonstrate how to incorporate stitching and beads into journal pages.
Be sure to sign up for my newsletter so you never miss a new tutorial. I also offer a FREE course called The Essence of Landscape, where I teach how to turn your prints into finished paintings.
Until then, happy printing!
Susan
We hate SPAM. We will never sell your information, for any reason.