Handmade Journal Ideas Part 3: Hand-Stitching & Beading Collage Pages
Nov 14, 2025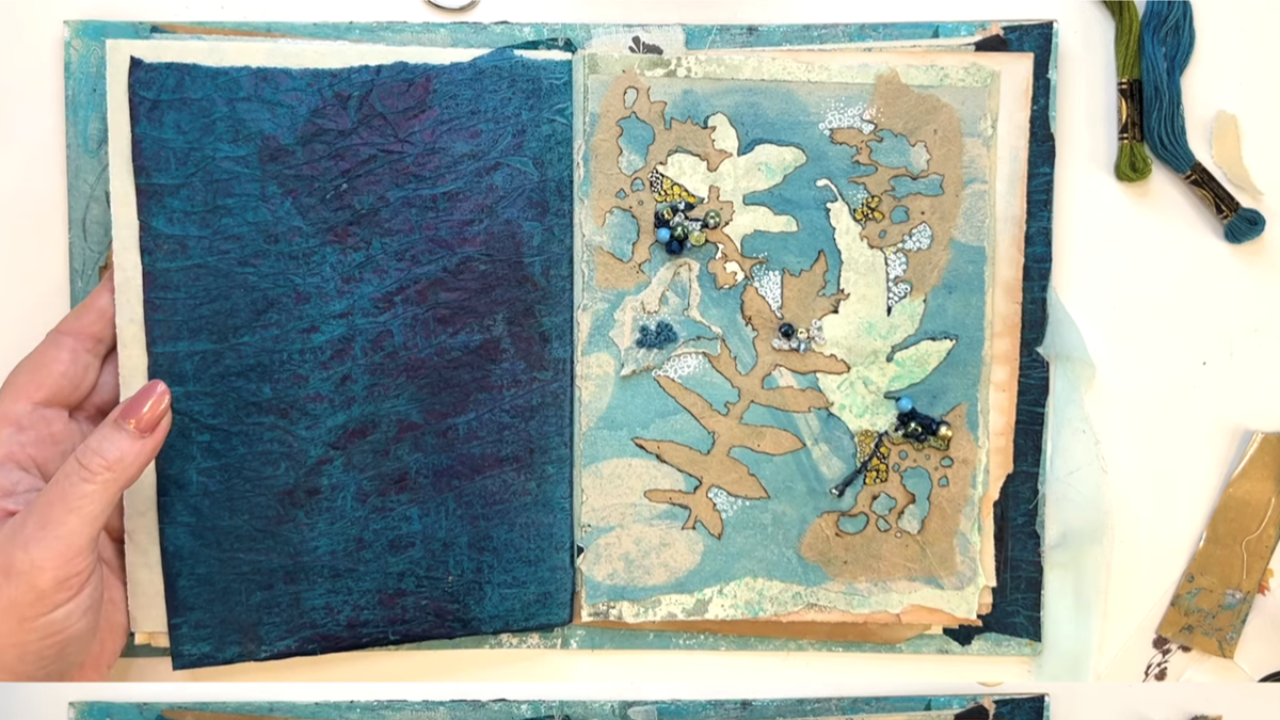
Welcome to Part 3 of the Handmade Journal Series, where we'll explore how to incorporate stitching and beads into journal pages.
In this tutorial, I'll show you how to work with positive and negative leaf shapes, stitch French knots, add decorative beads, and combine these with pen work to create beautifully simple, textural designs.
We'll also look at a lovely, easy technique for framing a leaf print that ties everything together.
This instalment builds on our earlier work in Part 2, where we used a pyrography tool to create our leaf shapes. Now, we'll add even more texture and dimension t0 make your journal pages feel wonderfully rich and tactile.
If you've never tried adding stitching or beadwork to your collage pages before, you're in for a real treat!
Let's get started.
Watch the full video tutorial here:
Materials You'll Need
Art journal:
Can be a brand new journal or one you've already started
Collage papers:
This can be a combination of handmade papers and Gelli printed ones.
Embroidery thread, needles, threader & untwist tool
Beads:
Mine were from Hobbycraft UK but you can find similar packs on Amazon
Uni-ball Signo Pen in gold
Pentel White Hybrid Gel Grip DX in white
Posca Acrylic Paint Pen .7 mm in black
Please note: As an Amazon Associate, I earn from qualifying purchases.
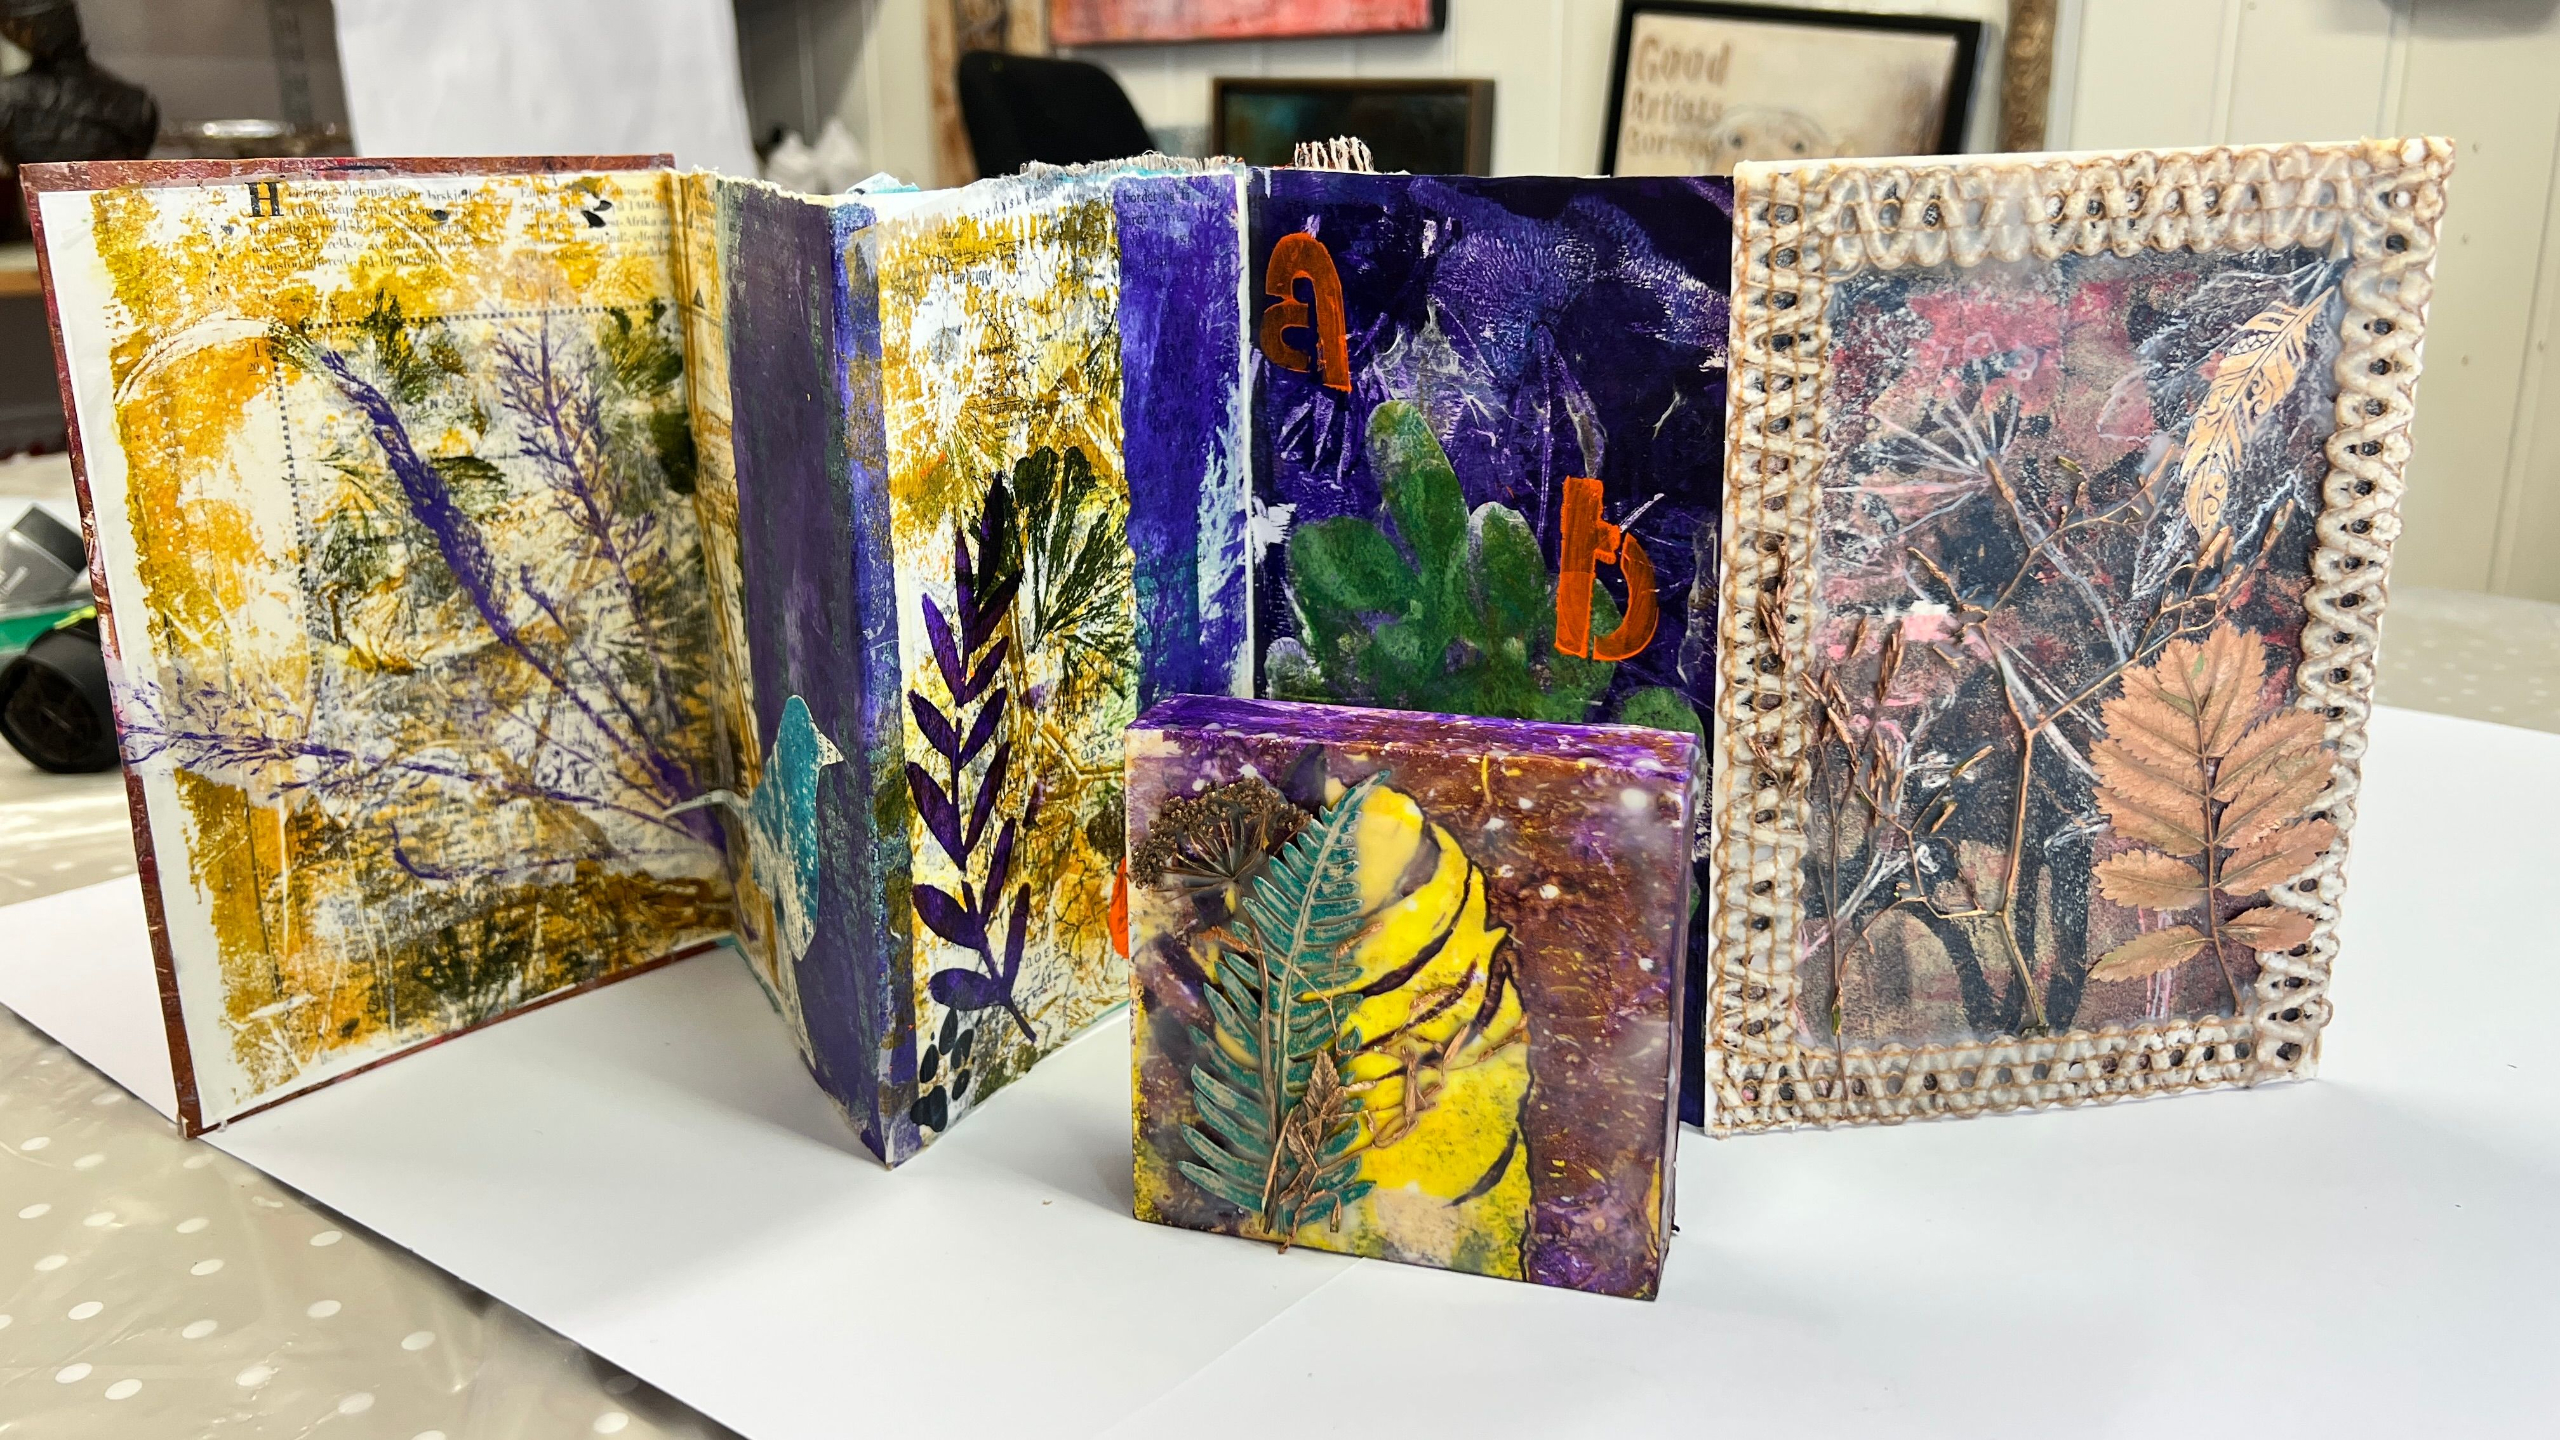
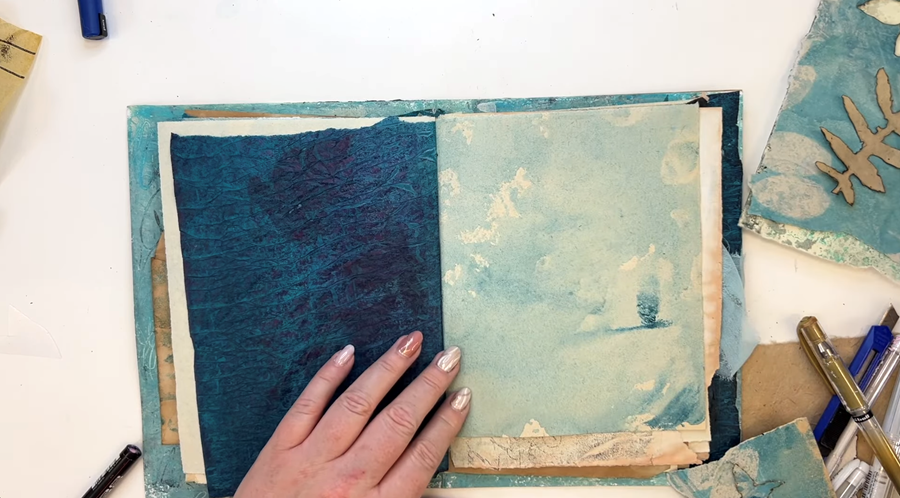
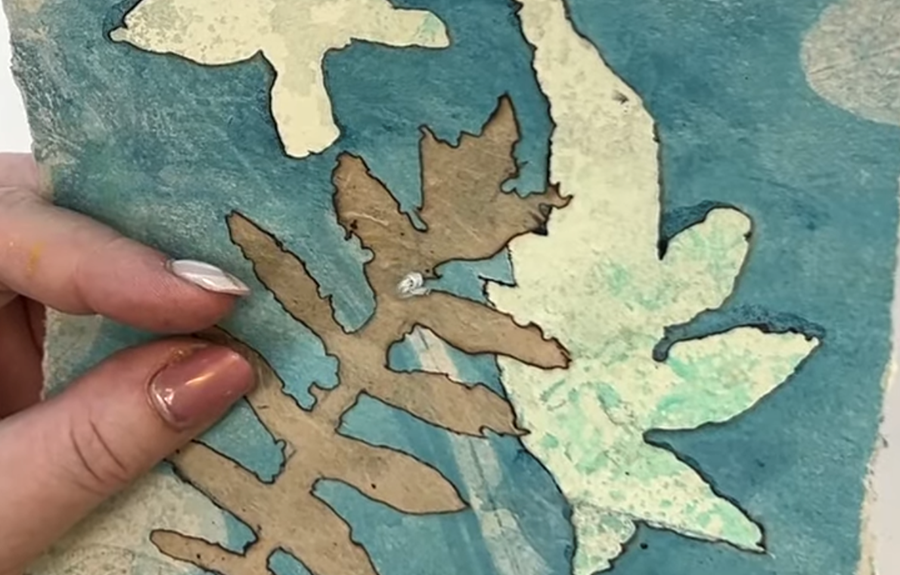
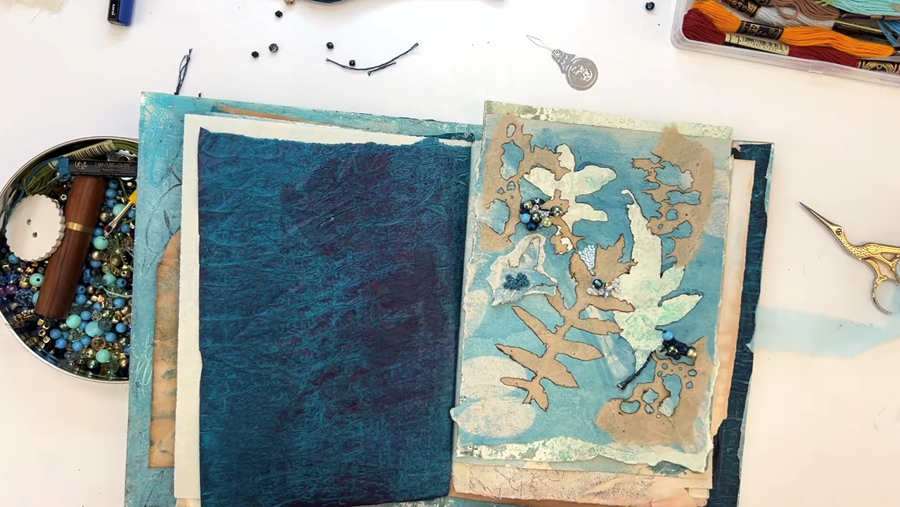
Before we get started, let's have a quick look at a few of the pages we created in part 2.
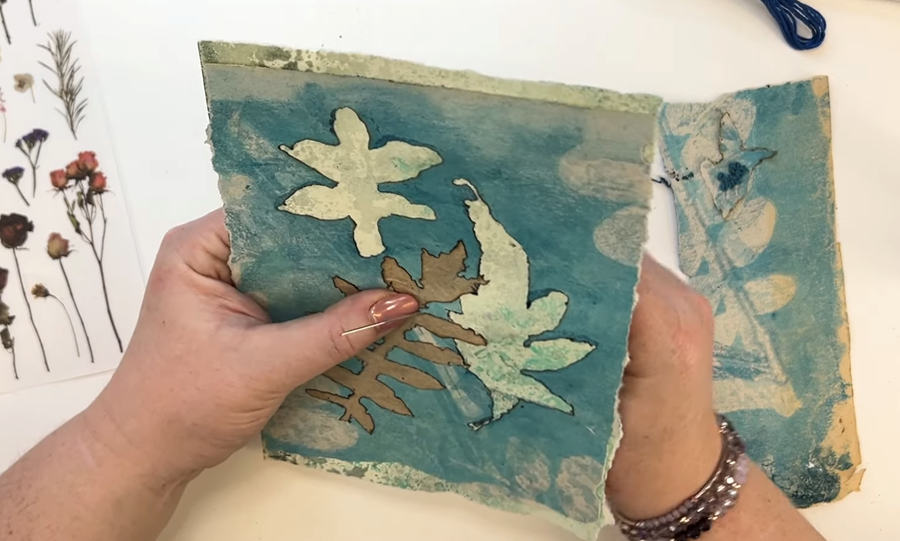
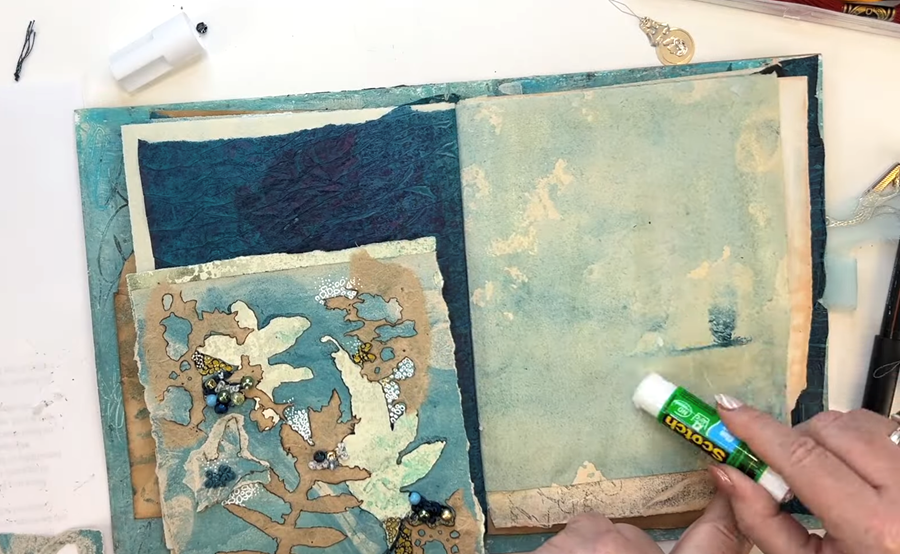
I absolutely love that inky blue background peeking out through the cut-out areas - it gives such a lovely contrast. I'm going to leave that just as it is.
And when you flip it over, you can see a different part of the design coming through, which I really like as well.
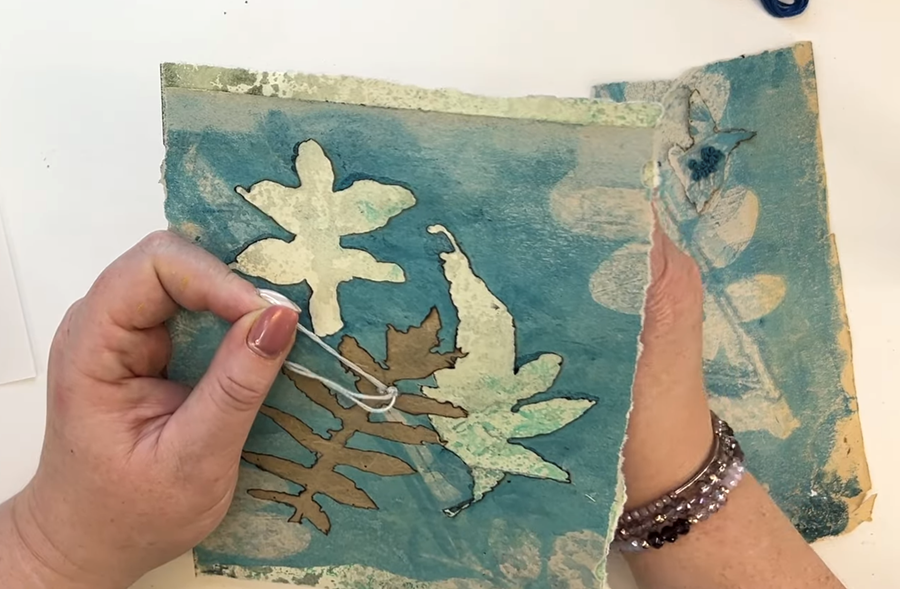
Now, when I turn to the next page, you'll notice it's slightly shorter. I do sometimes enjoy having pages in different sizes, but I don't think it quite works here.
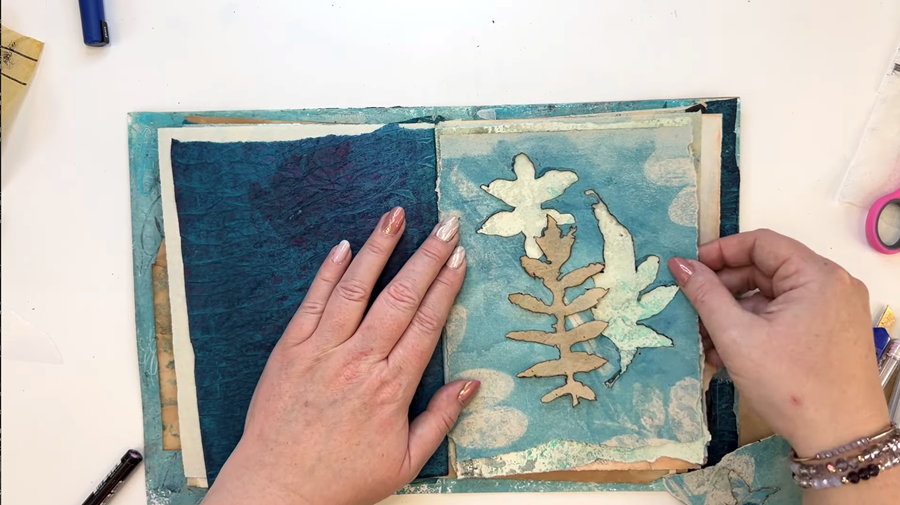
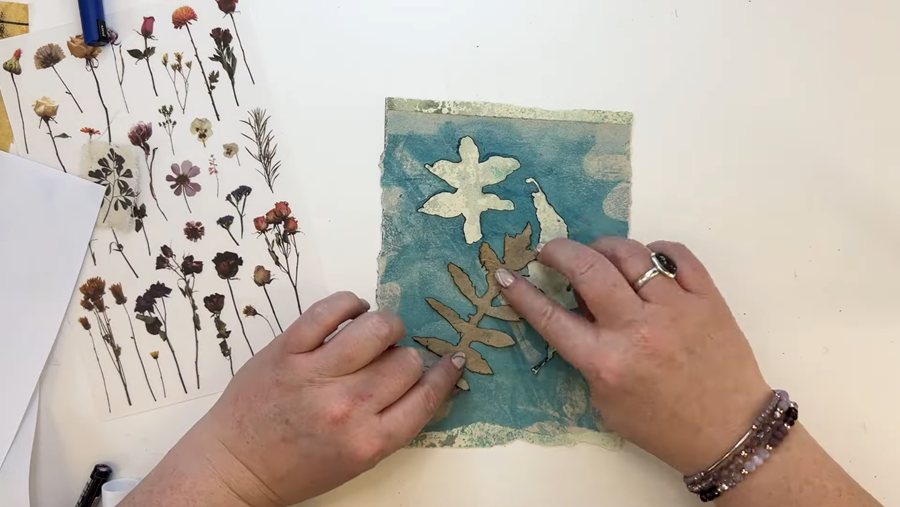
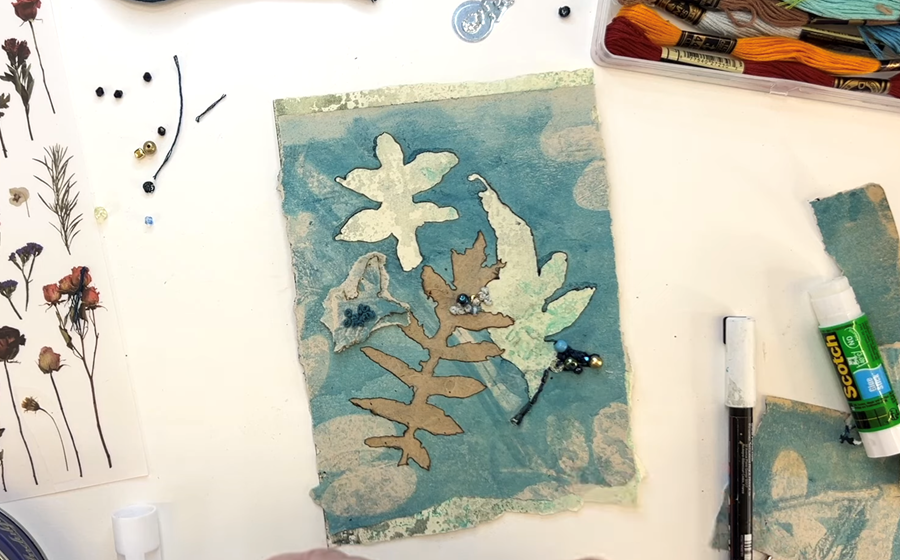
My idea is to add these leaf shapes, including this natural-toned one we created with the pyrography tool in Part 2. I think it will look lovely against the robin's egg blue background.
I'll glue it down to the page and then do a bit of stitching.
TIP: It's tricky to stitch neatly when the page is already in the book, so I'll work on it separately, and attach it once it's done.
Layering the Page
The first step is to glue the top page (with the leaf cut-outs on it) onto the background page.
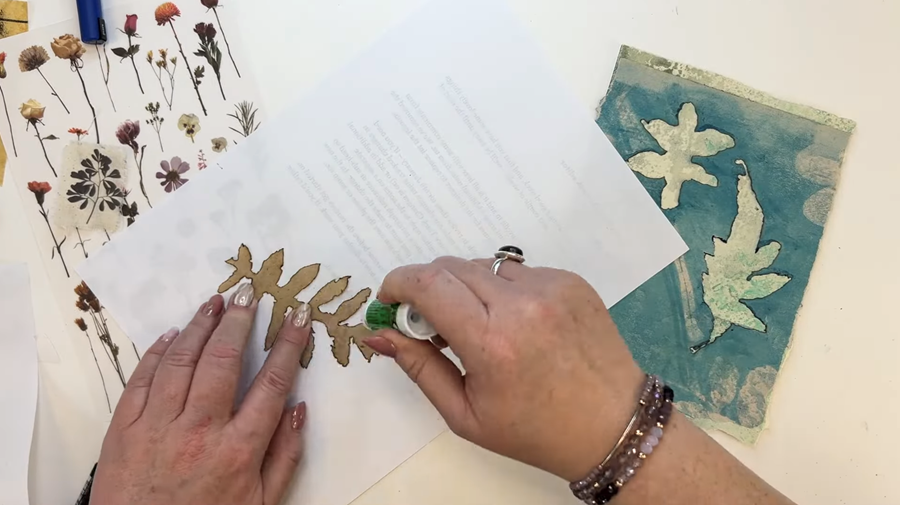
I set my single leaf shape aside, flip the page over onto a clean sheet of paper, and apply adhesive all over the back with my glue stick. Then, I carefully place it on top of the base page.
With another clean sheet of paper over the top, I gently press it down with my hand to make sure it bonds well.
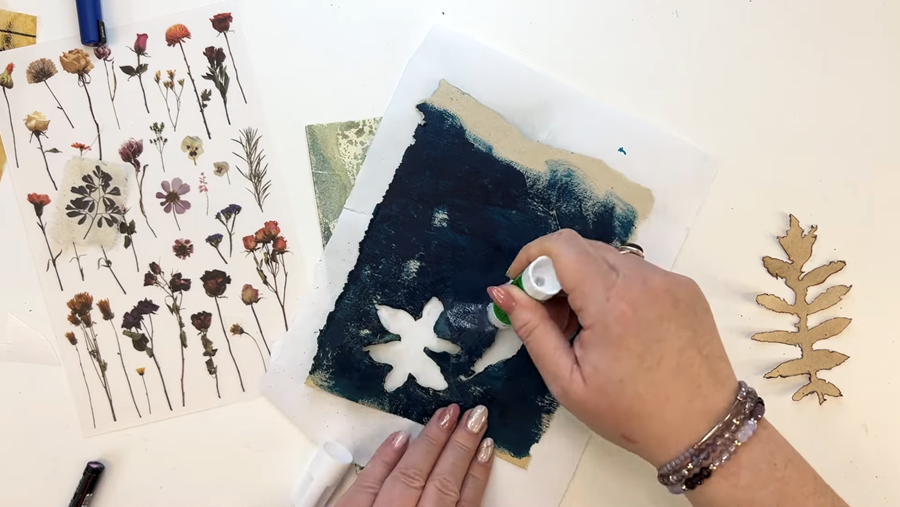
Then I'll repeat the process with the leaf shape - glue on the back, position it just where I want it, and press gently to fix it in place.
Stitching & Beadwork
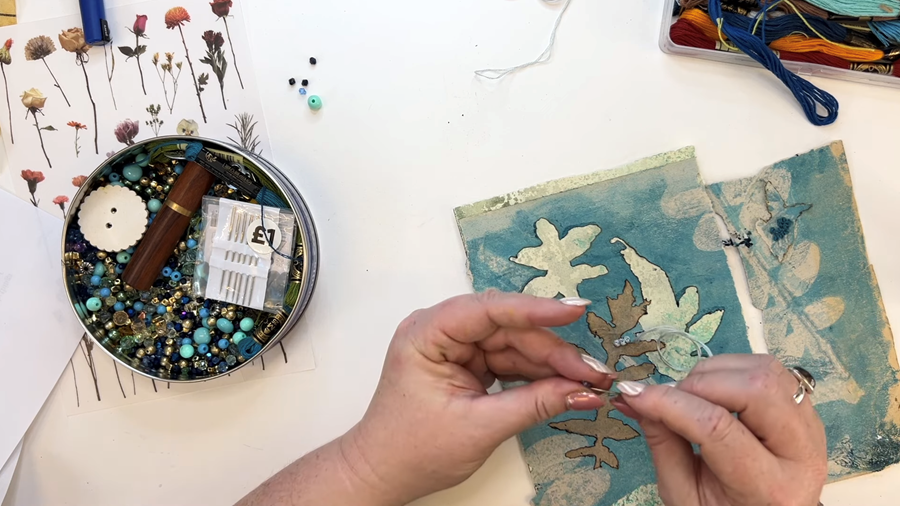
Now for my favourite bit - the stitching!
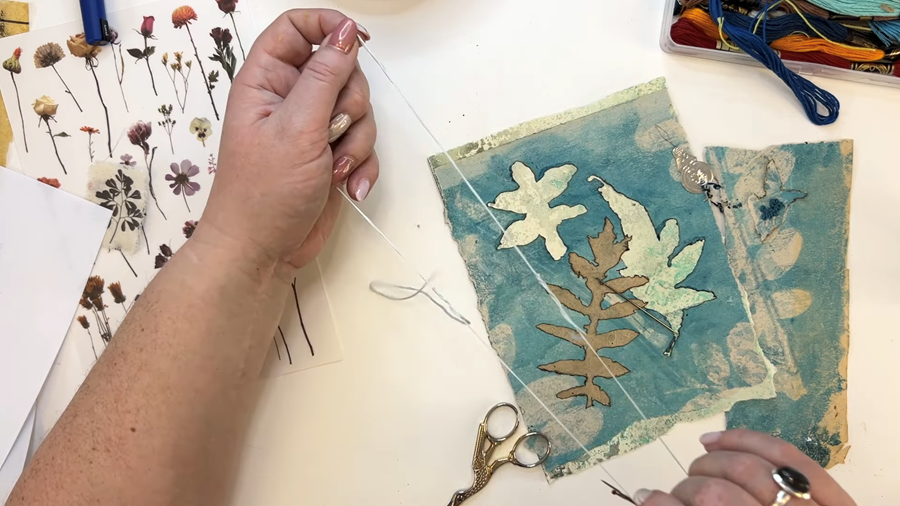
I've gathered my sewing supplies: thread and beads in colours that complement the artwork, along with a needle, sewing scissors, a needle threader, and a seam ripper.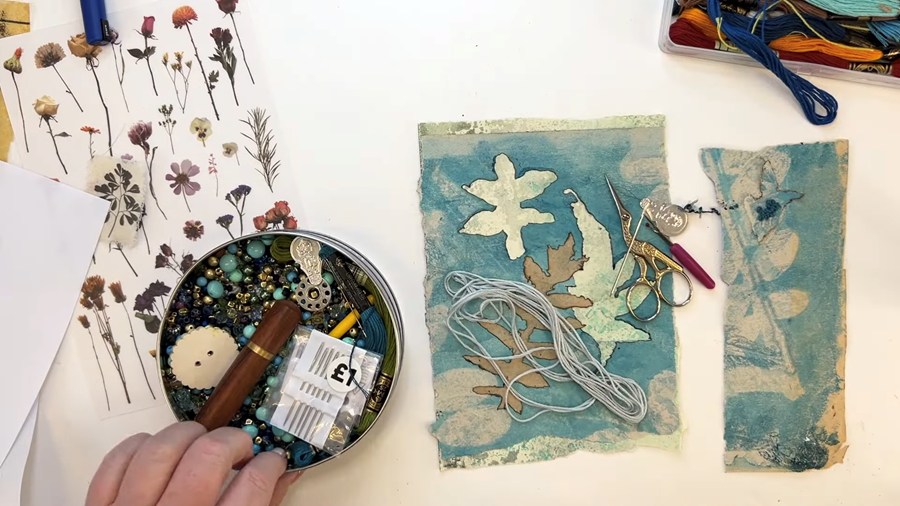
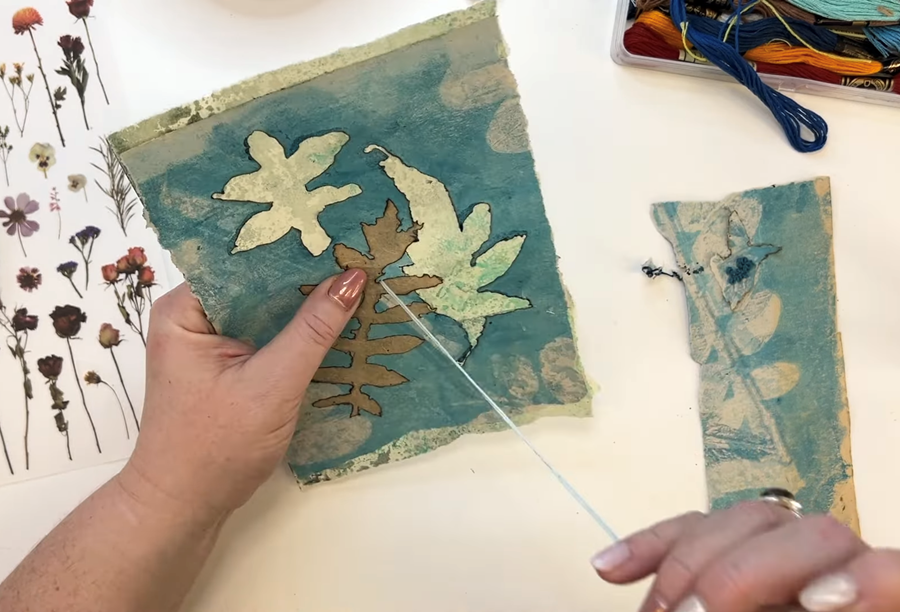
I choose a silvery-coloured thread - I really like this colour against the page.
Next, I use the seam ripper to separate the strands so it's not quite as thick - about 3 threads' thickness is perfect.
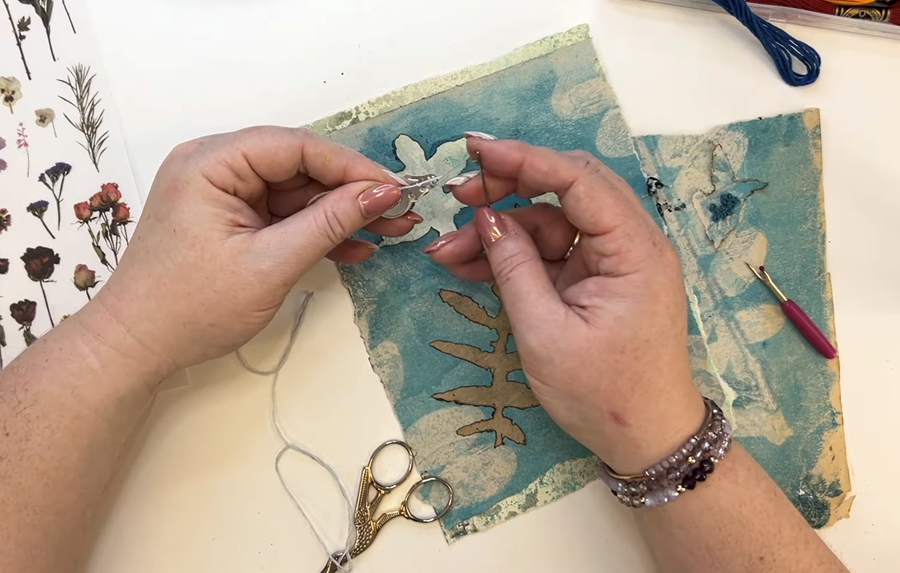
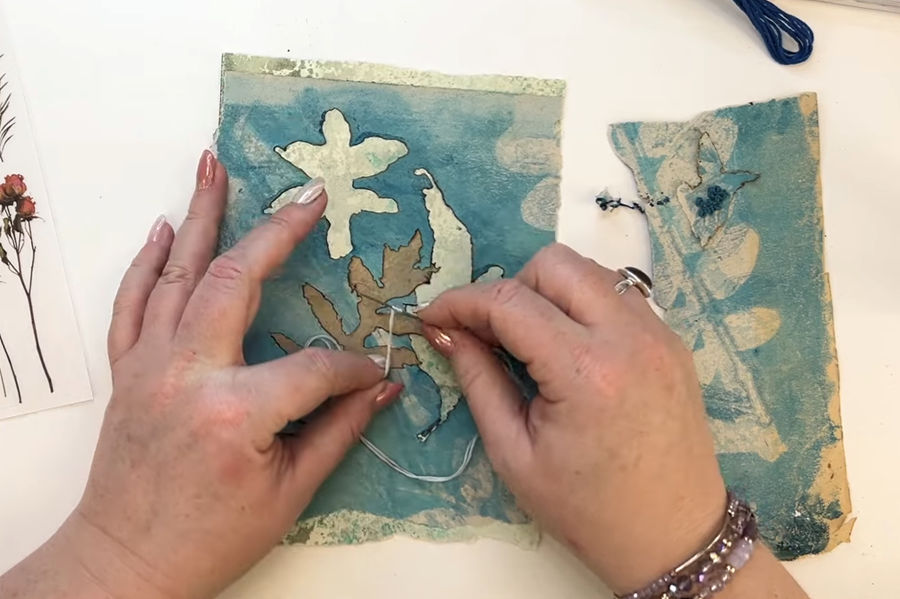
My plan is to stitch some French knots onto the page.
A French knot is a type of embroidery stitch that creates a small, raised dot. It adds a lovely textural detail to your work - perfect for little accents or clustered patterns.
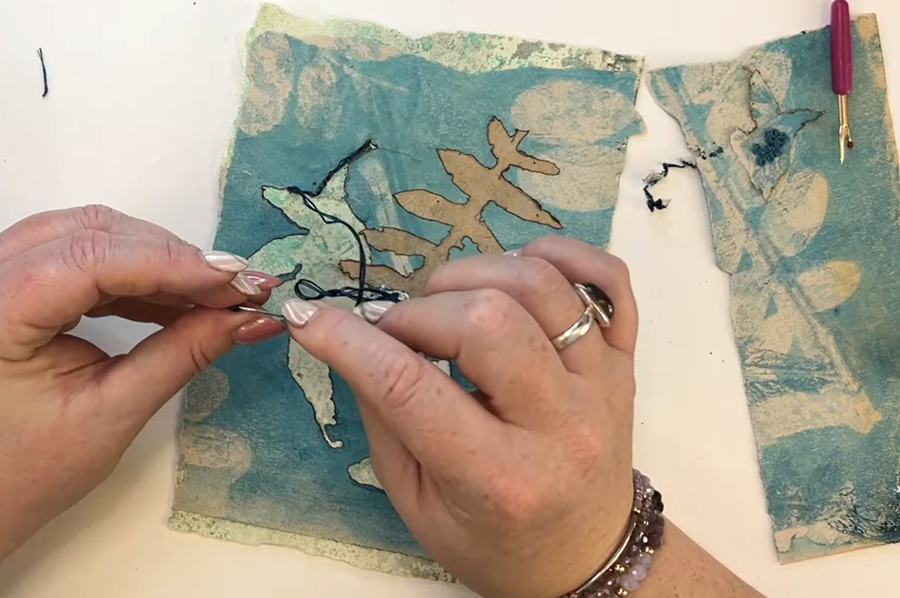
I use my needle threader (which is absolutely essential if you're like me and needing to wear glasses!)
Once the needle is threaded, I double the thread up and tie a neat knot at the end.
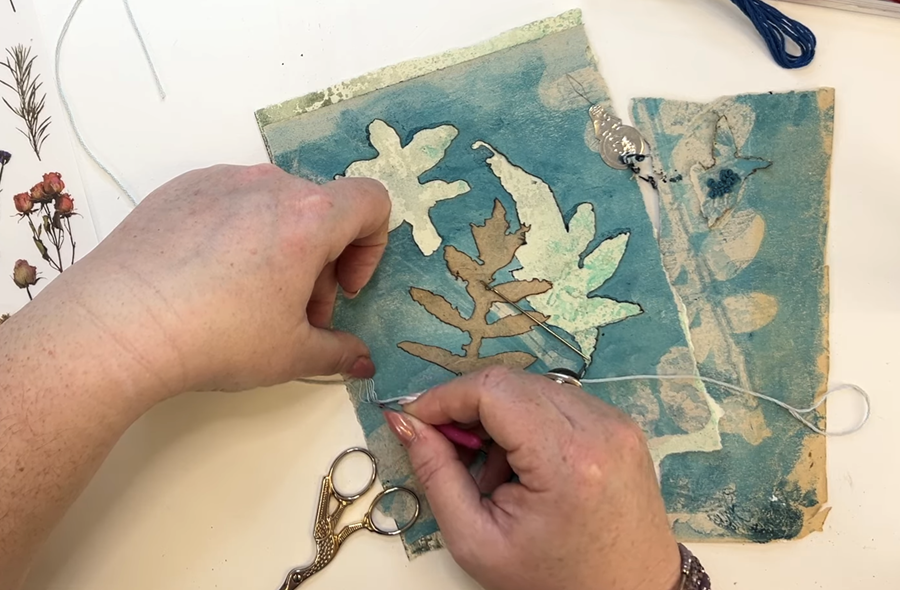
Next, I gently insert the needle from the back of the page and pull the thread through.
Holding the threat taut, I twist it twice around the needle.
Then, with the thread still taut, I push the needle back down into the paper, just beside where it came up.
Keep a little tension on the thread as you pull it through - and there's your French knot!
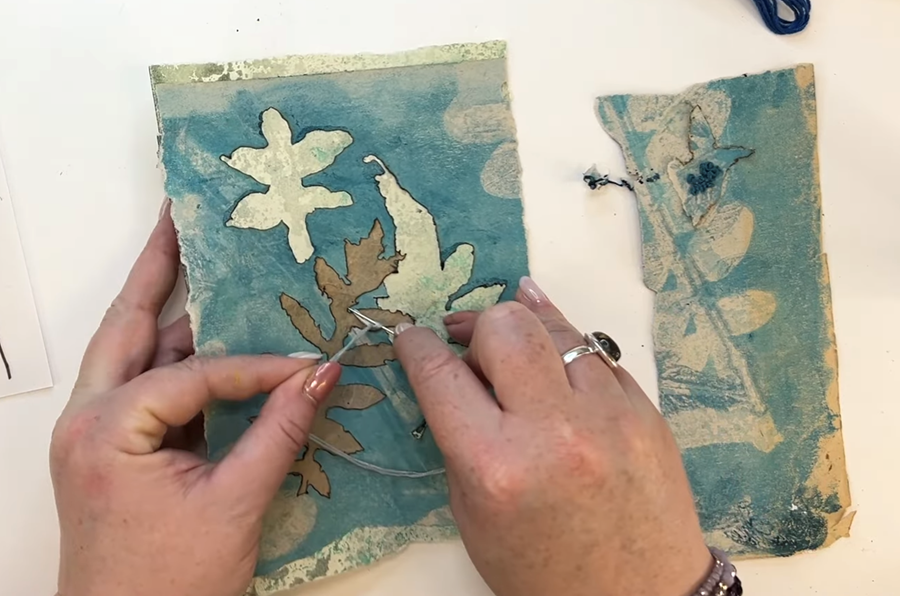
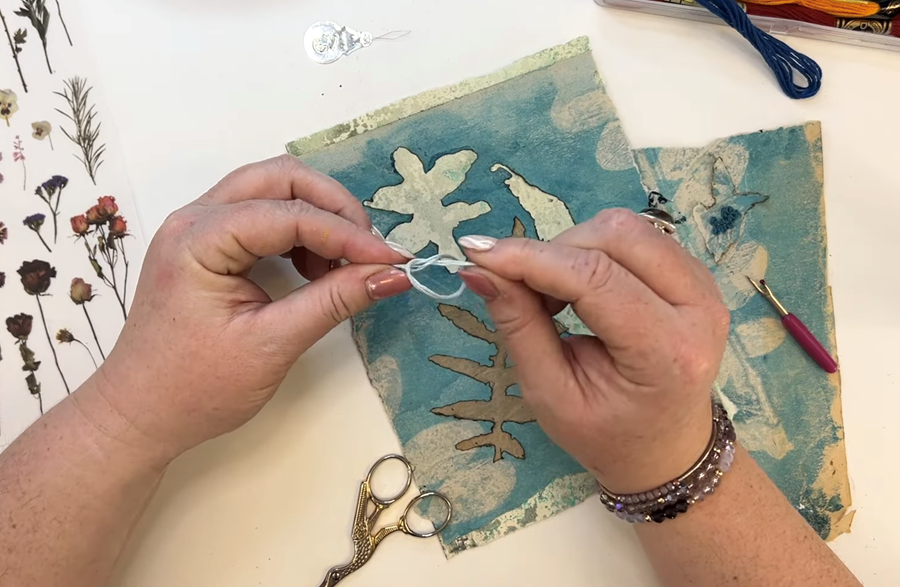
Repeat the steps again 2 more times, creating another French knot right next to the first one, until you have 3.
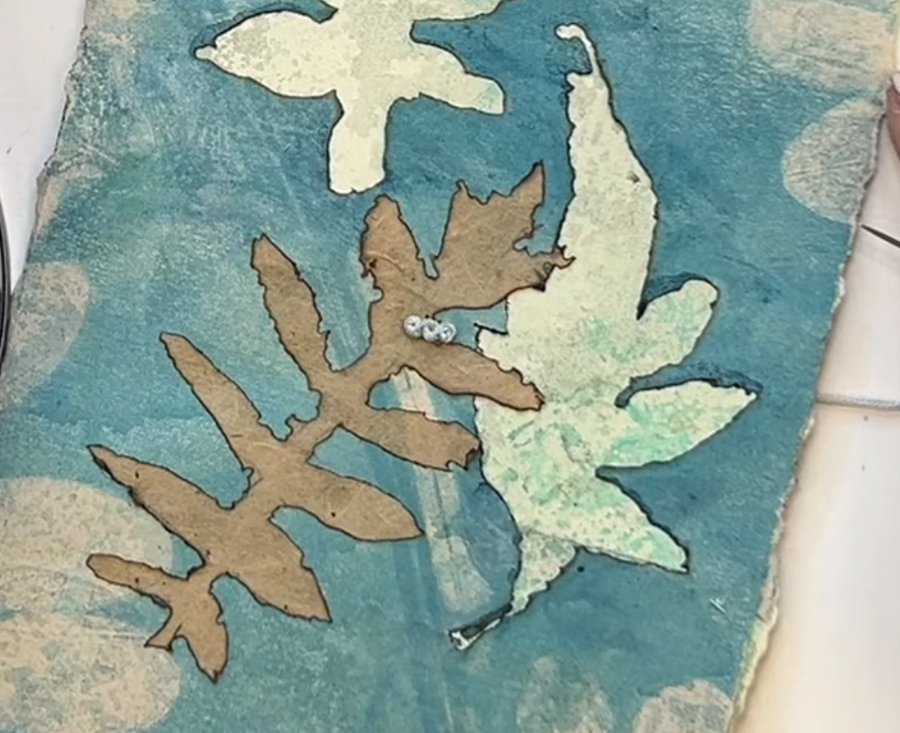
Push the needle through the back one more time, next to your third knot. Then, thread a bead onto the needle before pulling it back through the page.
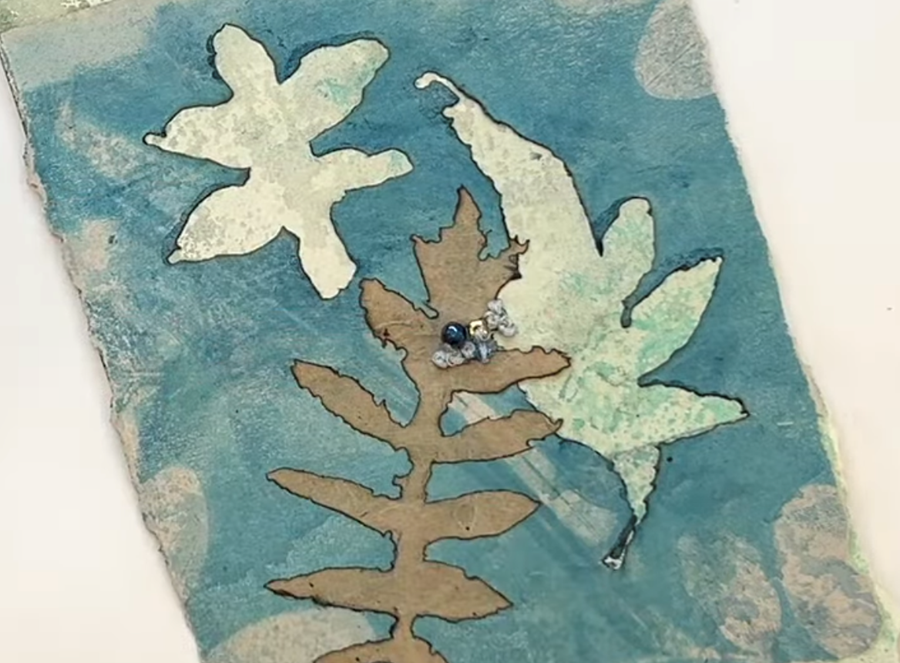
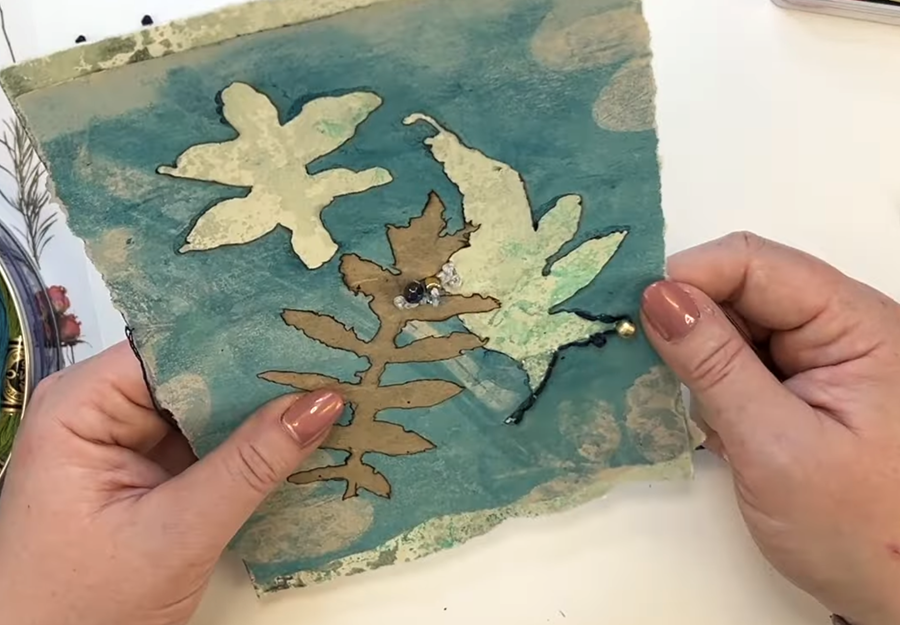
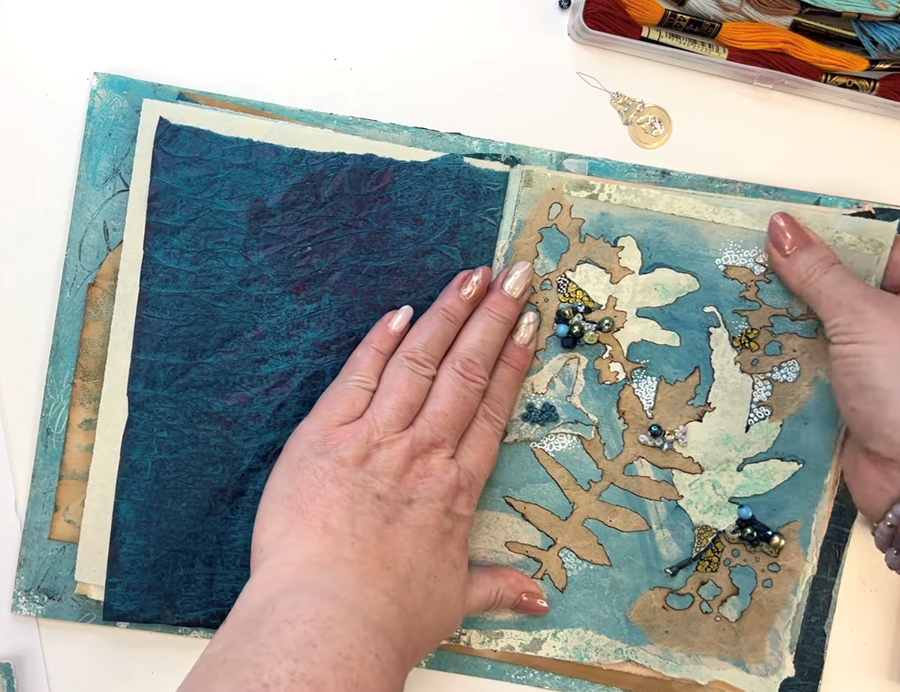
I repeat this a few times, adding more French knots mixed with blue, silver, and glass beads until I'm happy with how the design looks.
Next, I switch to a dark blue thread, which I think complements the colours in the design really nicely.
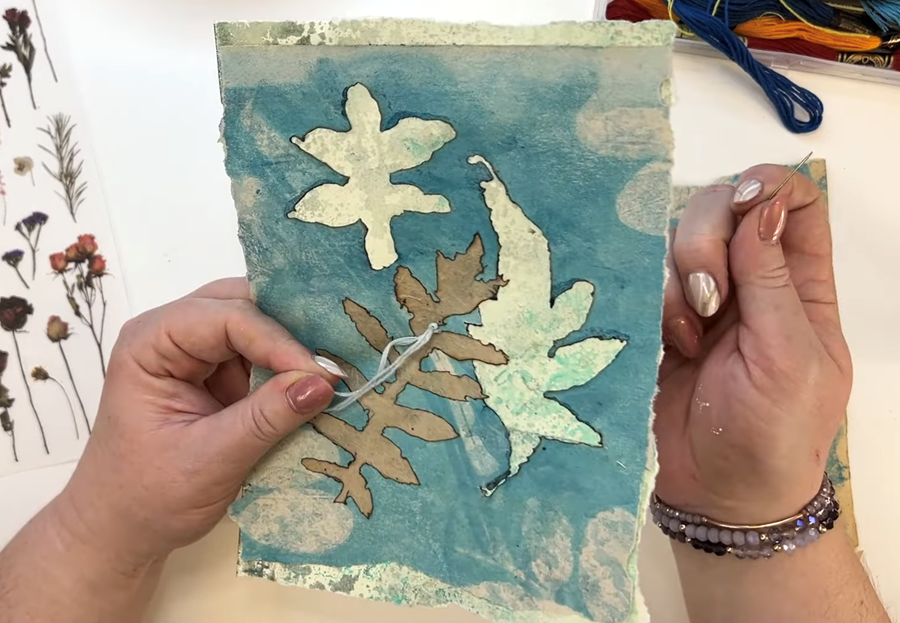
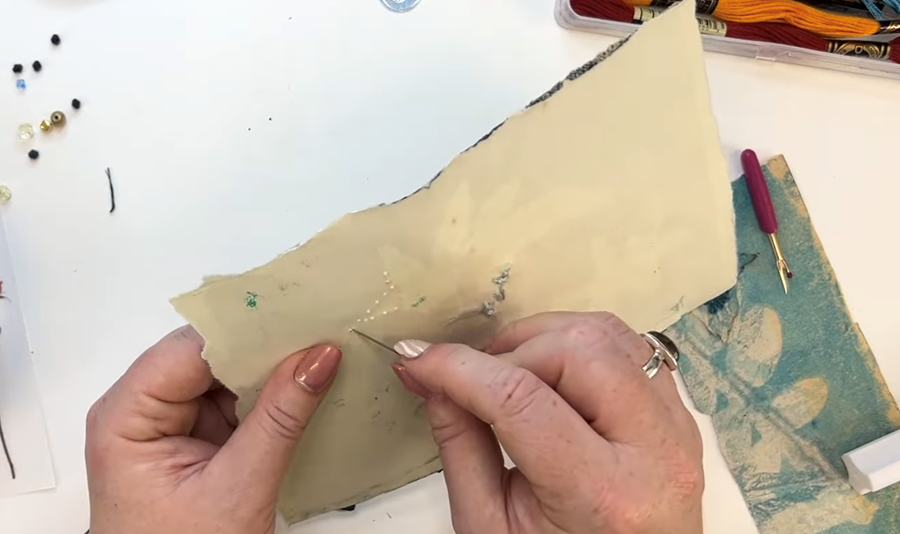
TIP: If freehand stitching feels a bit daunting, you can pre-punch holes along the edges of your design with a needle or a pin. Start on the front, then flip the page over to check that the holes are clear and open. This way you can see where the holes are as you stitch - it makes it a bit easier to get started.

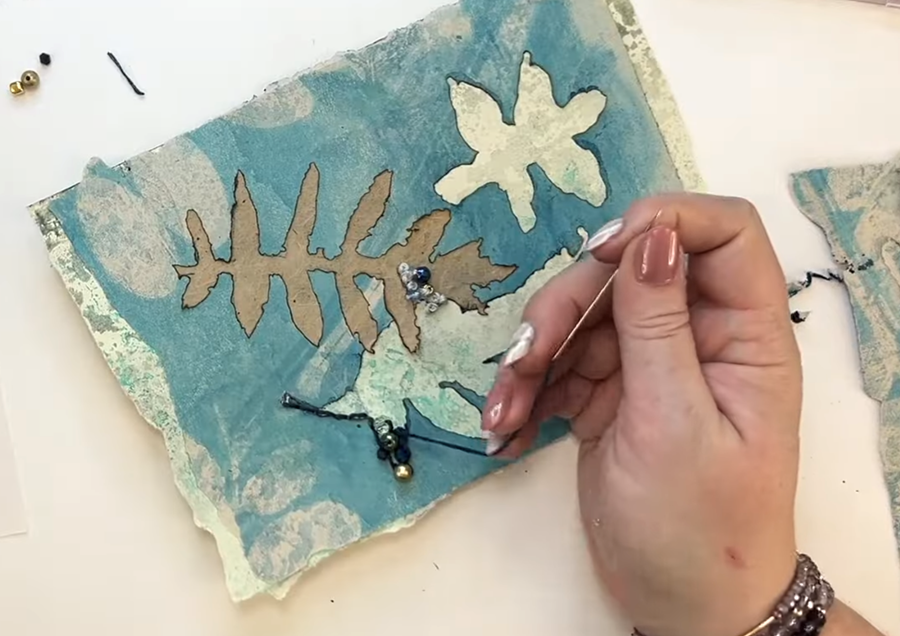
Next, I continue stitching with my dark blue thread using a backstitch.
A backstitch involves bringing the needle up from the back, then inserting it a stitch length ahead, slightly overlapping the previous stitch. This creates a continuous, solid line.
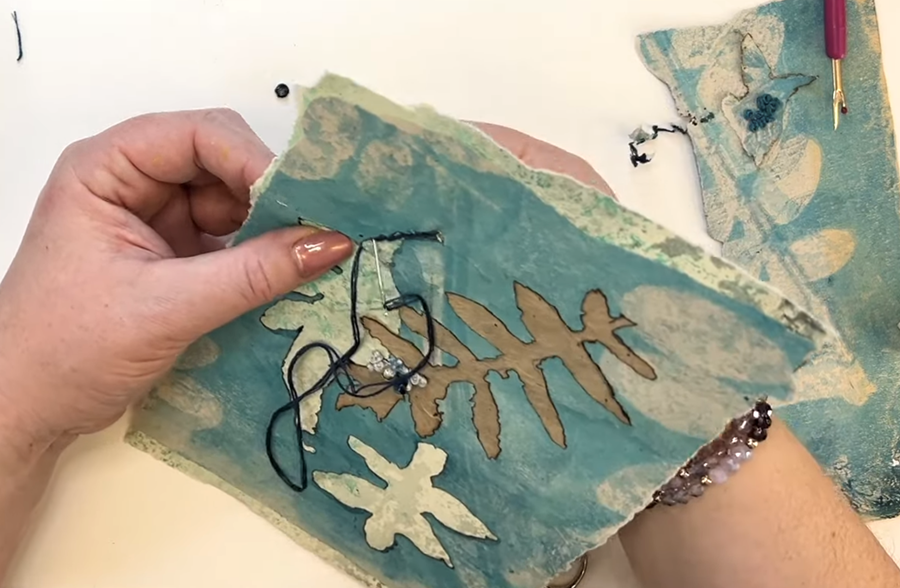
Once I have a line down, it's time to add some beads into the stitches.
I start with a navy bead and gold bauble, before adding a few more French knots and beads.
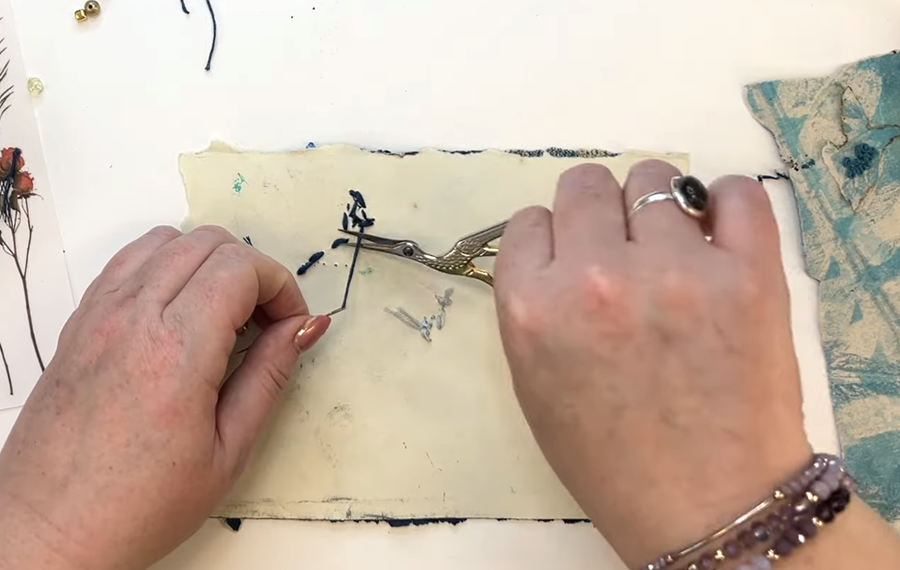
Once I'm happy with my stitching, I turn the page over, knot the back securely, and snip the thread neatly.
Final Embellishments
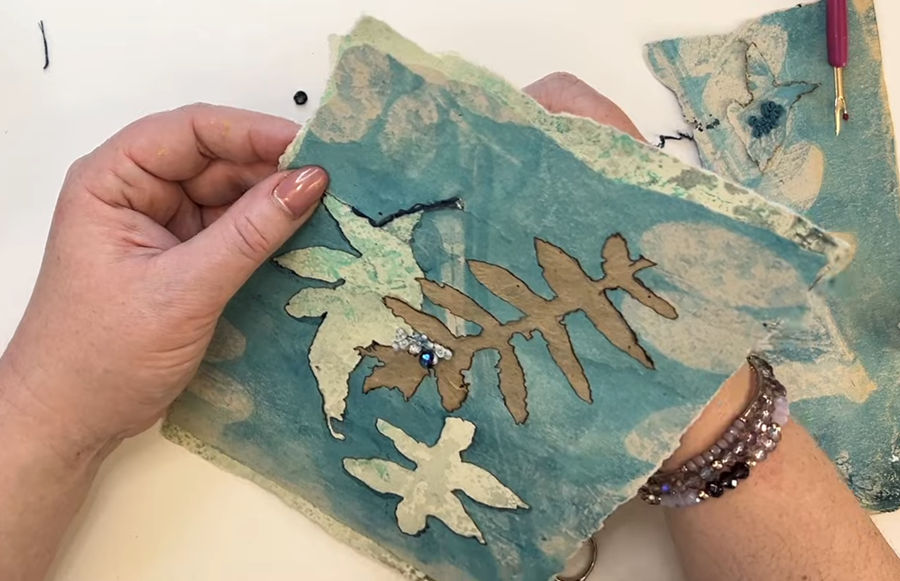
Next, I carefully tear a leaf shape with similar blue tones and place it down on the page - this is a lovely way to add subtle layers, texture, and interest.
I repeat this with a piece of burned paper from Step 2, but this time, I tear it into 3 smaller pieces. I move them around on the page until the composition feels balanced.
Once I'm happy with the placement, I use my glue stick to adhere them.
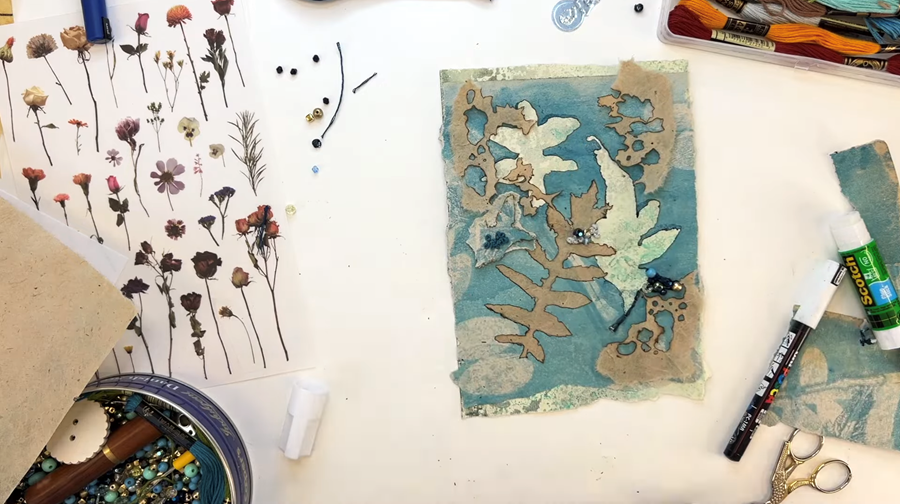
I carry on adding stitches and beads around some of the burned paper pieces, before deciding what direction to take next.
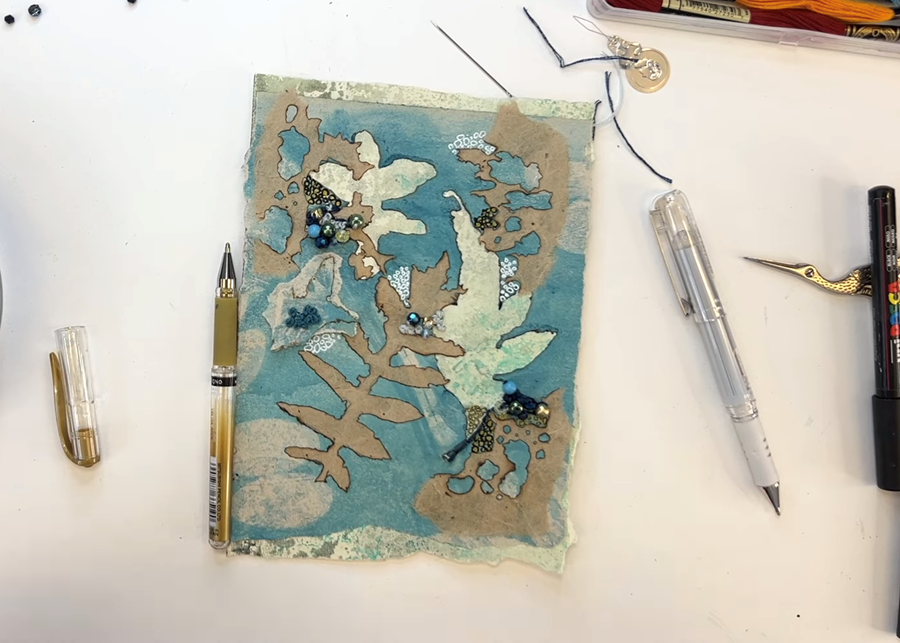
I decide to add a bit of paint work with my white and gold gel pens, drawing tiny circles, dots, and organic shapes that echo the patterns in the burned paper.
To add a little contrast, I outline some of the shapes in black acrylic paint pen.
At this stage, the page feels rich with texture and detail - a lovely mix of stitching, layered paper, beads and pen work!
Attaching the Page
Once the page feels complete, it’s time to place it into the book.
I apply a thin, even layer of glue with my glue stick to both the base layer in the book and the back of my finished page. Then, I gently press the page down with my hands, taking care around the beads and stitching to ensure the edges are properly adhered.
This step always feels so satisfying - seeing your finished piece become part of the journal.
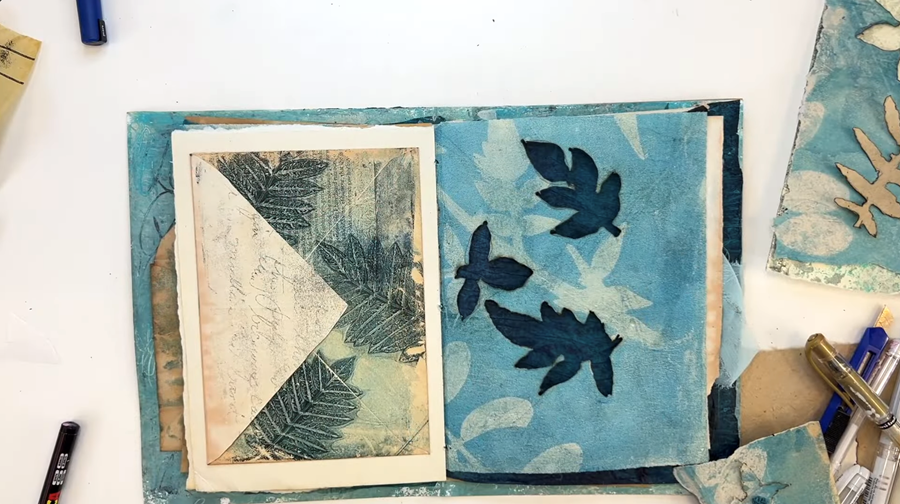
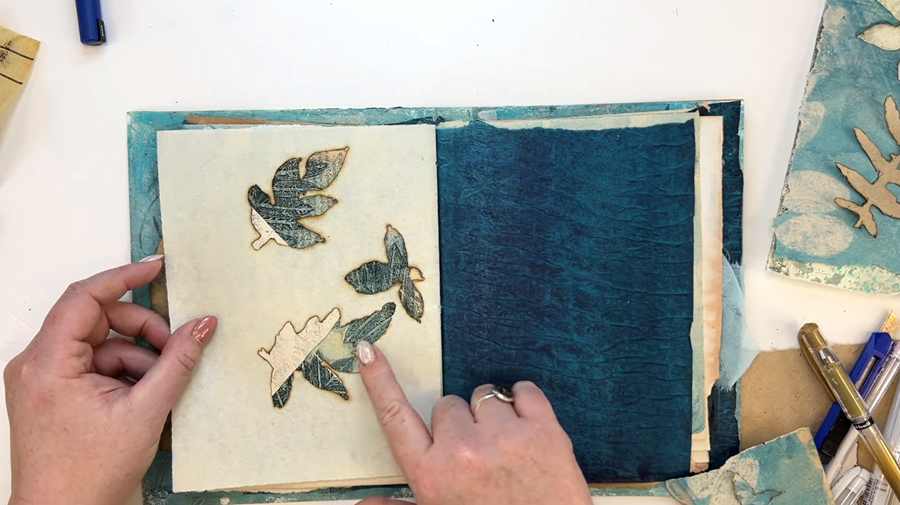
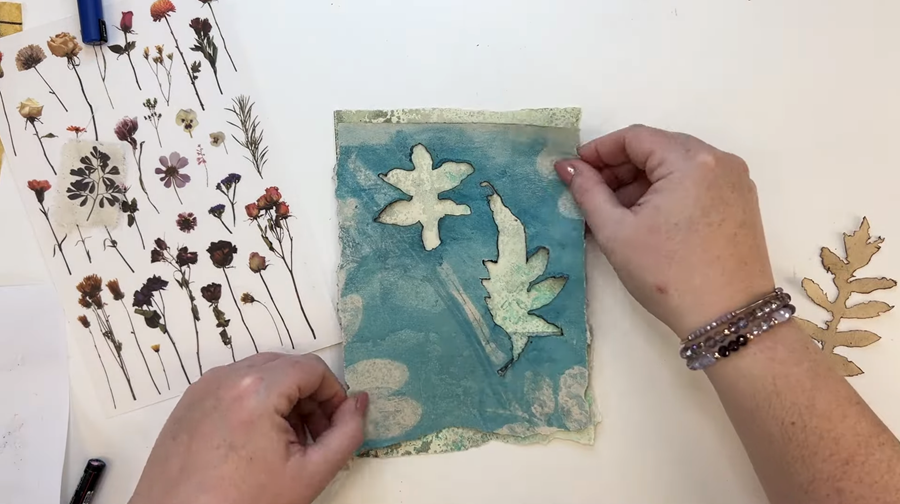
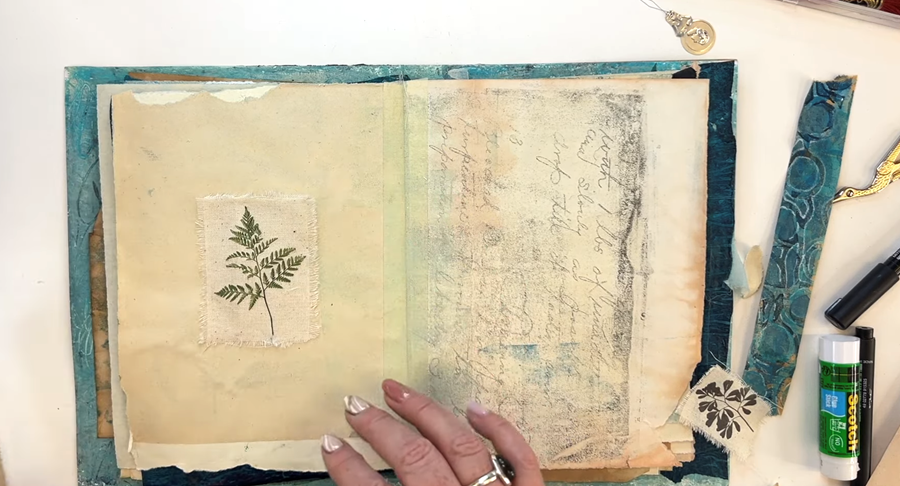
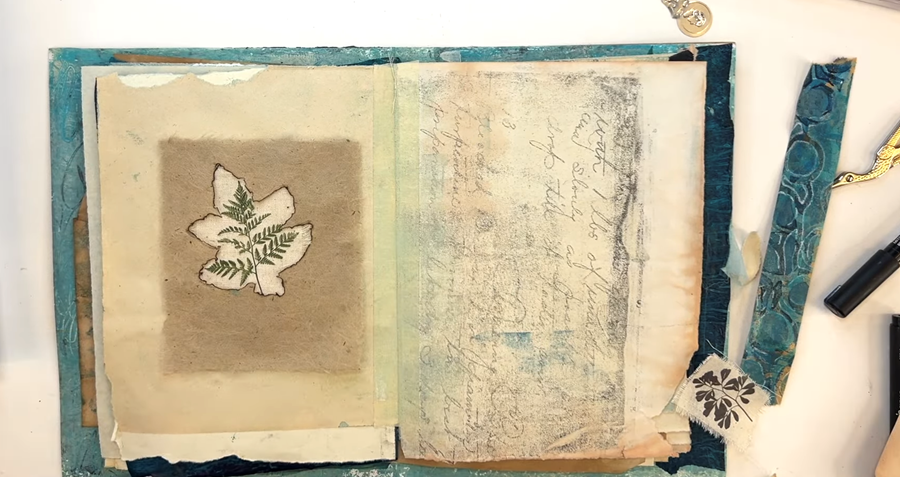
Framing the Leaf Print
For this next page, I'm keeping things quite simple. I've got this little leaf transfer that I rubbed onto a piece of fabric, and I think it will look lovely framed by this leaf cut-out.
It's a simple composition, just to finish off this part of the project.
And there we go - that's the end of this section of the handmade journal!
This was a real joy to create. I love adding these little stitches and beads - I hope it's inspired you to try some stitching and beadwork in your own journal pages.
My journal is starting to get really chunky, with lots of layers and textures and bits hanging out - it's just delicious. I can't wait to keep building it up and adding more interest.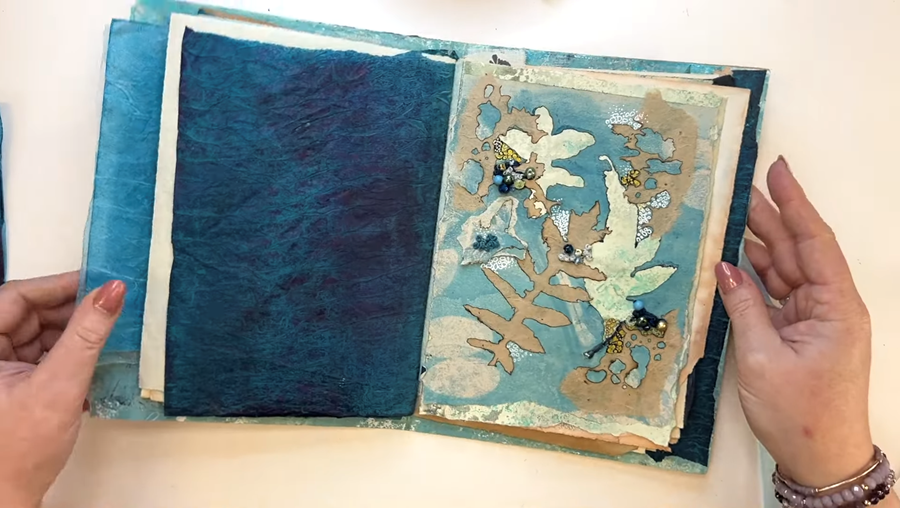
Join me for Part 4, where I'll share a few more mixed media techniques - including Gelli printing on gum strip, and creative ways to use recycled tea bags with transfers and delicate paintwork.
Be sure to sign up for my newsletter so you never miss a new tutorial. I also offer a FREE course called The Essence of Landscape, where I teach how to turn your prints into finished paintings.
Until then, happy printing!
Susan
We hate SPAM. We will never sell your information, for any reason.