How to Use a Gelli Plate
Dec 03, 2025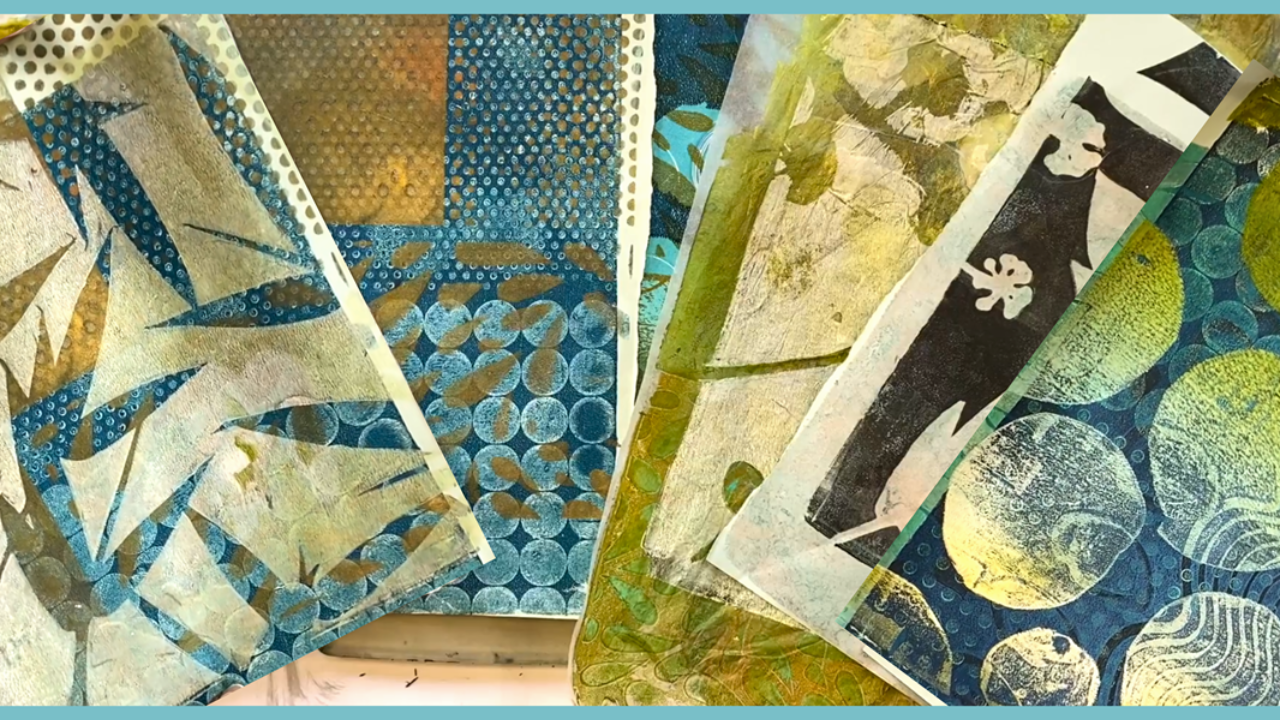
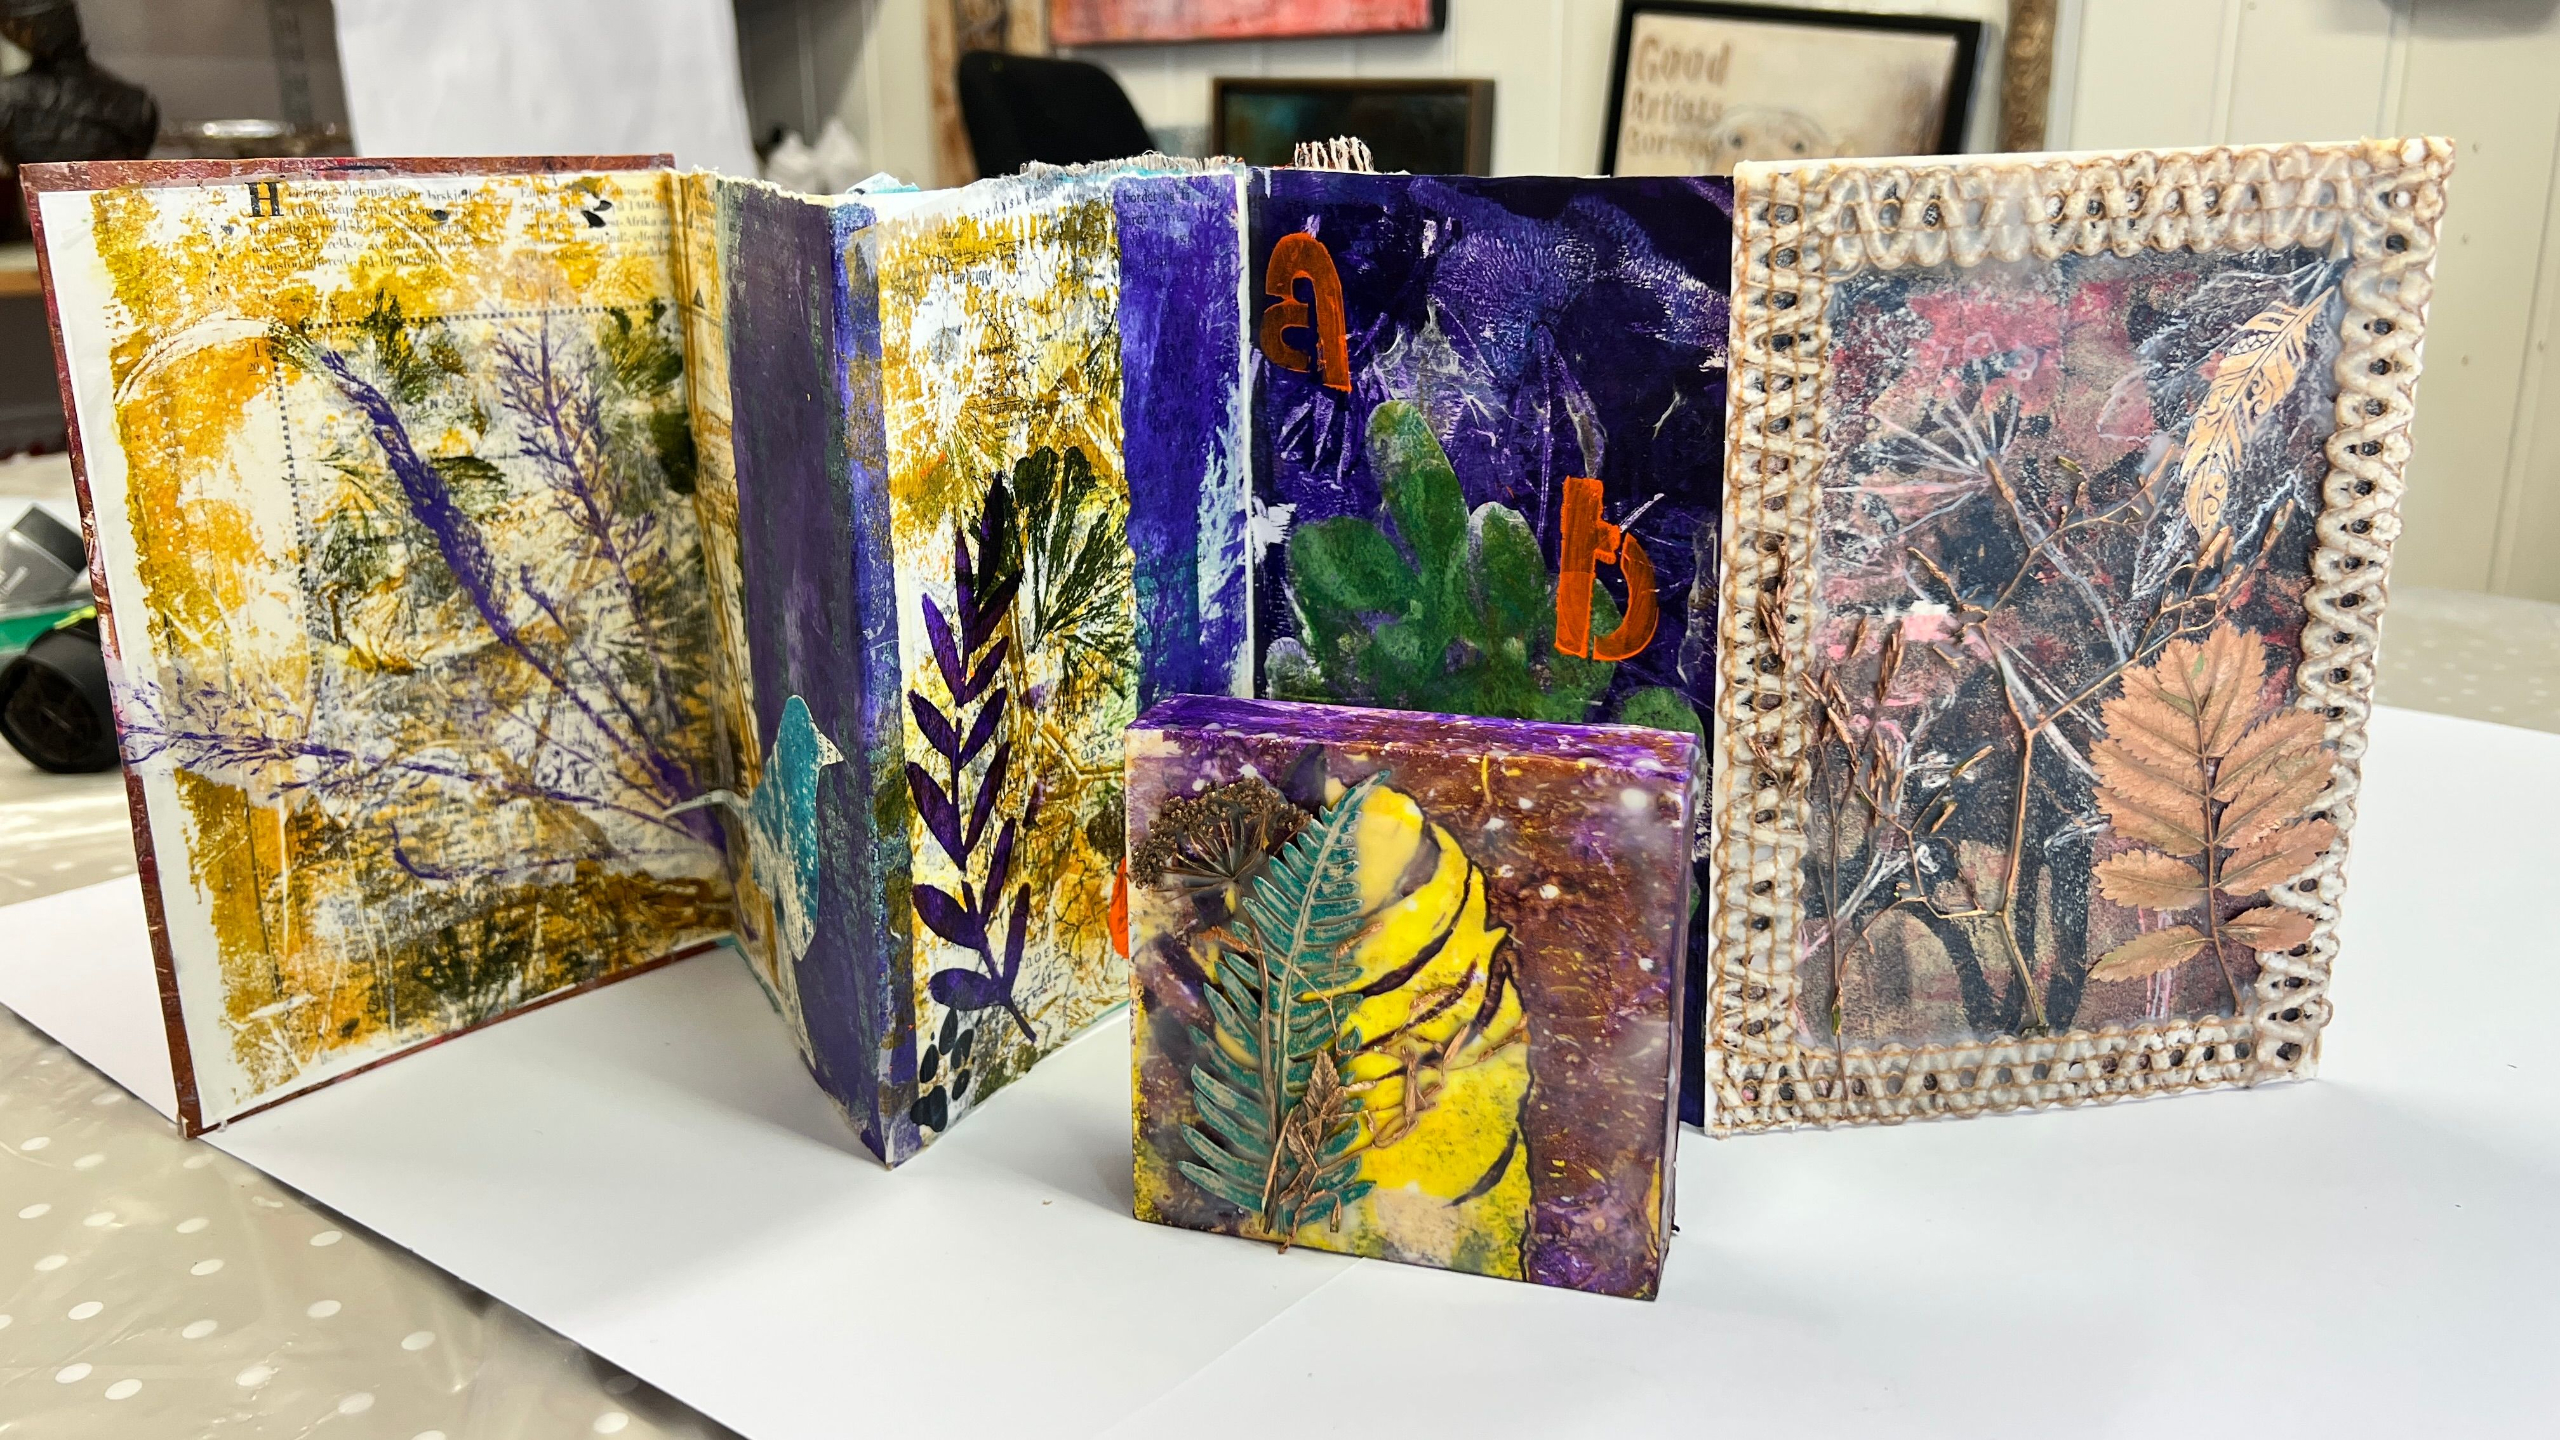
3 Easy Techniques For Collage Papers
In this tutorial, I’ll be walking you through 3 popular techniques for creating stunning collage papers from start to finish using a Gelli Plate. These are the very same methods I teach in my in-person workshops:
- Textured Prints using mark-making tools
- Botanical Prints using leaf impressions
- Image Transfers using magazine pages
In this video, I’ll share my favourite supplies, from the best papers and paints to essential mark-making tools. Plus, I’ll offer valuable tips like how to create two (or even three) prints with just one roll of paint, and the most effective way to clean your Gelli plate.
Whether you're just starting out with a Gelli Plate and need simple techniques or looking for new inspiration to improve your printmaking skills, you’re in the right place!
Let’s get started.
Materials You’ll Need:
Gel plate:
For this video, I’m working with an 8 x 10 Gelli plate, which is a great all-around size for a variety of prints.
Paint:
Acrylic paint works best with gel plates. While most types will do, I recommend medium body student-grade paints such as Daler Rowney’s Graduate line, Amsterdam, or Pebeo Studio acrylics. More recently I've tried Golden Open Acrylics and I have to say they are worth the investment. It’s a bit of trial and error – some paints pull images better than others, so experiment to find what works for you.
In this video, I’ll be using the following colours: indigo blue, iridescent blue-green, black, Payne’s Grey, white, and yellow.
Paper:
I’m using a mix of papers in this video, including regular copy paper, wet-strength tissue paper (fantastic for collage work), newsprint, and Japanese paper. Tip: When working with delicate papers like Japanese paper, move quickly before the paint dries. Otherwise, the paper might tear or stick to the gel plate.
Brayer:
A brayer is a rubber roller used in printmaking. While you can manage with one, it’s handy to have two—one for applying paint and a clean one for smoothing over the paper.
Print making materials:
You’ll need household objects for making patterns, botanical materials, and high-quality magazine pages. I’ll go into more detail on each in the following sections.
Please note: As an Amazon Associate, I earn from qualifying purchases.
Textured Prints
For this technique, we’ll be adding texture directly into the wet paint after it’s rolled out on the Gelli plate. One of my favourite places to find useful, interesting objects is the local hardware store, but you can also use household items to create interesting shapes. Whatever object you use, just be careful it's not sharp enough to damage the gel plate.
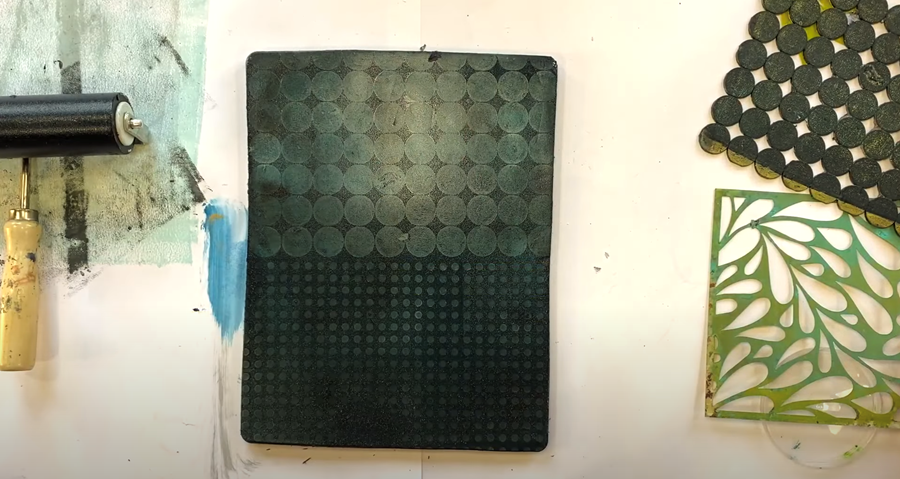
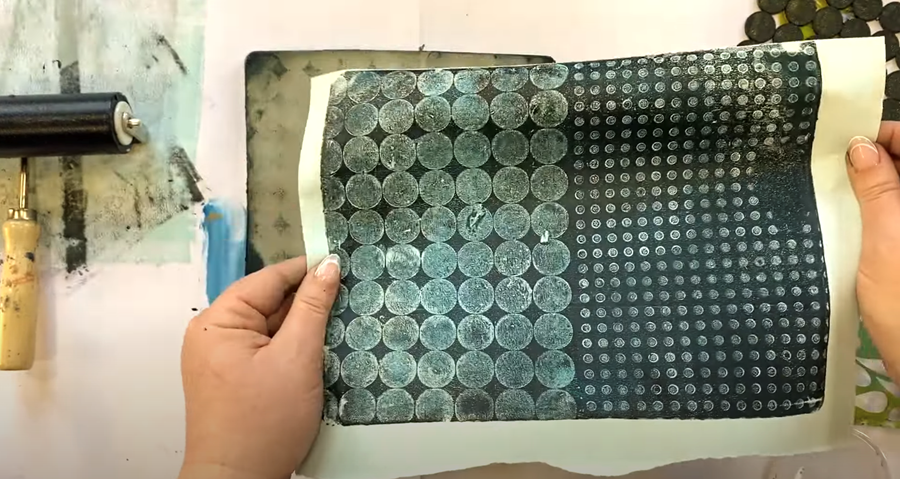
In this video, I’ll be using a plastic kitchen sink mat, a comb, some silicone tools, and a paper stencil to show you how simple it can be to make texture and patterns in your prints.
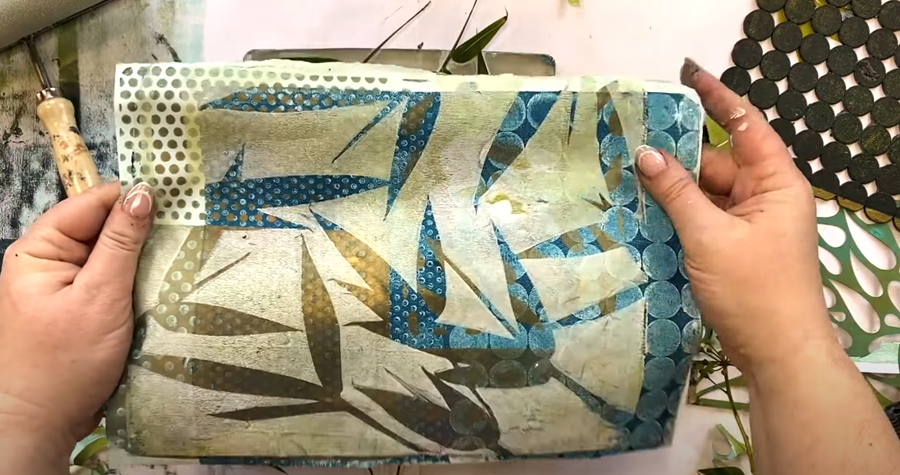
Step 1: Imprinting A Pattern
Apply a small amount of indigo blue paint and roll it evenly onto the Gelli plate. You want to aim for a smooth layer—neither too thick nor too thin—just enough to cover the plate. Use the brayer in smooth, long strokes to achieve a uniform layer—lifting the brayer off the plate with each stroke for the best result, rather than rolling back and forth like you would if painting a wall.
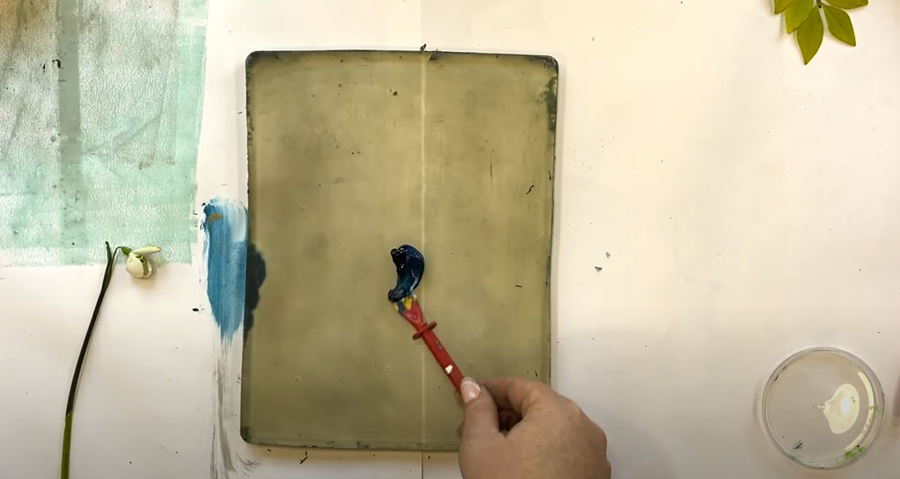
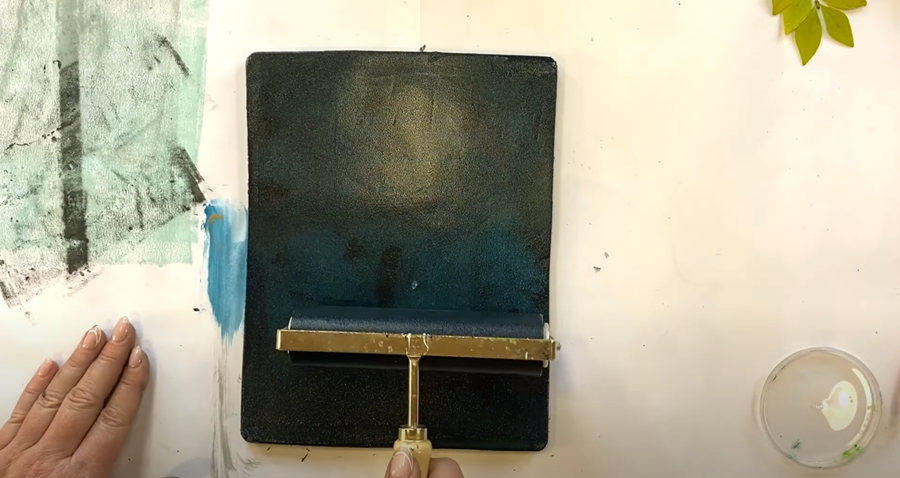
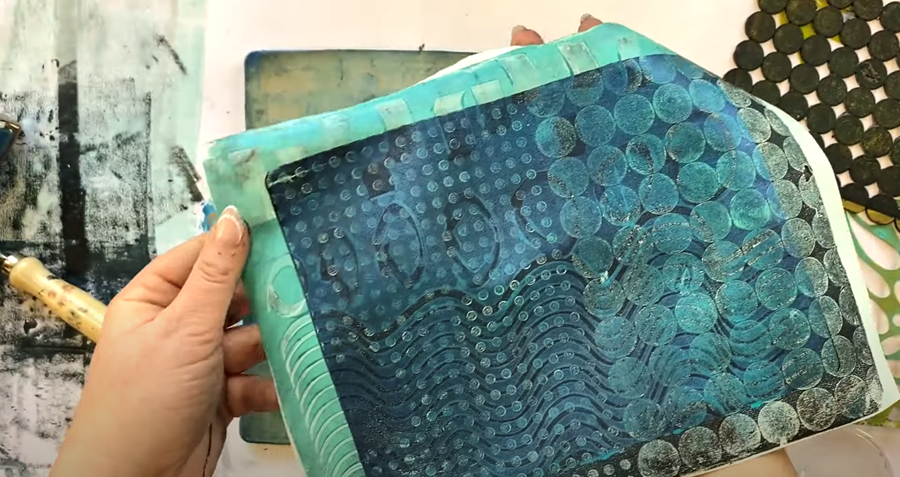
Now, take the object of your choice (I’m using a couple of kitchen sink mats for this one) and press it firmly into the paint-covered plate to create your pattern.
You can press down with your hands, or run a clean brayer over the top of the object to really apply some pressure. This will help to get a crisp, detailed imprint. Then, carefully remove the object to reveal the pattern underneath.

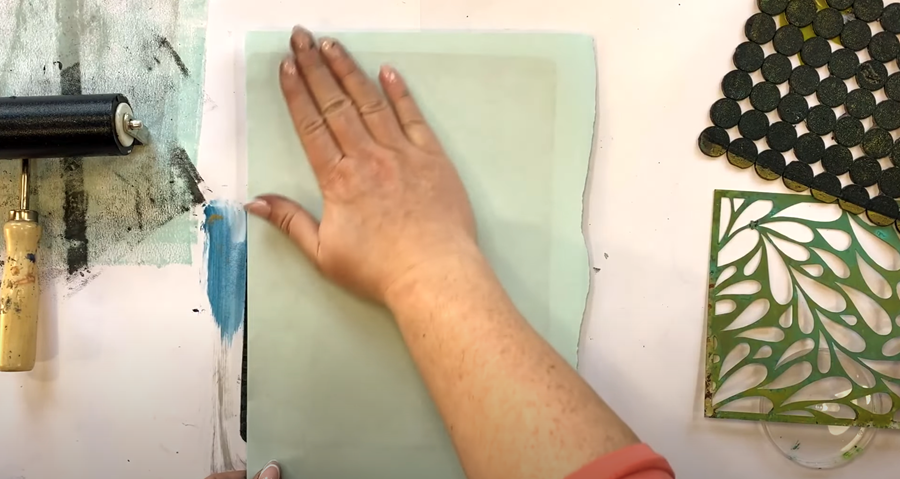
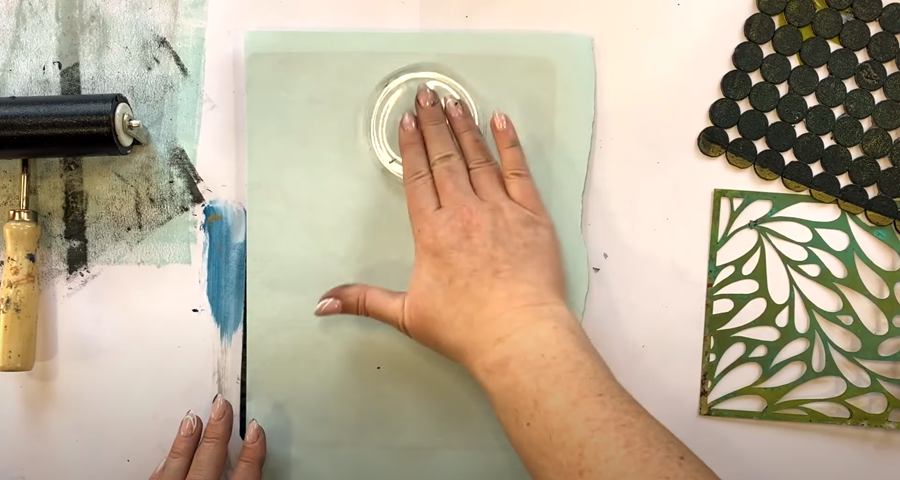
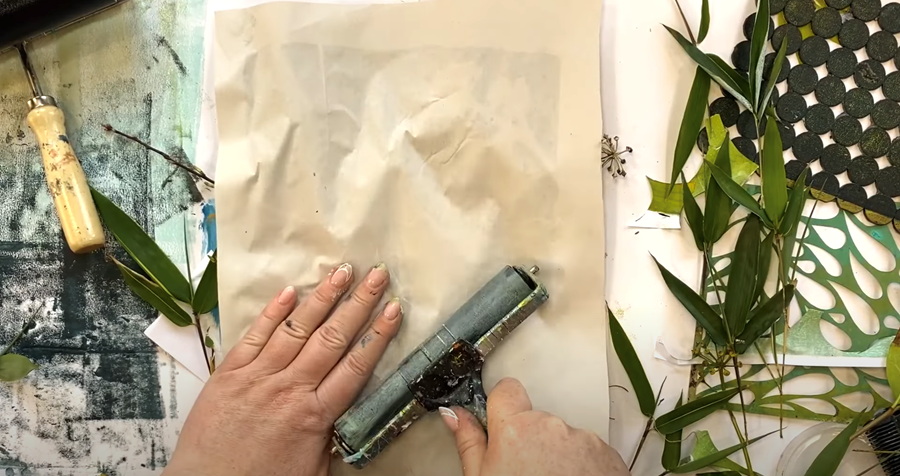
Next, place a clean sheet of copy paper on top of the plate. Gently smooth it out, either using your hand or something flat like the lid of a food container to ensure the paper makes full contact with the paint.
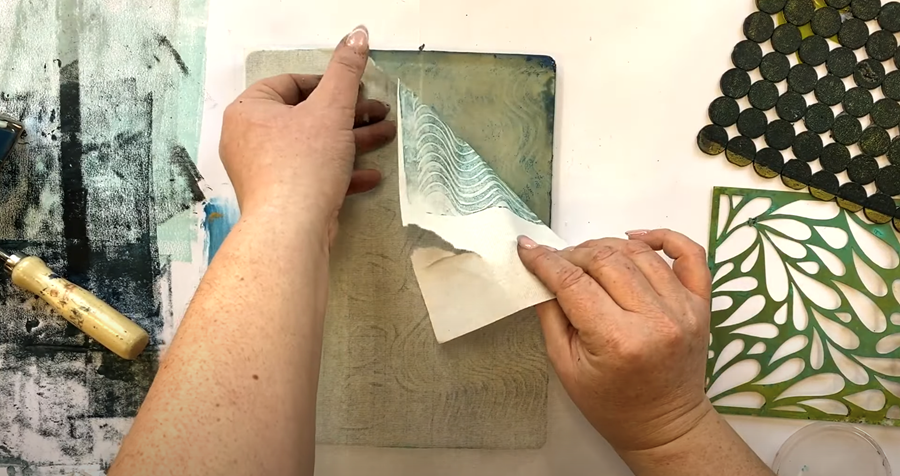
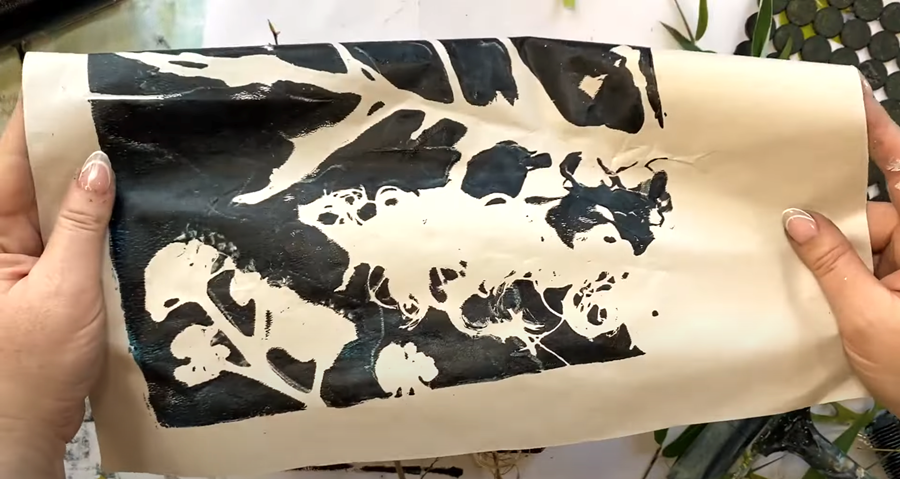
Carefully lift the paper off - and there’s your first print!
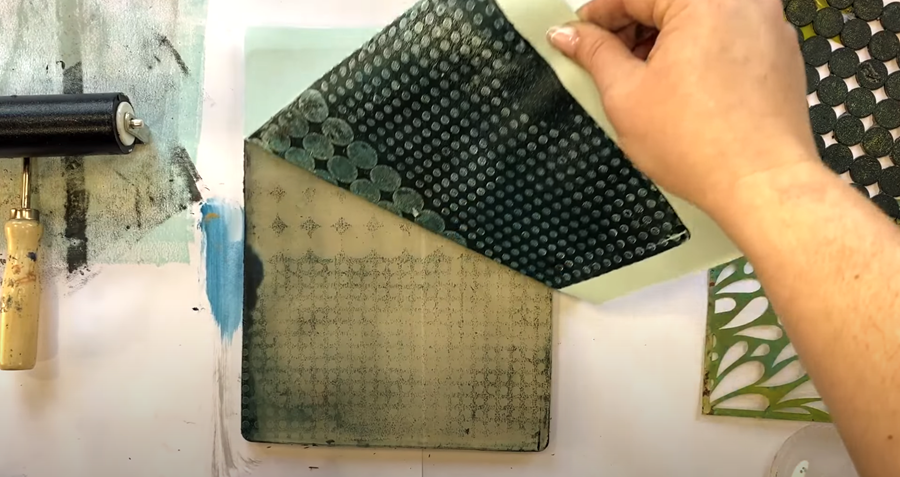
There’s usually a bit of leftover ink still on the plate, and we’re not going to let that go to waste! You can use a fresh piece of paper to lift off that remaining ink, but I prefer to layer it on top of an existing print for added depth and texture. Tip: This method is known as a “ghost print” and it also helps to give the Gelli plate a quick clean before moving on to the next design!

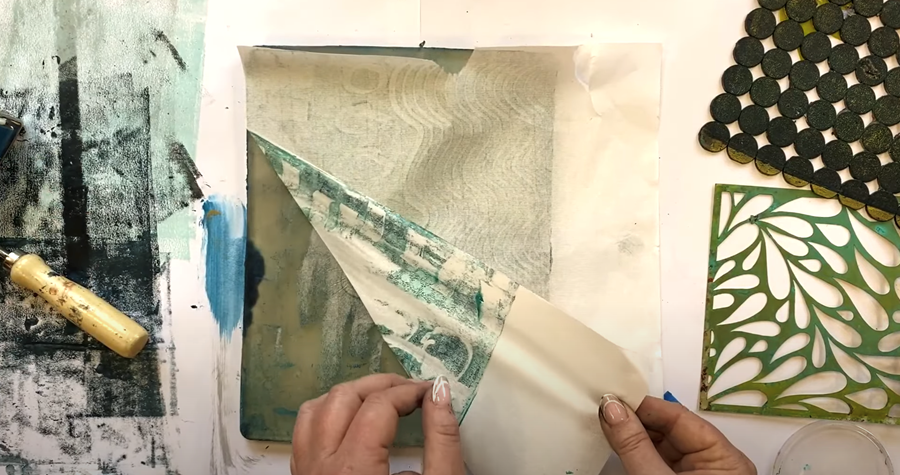
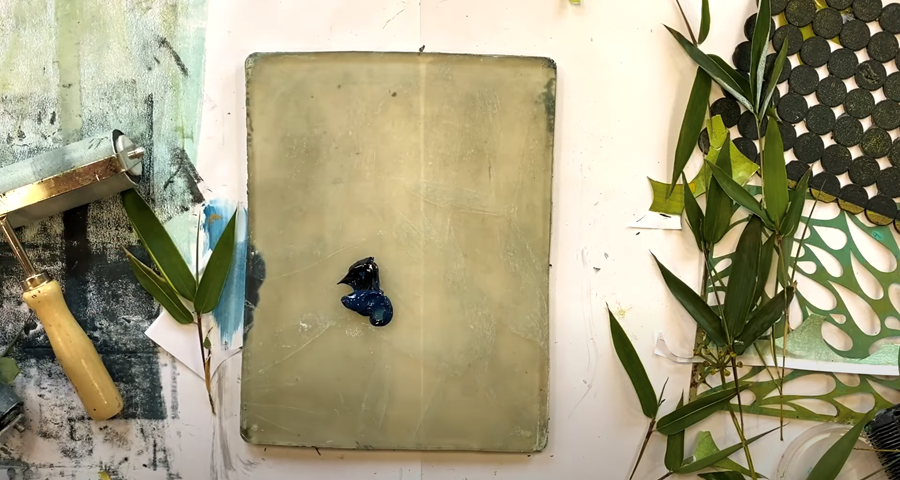
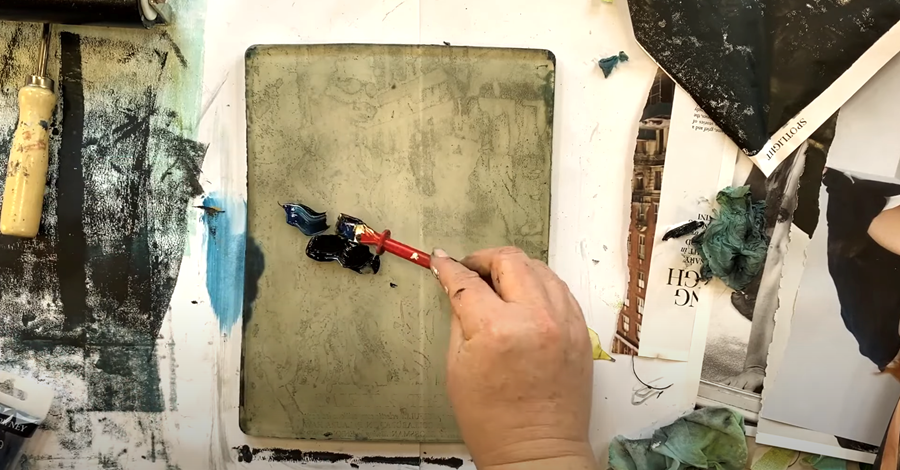
Step 2: Mark Making Tools
Dab a small amount of iridescent blue/green paint onto the gel plate. Use a fresh roller or, if you’re reusing one, give it a clean by rolling it on a scrap piece of paper you keep handy on your work surface. Tip: You can turn this scrap paper into a collage later!
Using the roll and lift technique, roll out a smooth, even layer of paint accross the gel plate.
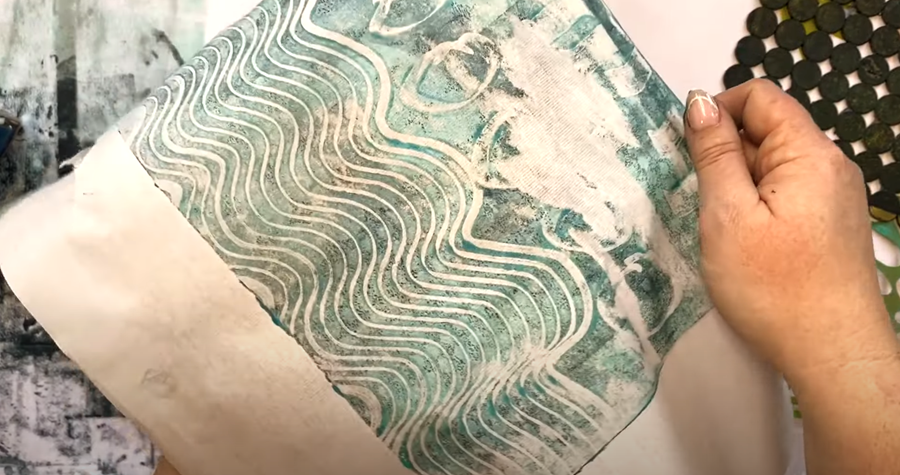
Have a bit of fun with different mark-making tools to create various impressions. For instance, I used a comb for squiggly lines and a couple of silicone tools for circles and dash shapes.
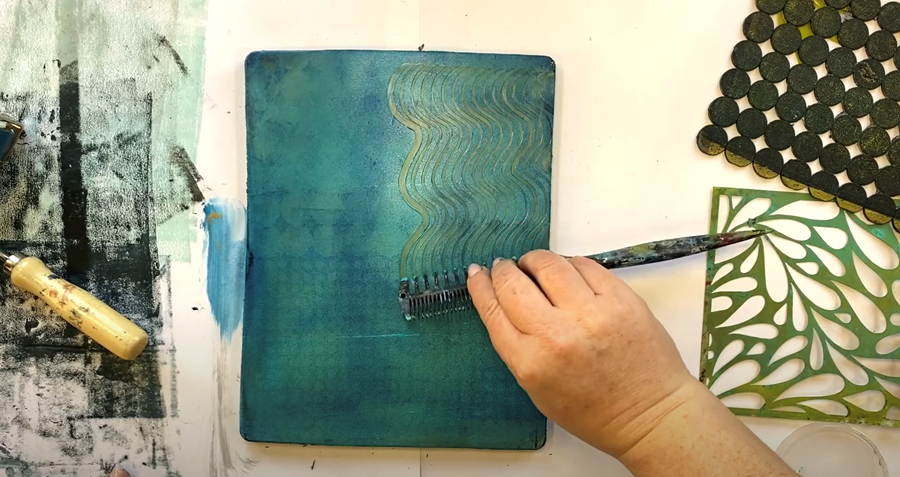
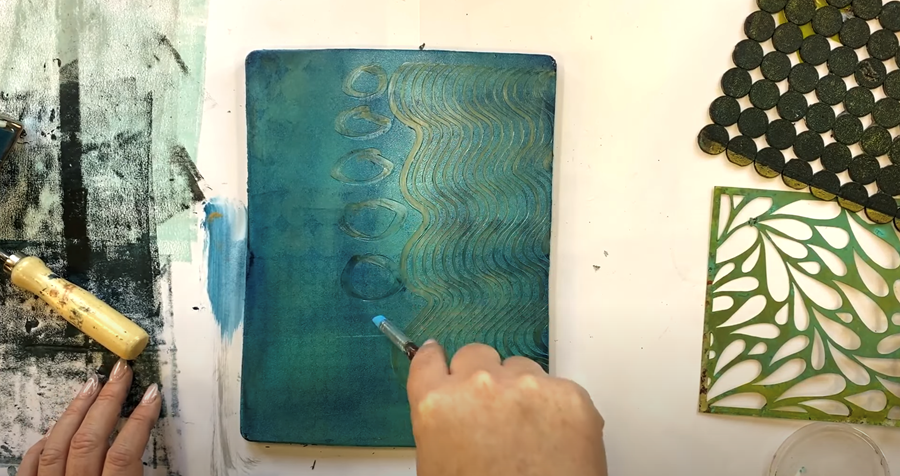
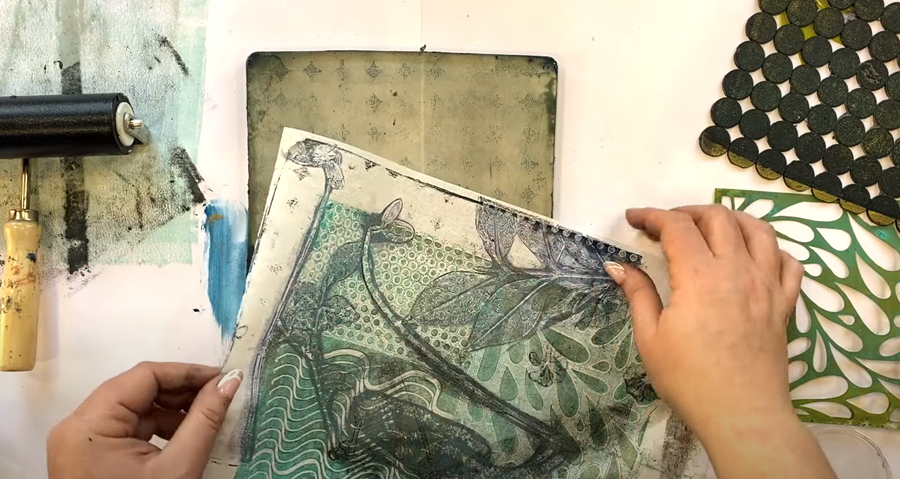
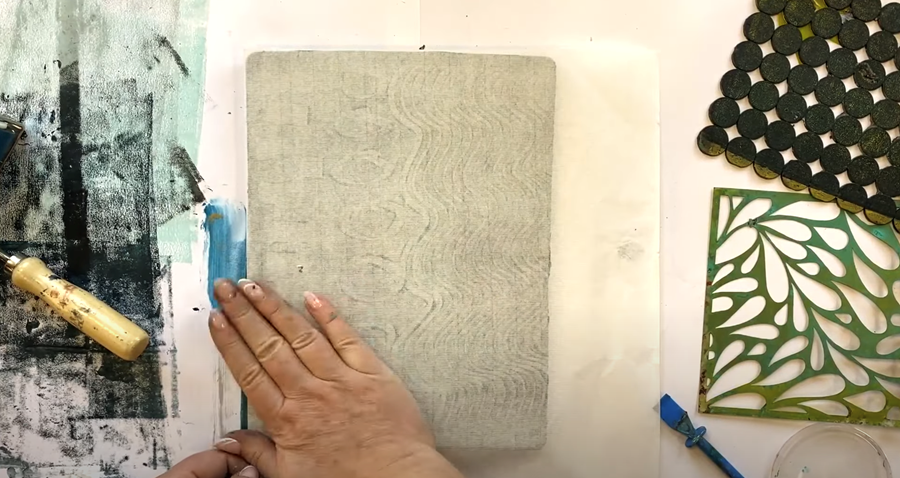
Now, take the print you created in step 1 and carefully place it over the gel plate, positioning it slightly off centre to give an interesting, asymmetrical effect.
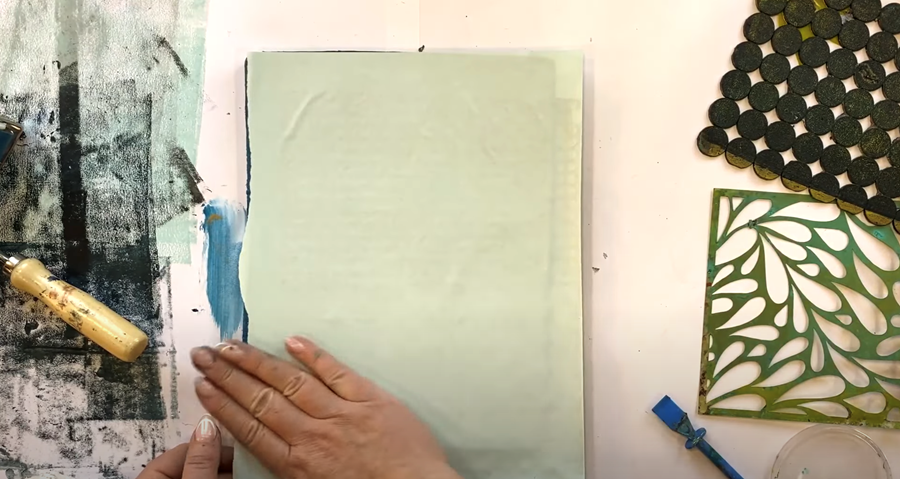
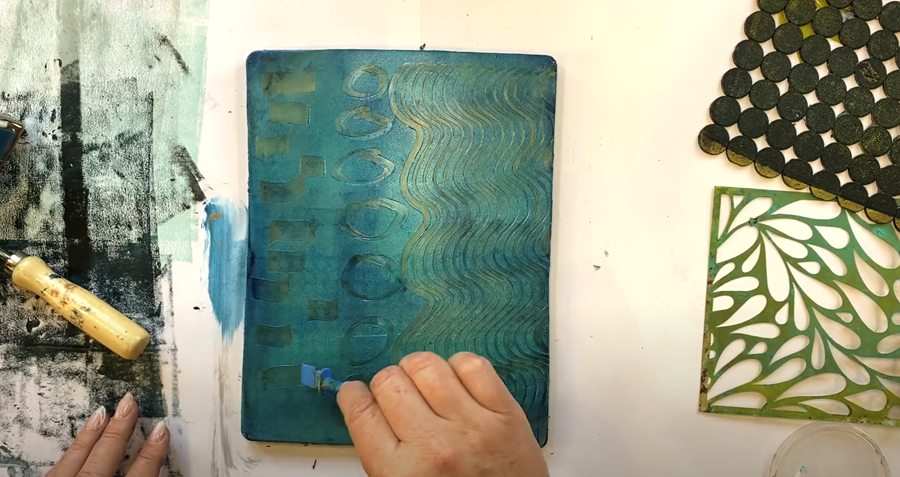
Don’t forget to pick up the leftover ink on the gel plate with another sheet of paper. This time, I’m using a fresh sheet of textured Japanese paper.
When working with delicate papers like this, be gentle to avoid tearing. If the paint is a bit dry, it might rip the paper, but not to worry—there are usually areas in the print that can still be used in a collage.
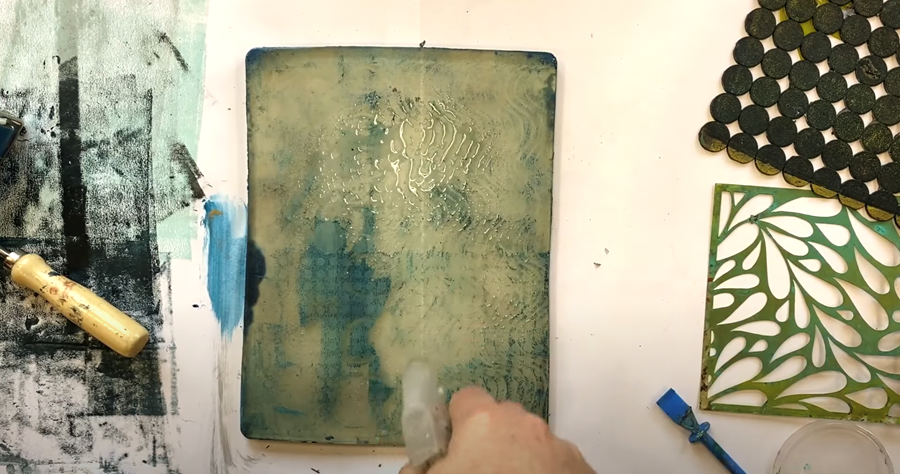
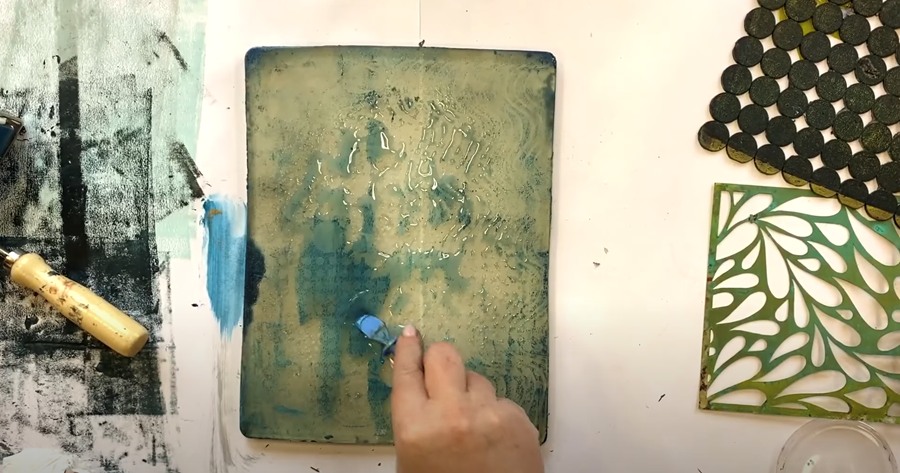
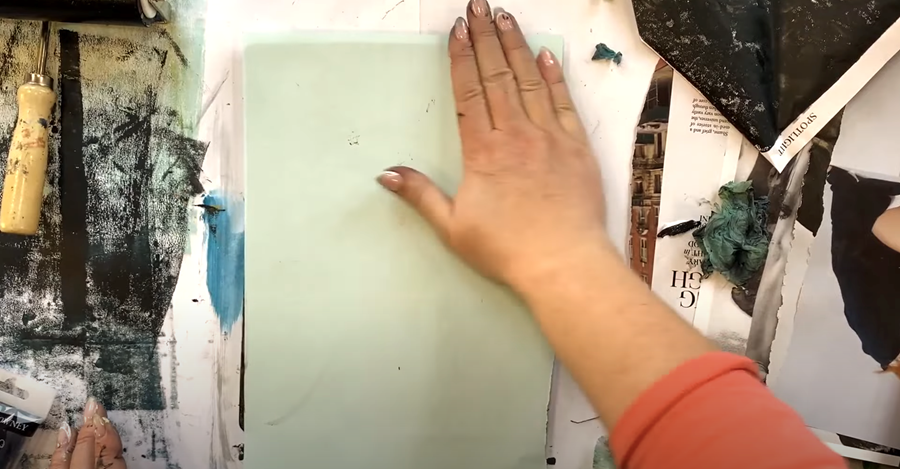
If you find any paper stuck to the Gelli plate, spritz it with water from a spray bottle and use a silicone tool to gently scrape off the stubborn bits. Wipe away the wet residue with a paper towel until the plate is clean. Make sure the gel plate is completely dry before applying another layer of paint.
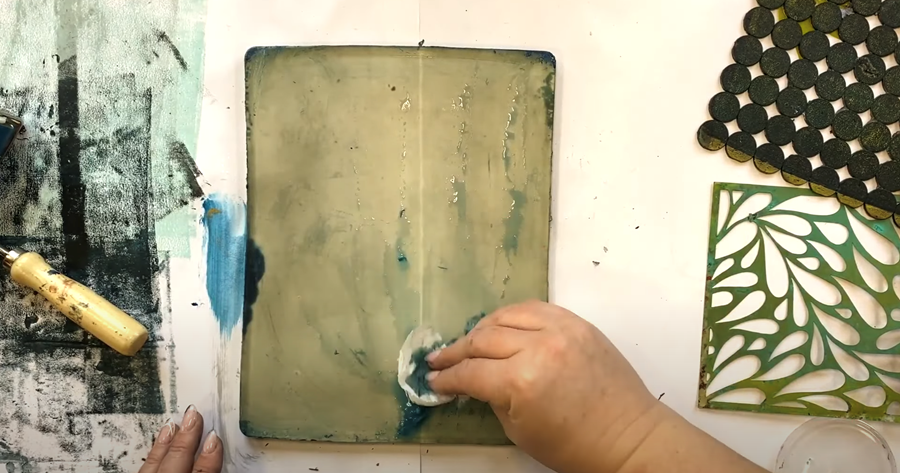

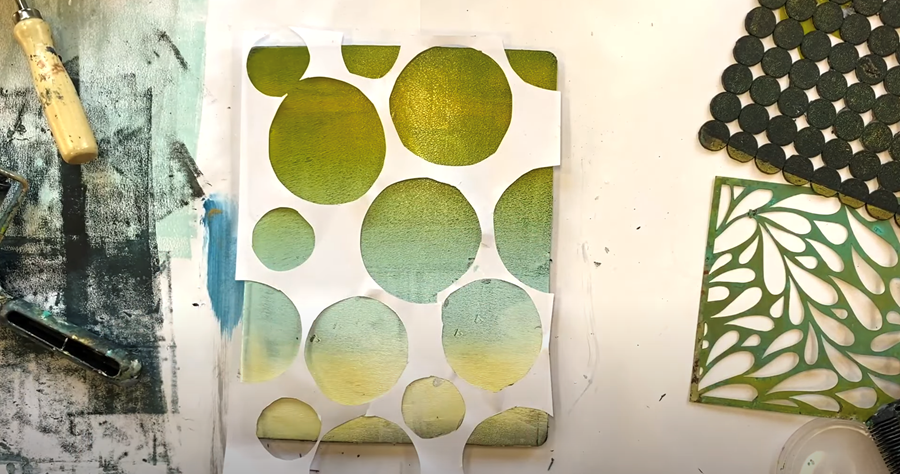
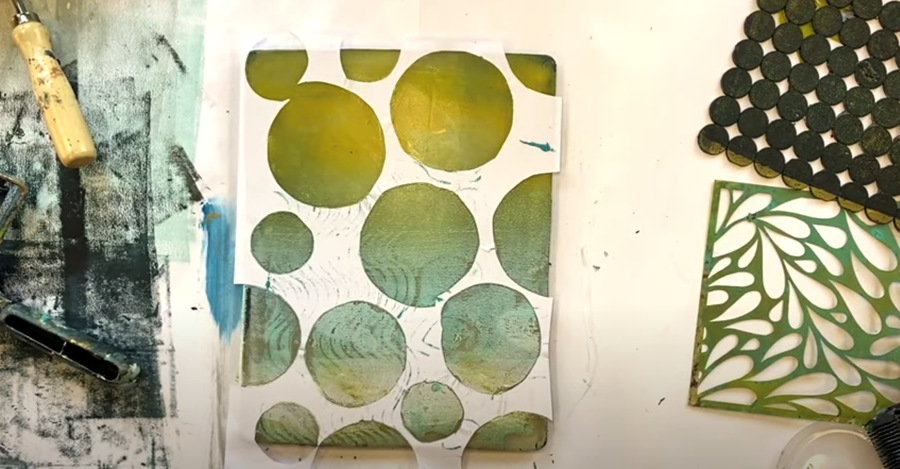
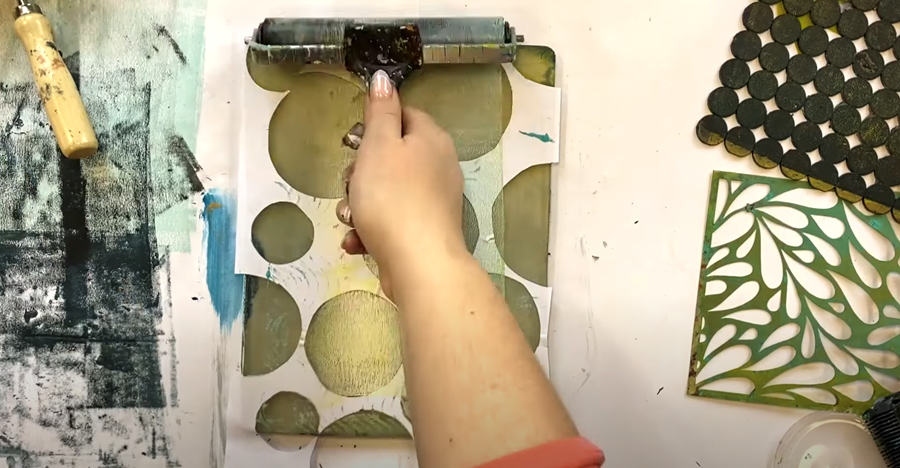
Step 3 - Paper Stencil
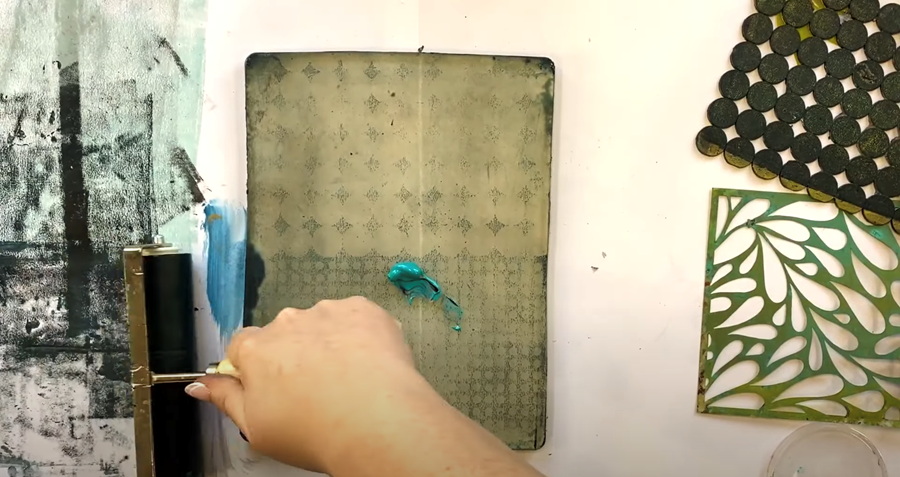
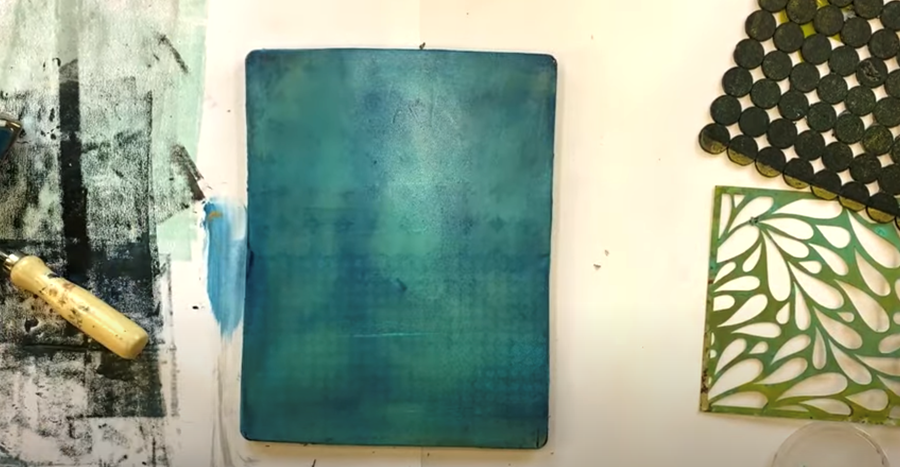
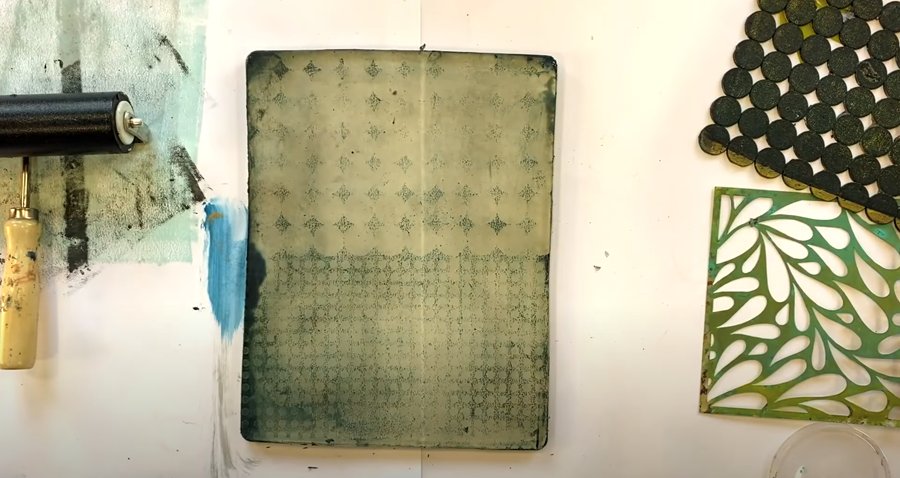
Add some white and yellow paint to the gel plate. Use the brayer to blend them together, creating a smooth gradient. If needed, add a bit more paint to get the effect you want.
This time, we'll use a stencil on top. I’ve repurposed a cut-out sheet of paper from a previous project as my stencil. Place the stencil over the gel plate, then carefully lay your print on top and smooth it out with your hands. TIP: Use a dark print with lighter paint colours to create more contrast and interest.
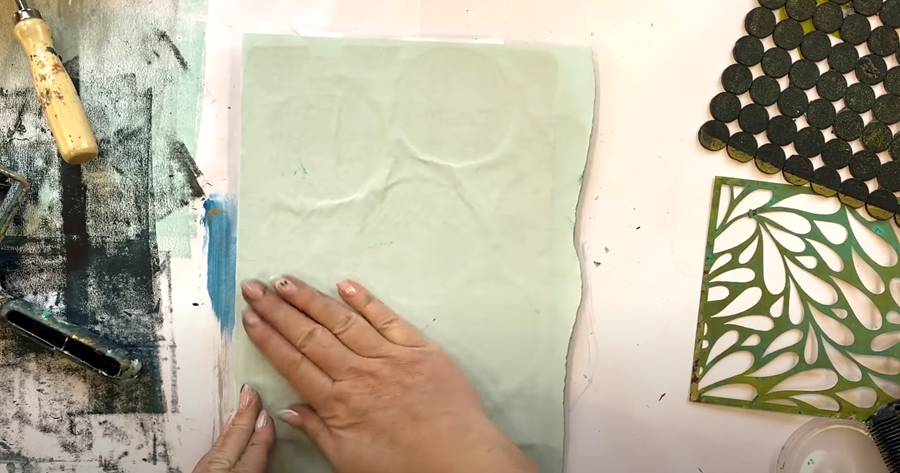
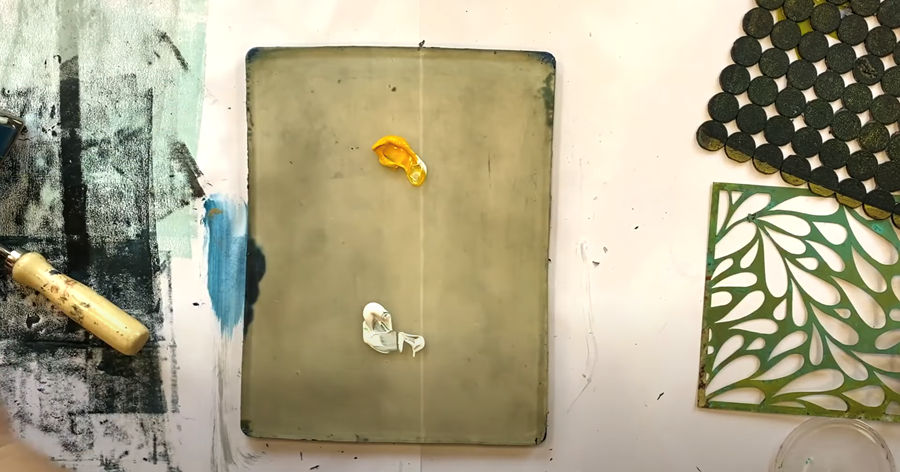
Use another dark print to create the ghost print, picking up the remaining paint left on the Gelli plate.

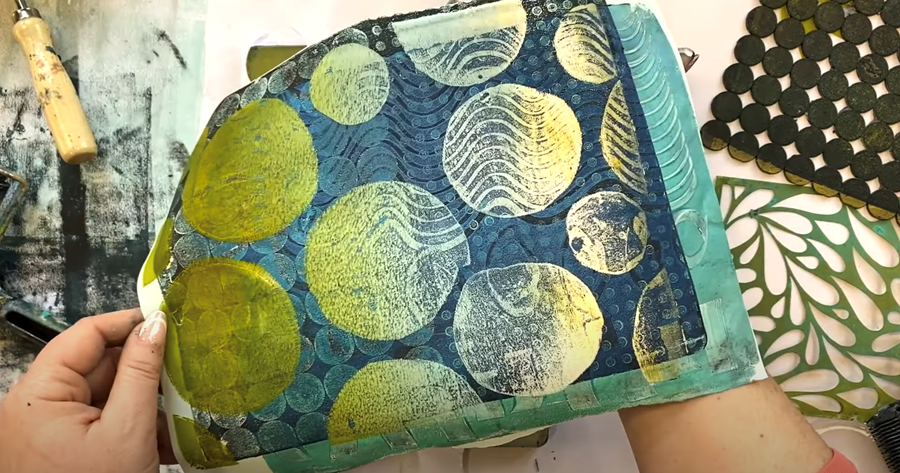
Next, take the excess paint from the brayer and roll it onto the gel plate. Then, working quickly before the paint dries, remove the stencil.
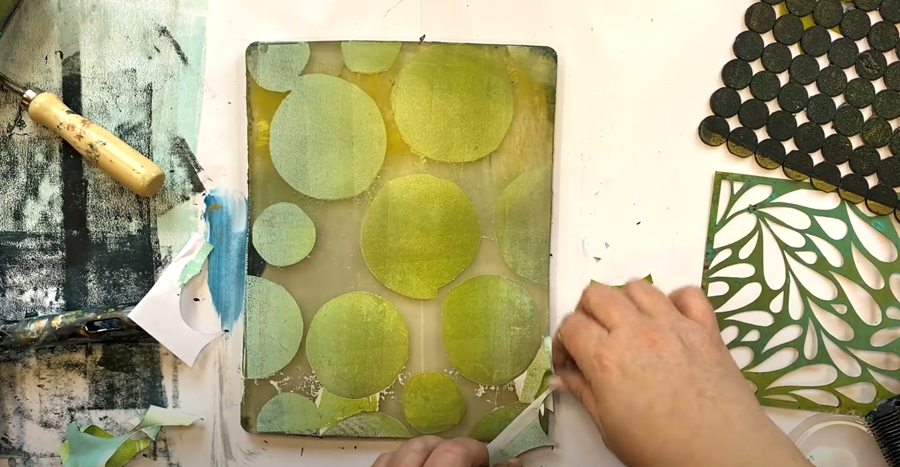
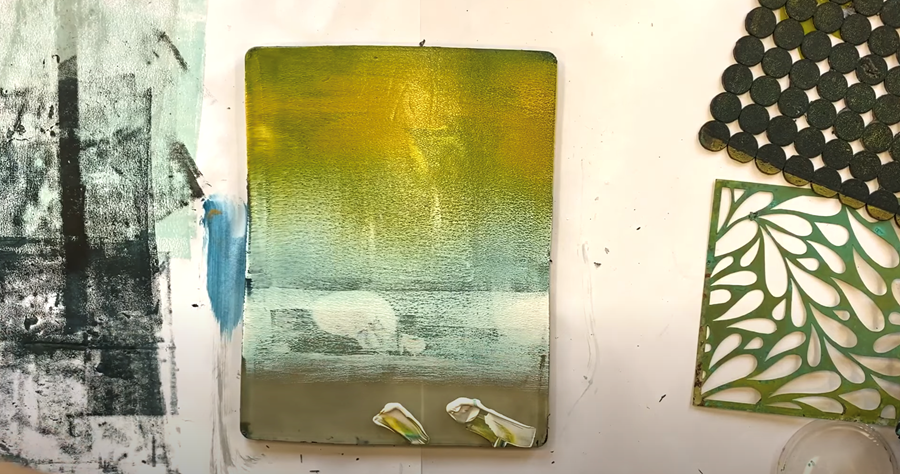
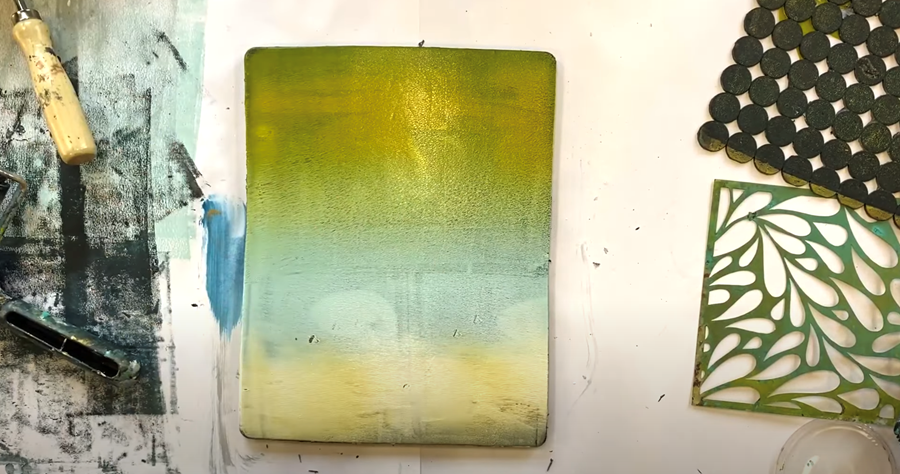
Use one more print to pick up the white and yellow circles. Give the gel plate and brayer a quick clean between prints using plain water and a paper towel. Make sure they're completely dry before you move on to the next print.
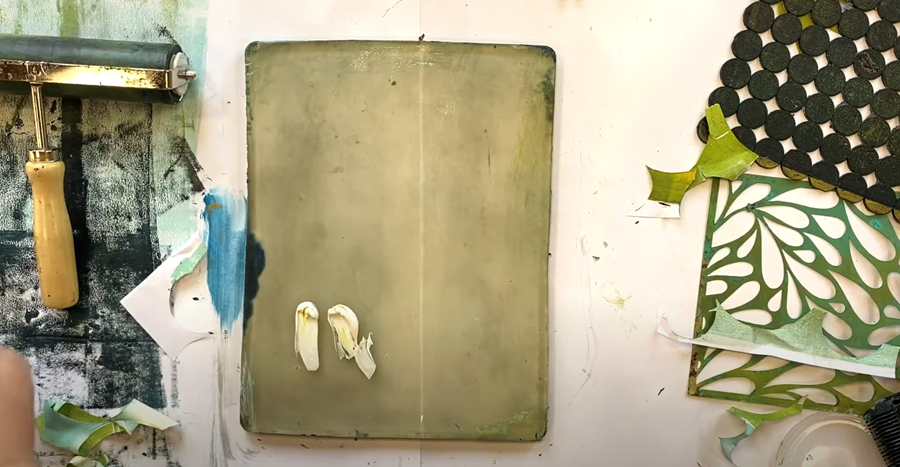
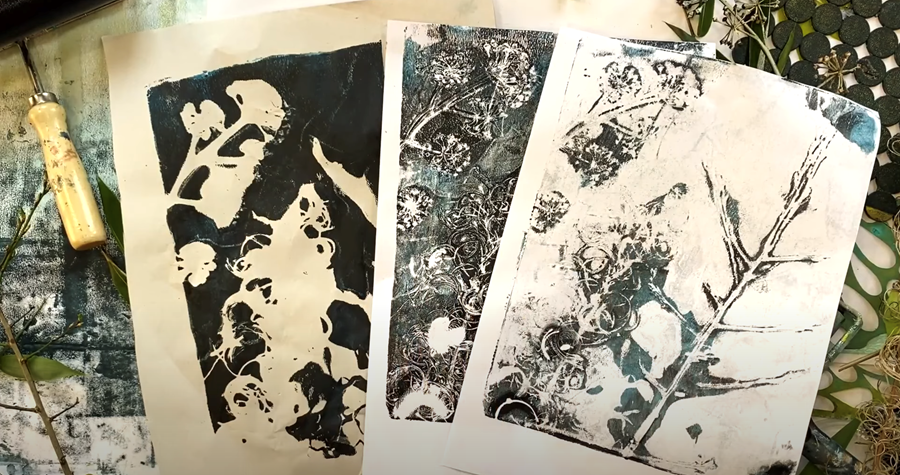
Botanical Prints
Leaves, flowers, and even branches work brilliantly to create lovely botanical prints. Whether they're pressed in a book, bought dried online, or freshly picked from the garden, having a mix of shapes, sizes, and textures is key. If you’re working with fresh plant materials, try to flatten them as much as possible—the flatter, the better.
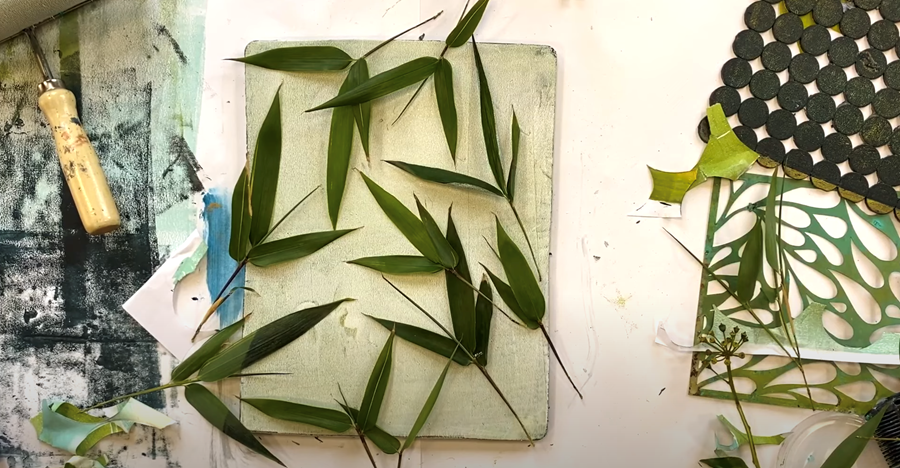
Step 1 - Bamboo leaves
Roll out a smooth, even layer of white paint onto the Gelli plate. Then, arrange leaves in a pattern across the entire surface. I’ve used bamboo leaves here, but feel free to use any leaves you like or have on hand.
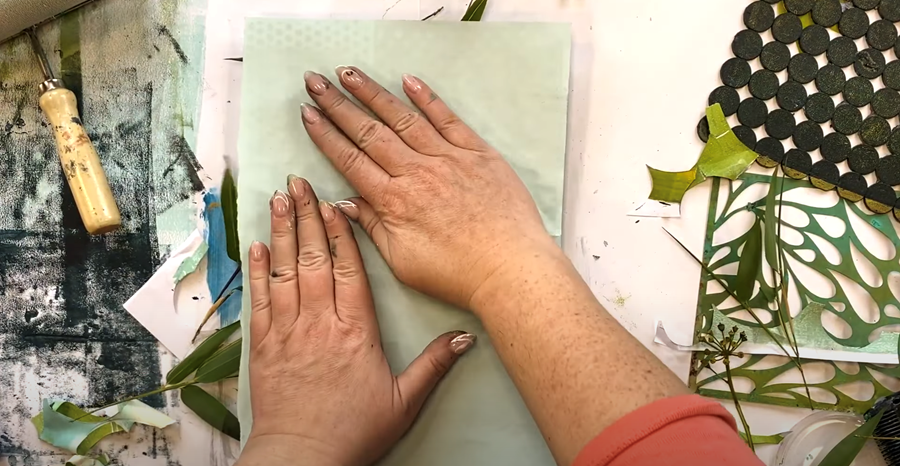
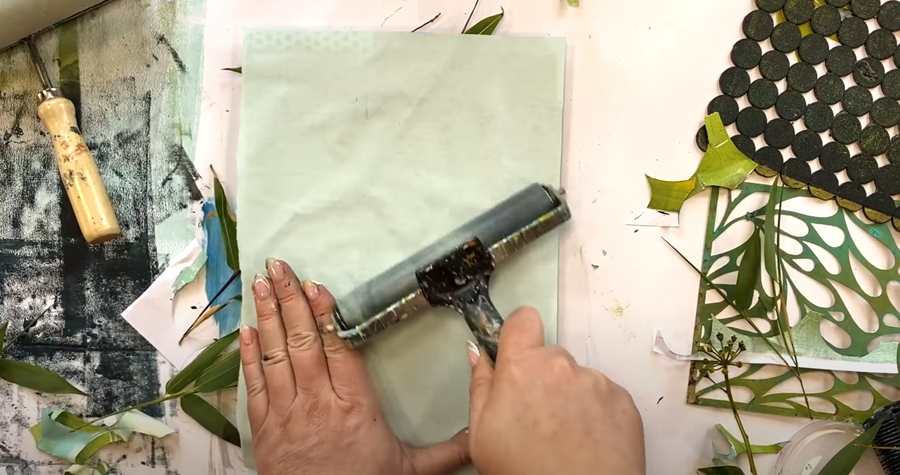
Place a dark print on top to contrast with the white. Give it a good press with your hands, then firmly roll a clean brayer over the paper to make sure the leaves are well pressed. This will help you get a crisp impression, so make sure to pay particular attention to the areas between the stalks.
Carefully remove the print to reveal a lovely silhouette effect!
Then, remove the leaves to create a second impression. Use a dark print or the dark area of a print to pick up the remaining paint.


Step 2 - Mixed Plant Material
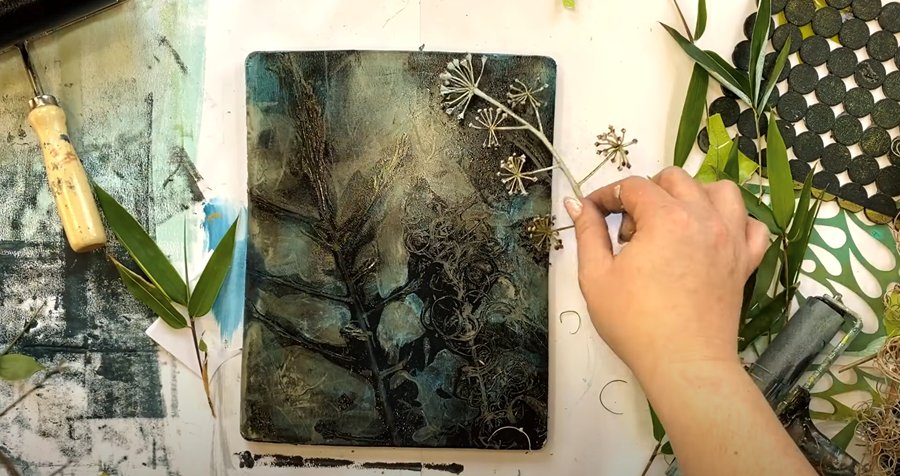
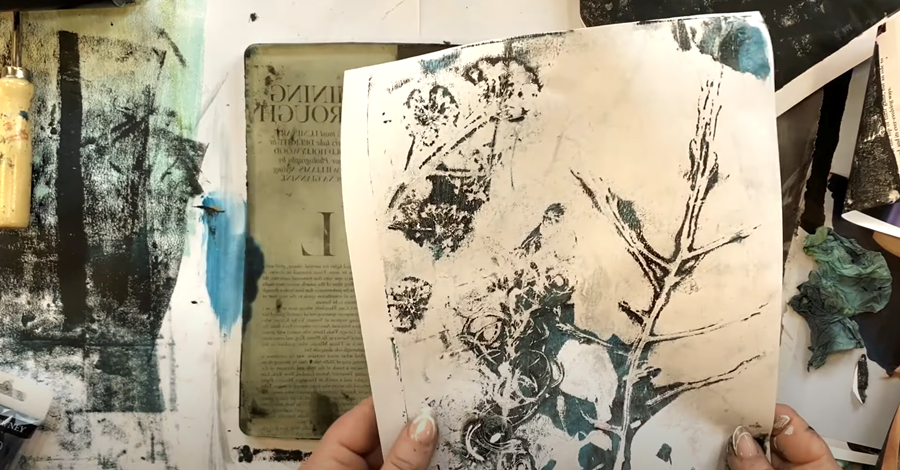
This time, roll out a mix of black and blue paint onto the gel plate. Arrange a mix of plant materials to add some interest and texture.
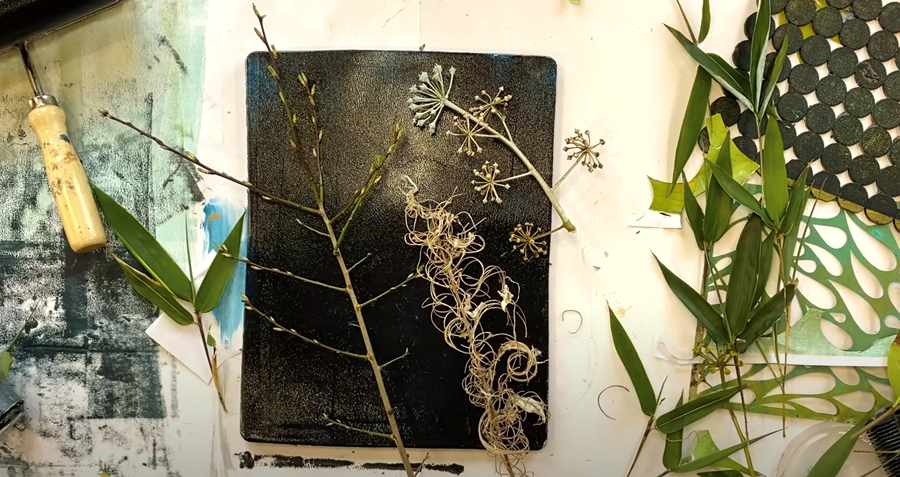
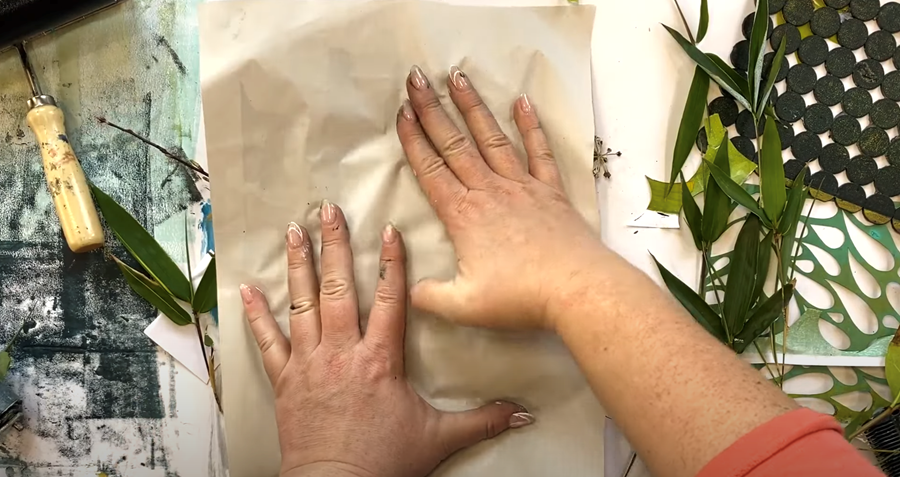
Place a piece of paper on top (I used newsprint here) and press down firmly with your hand before rolling over it with the brayer. Be careful not to shift the foliage below as you roll to ensure a crisp impression.
Carefully remove the newsprint. This first impression creates interesting shapes that can be used as the base of another print.
Place a piece of copy paper on top to catch the second impression. Smooth the paper out with your hands, being very gentle to avoid squishing the leaf pattern in the paint.
Remove the paper carefully to reveal the print. Even if the result isn’t exactly what you expected, don’t worry - these prints can serve as a base for another print or be repurposed as part of a collage.


Finally, place a piece of copy paper on top to lift the last bit of paint from the gel plate. Press down a bit more firmly with your hand to make sure you pick up all the paint.
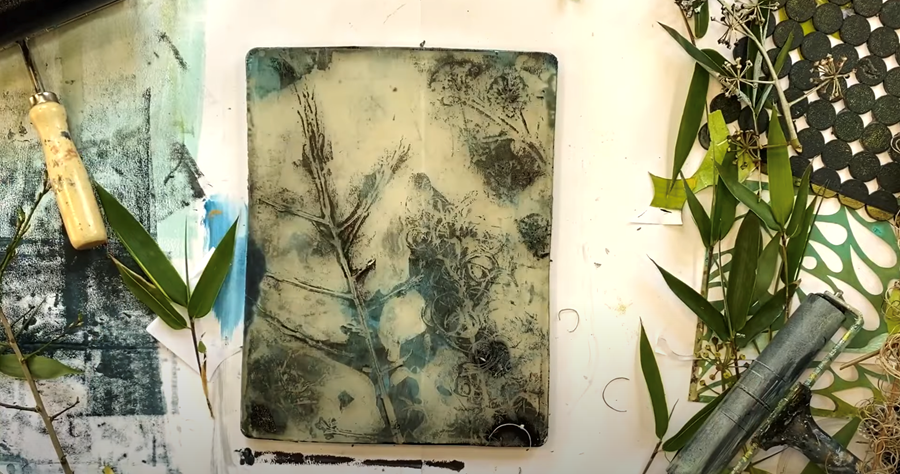
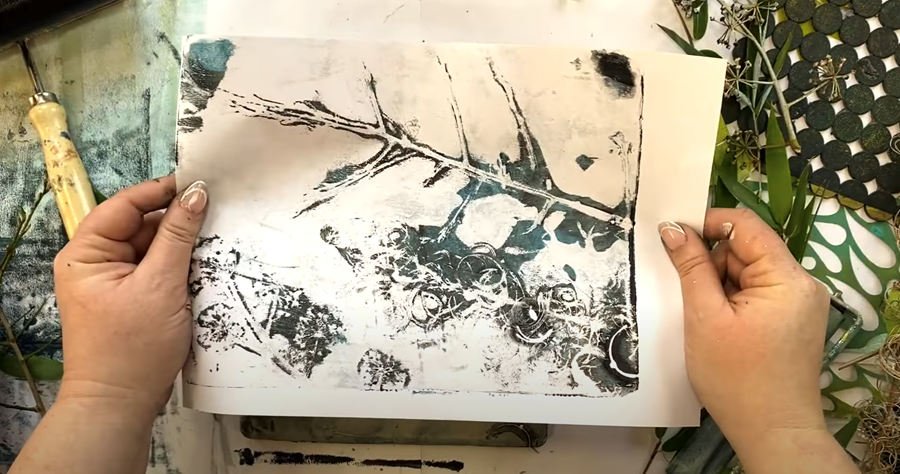
Image Transfer:
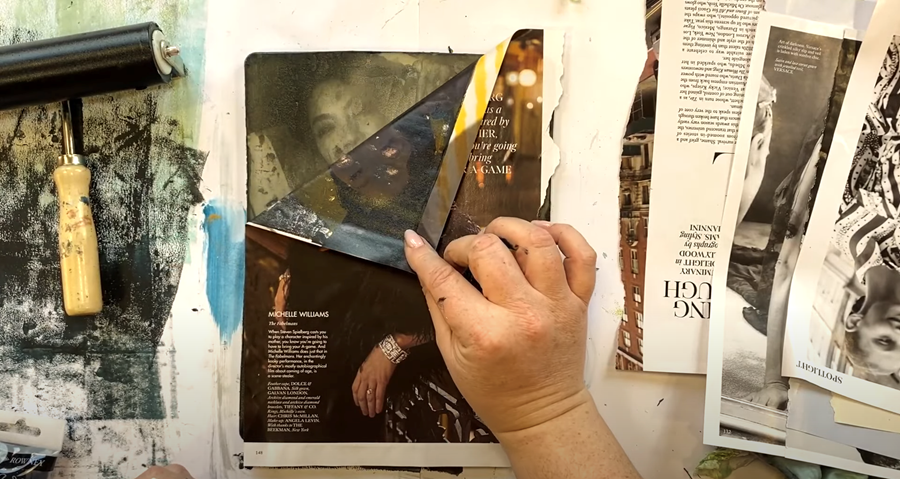
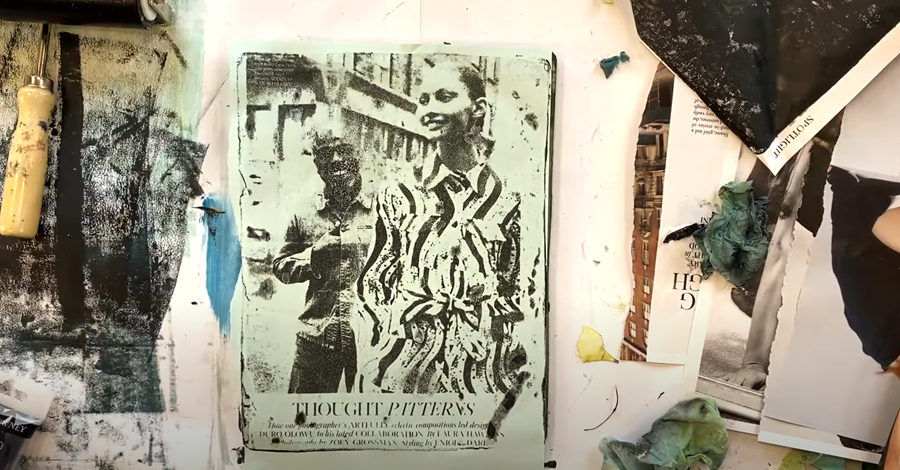
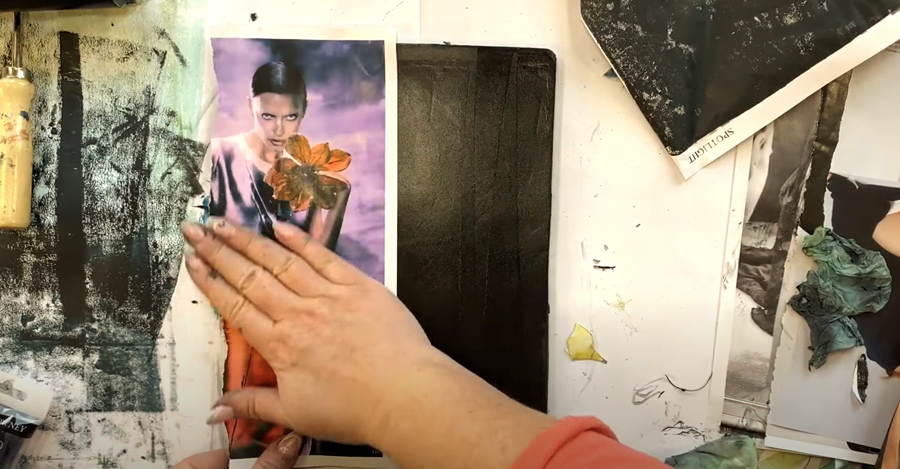
You can create beautiful Gelli prints that mimic screen-prints by transferring images from magazine pages. High quality magazines with glossy paper, like Vogue, work especially well. Look for images with strong contrast, like those with bold patterns or plenty of white and black space.
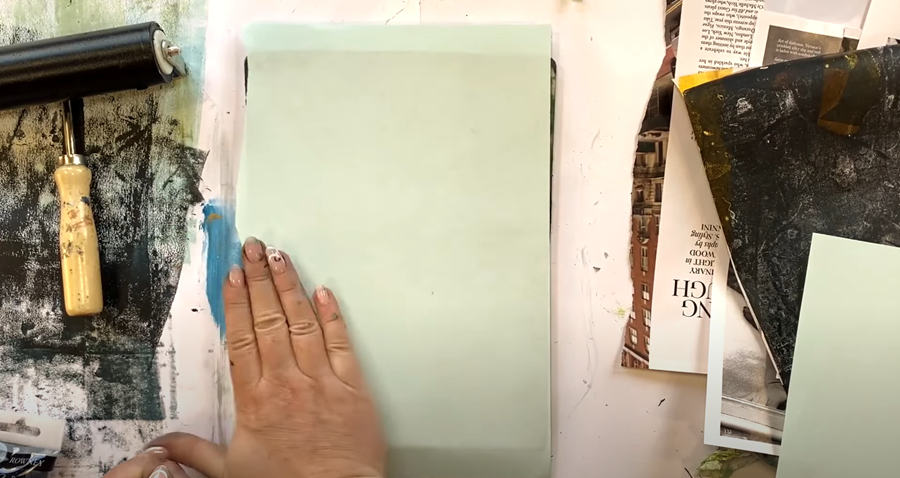
Apply a bit of black and Payne’s grey paint to the gel plate. Roll out a nice, even layer over the surface. Place the image face down onto the gel plate and smooth it out gently with the flat of your hand.
Note: Magazine images aren’t copyright free, but using them is generally acceptable as long as they’re for practicing and using images in a sketchbook for example. I mainly use text or pattern from magazines to be safe. Just be cautious if using a well-known face and it’s still recognisable.
Strong, bold lettering also works brilliantly. Don’t worry if the text looks backwards at first; it’ll come out the right way around once you pull the print.
Tip: Black, Indigo Blue or Paynes Grey paint and copy paper are both fantastic for image transfers, but feel free to experiment with other paint colours and paper if you like.
Step 1: Magazine Image Transfer
Make sure the gel plate and brayer are clean and dry before you start this technique. Choose an image with good contrast for the best results.
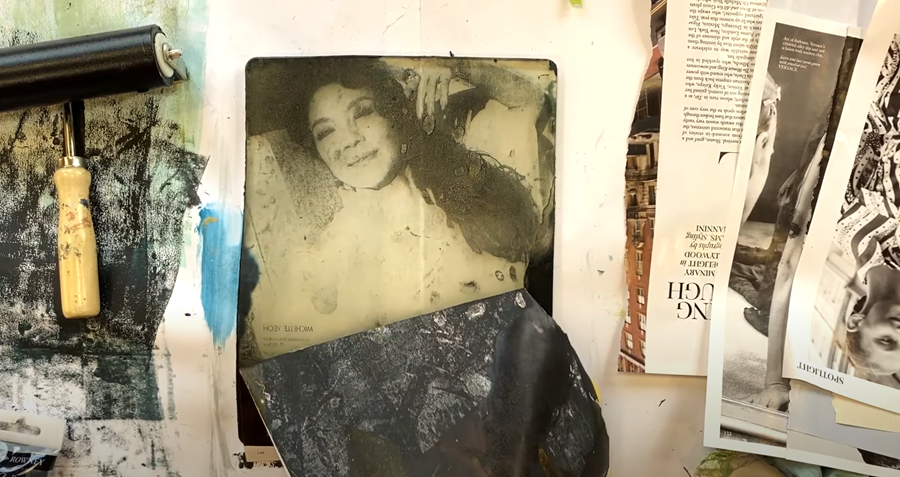
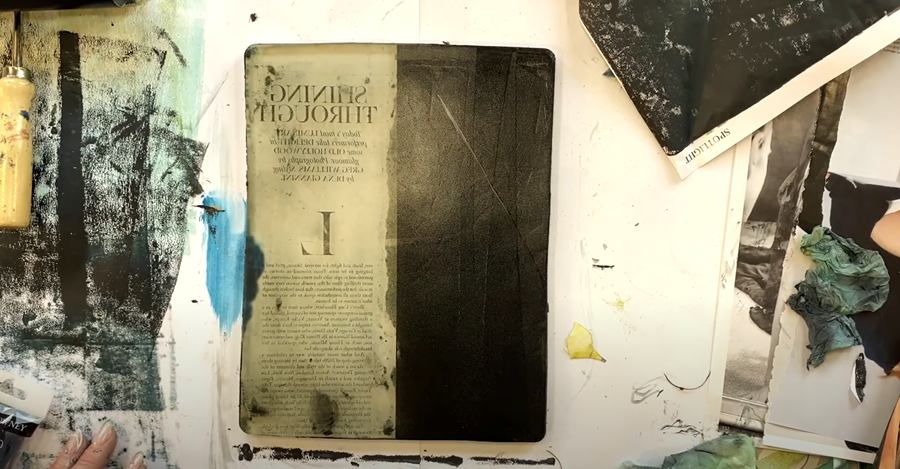
Apply a bit of black and Payne’s grey paint to the gel plate. Roll out a nice, even layer over the surface. Place the image face down onto the gel plate and smooth it out gently with the flat of your hand.
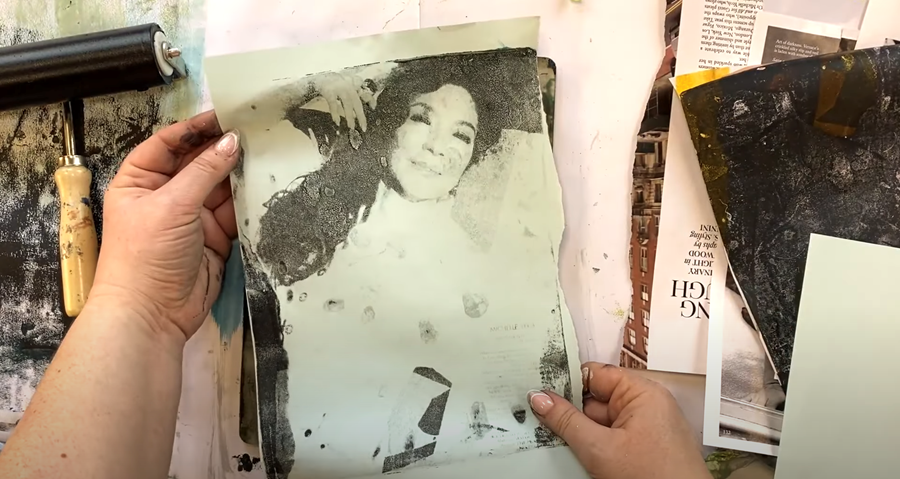
You can carefully lift the edge to check if the image is transferring onto the gel plate. If needed, smooth it out a bit more. Gently pull the print from the plate.
Next, place a clean sheet of copy paper over the gel plate. Press down firmly and smooth it out with your hand to get a good transfer. Tip: If your paint has dried too quickly to pull the print immediatley, you can roll another thin layer of paint or mat gel medium to pull the print. To do this lay your clean paper on top and wait a few minutes until the paint has dried before gently pulling the paper to reveal the image transfer.
Carefully remove the paper to reveal your print! These prints are so versatile—paint over them, use them as a base for more impressions, or add them to a collage. Enjoy experimenting with them!
Step 2: Magazine image transfer 2
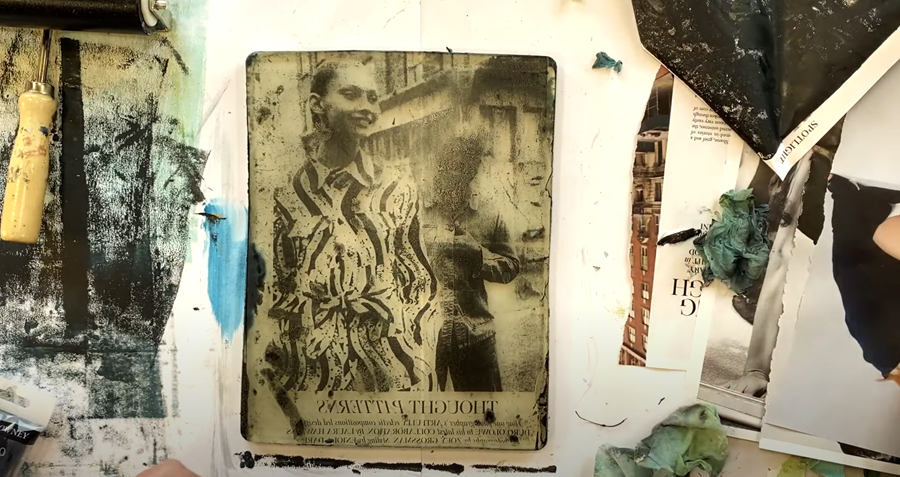
On a clean, dry gel plate, roll out a thin layer of black paint. Then, place a glossy, high-quality magazine page on top and smooth it out with your hand. Carefully peel away the magazine page and place a piece of copy paper on top—or use a print you’ve already made with a textured background. Smooth it down with your hand, then gently lift it to reveal your print.
Step 3: Combining an image transfer with a botanical print
Start by rolling out a bit of blue and black paint together on the gel plate. Place a magazine page with text over half of the gel plate.

Next, lay a light-coloured botanical print on the impression half, gently smoothing it out, and carefully pulling the image transfer.
This technique creates fascinating intersections where the text meets the organic shape of the botanical print, making it perfect for adding to a collage.

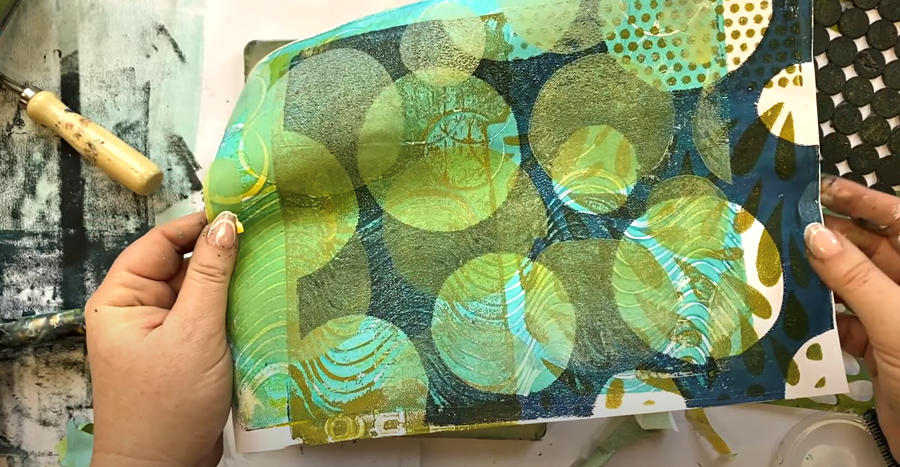
Here are some tips for creating effective layers:
- Use contrasting paint colours – try a dark print with lighter paint for striking effects.
- The opacity of your paint will impact the final look - more transparent colours will let those lovely under layers and details shine through.
- Slightly offset the paper - this will help achieve an interesting, asymmetrical look.
- Create a range of prints, from very dark to mid-tones to white - this variety will provide plenty of options for mixing and matching with both light and dark paint colours.
Gelli printing is all about trial and error to discover what you like best! Don’t be disheartened if things don’t turn out as planned. There are so many variables that can affect the result—such as room temperature, the type of paper, acrylic paint, or even the magazine you’re using. Remember, you can rework and repurpose just about any print you create.
At the end of the day, it’s just paper and paint. Keep experimenting and having fun with it!
I hope you’ve enjoyed this little taste of Gelli printing and feel inspired to create your own collage papers using these methods.
If you’d like to learn more, I offer a FREE course called "The Essence of Landscape", where I teach how to turn your prints into finished paintings.
Happy printing!
We hate SPAM. We will never sell your information, for any reason.