The Best Papers for Gelli Plate Printing: My Top 5 Picks
Nov 14, 2025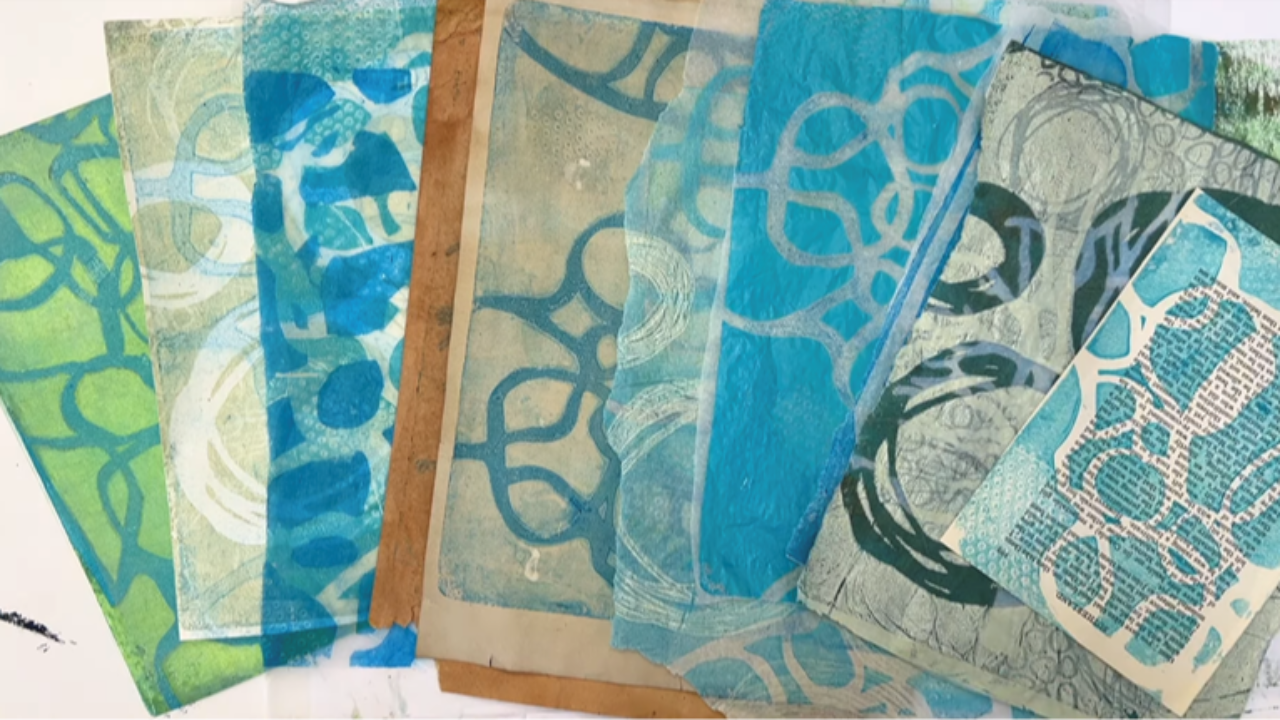
If you've ever found yourself wondering which papers give the best results on the Gelli plate, you're not alone. I've tested loads of papers over the years, and today I'm sharing my top 5 favourites. These are the ones I reach for again and again for better textures, richer layers, and consistently beautiful prints.
From beautiful Japanese Maruishi tissue to good old printer paper dyed with coffee, tea, or onion skins, each one has its stengths. I'll show you each paper in action and explain why they work so well. I'll also chat about acrylic paints, layering papers for depth, and adding interest to prints with stencils and stamps.
If you're ready to experiment and want to see which papers are worth your time, you're in the right place!
Watch the full video tutorial here:
Materials You’ll Need:
Paper:
• Wet-strength tissue paper: Carnival is my favourite brand - I love using it for layering.
• Copy Paper: Standard printer paper, but it's brilliant for getting started. You can dye it with onion skins, teabags, coffee, etc to create a soft vintage look - but just be aware that soaking it can make the paper a bit more fragile and prone to tearing.
• Cartridge Paper: I like using heavy A2 cartridge paper (170gsm).
• Japanese Rice Paper: I love using thin, delicate Maruishi paper. It's brilliant for layering and picking up detail.
• Book Paper: Literally pages from old books. You can use them as-is or dye them in the same way as copy paper.
You don’t need to have all of these to get started. If you’re just beginning, I’d recommend starting with copy paper and, if you can get it, the Carnival wet-strength tissue. They’re both great options that give lovely results.
Gel Plate:
For this video, I’m working with an 8 x 10 Gelli plate, which is a great all-around size for a variety of prints.
Brayer:
You’ll need a rubber roller, called a brayer, to layer the paint across the plate. I'm using a 15 cm brayer and I like having 2 on hand so that I can change paint colours.
Acrylic Paint:
I'm using Golden's Open Acrylics (which have a longer working time) in Manganese Blue, Teal, Titan Buff, and Titan Green Pale. I'm also using Daler-Rowney Graduate Raw Umber and Pebeo's Iridescent Green Yellow.
Stencils & Stamps:
I'm using nested circle stencils and stamps in this video from PM Artist Studio. They’re great for layering and adding movement to the page. (If you fancy trying them out yourselves, I've got a discount code I'll drop at the end of the blog.)
Clear Drying Adhesive:
I use Matt Medium to adhere and layer my prints. You’ll also need a paintbrush for applying the medium.
Tissue or Baby Wipes:
I always keep a bit of tissue and water or baby wipes nearby. They're handy for blotting off excess paint or for cleaning the Gelli plate in between prints.
Please note: As an Amazon Associate, I earn from qualifying purchases.
Print Session 1
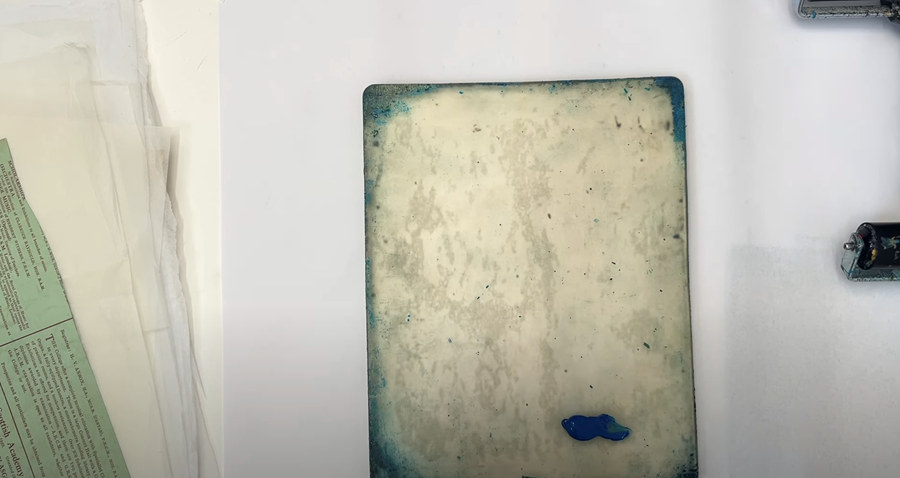
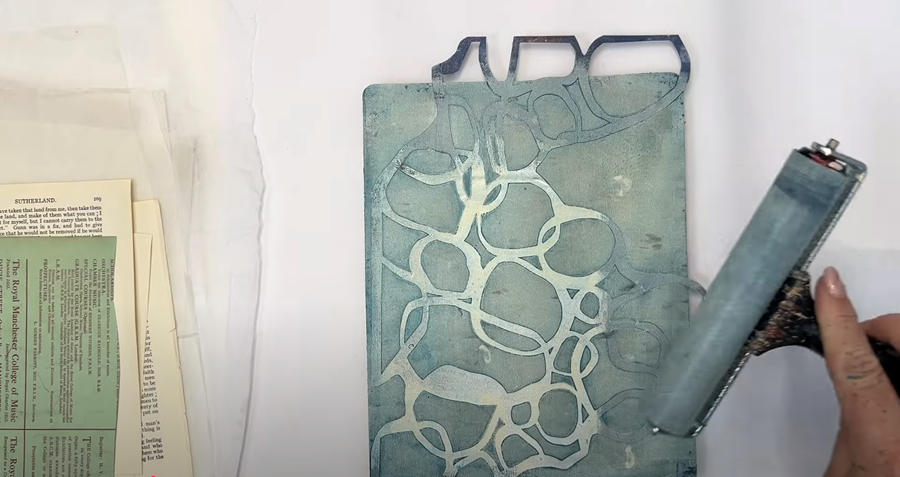
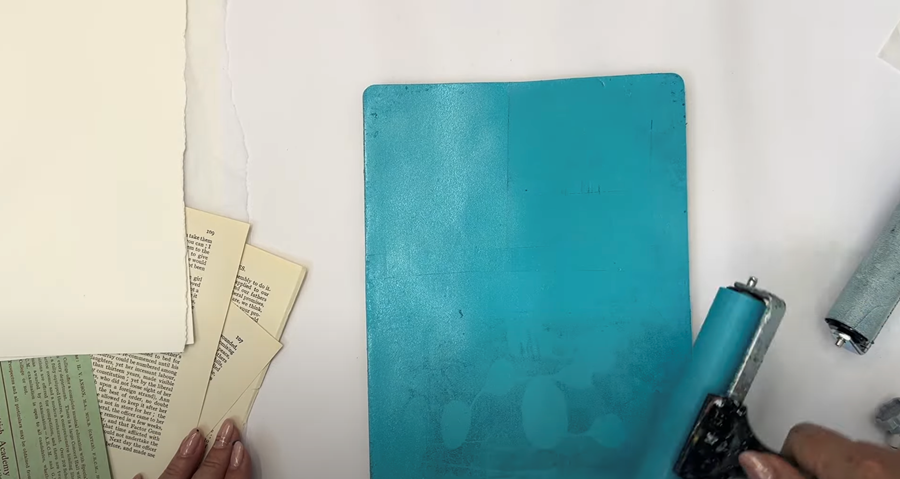
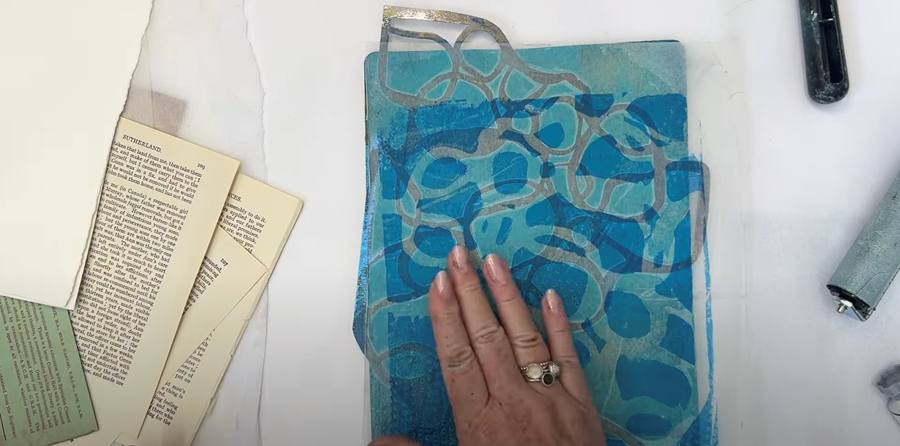
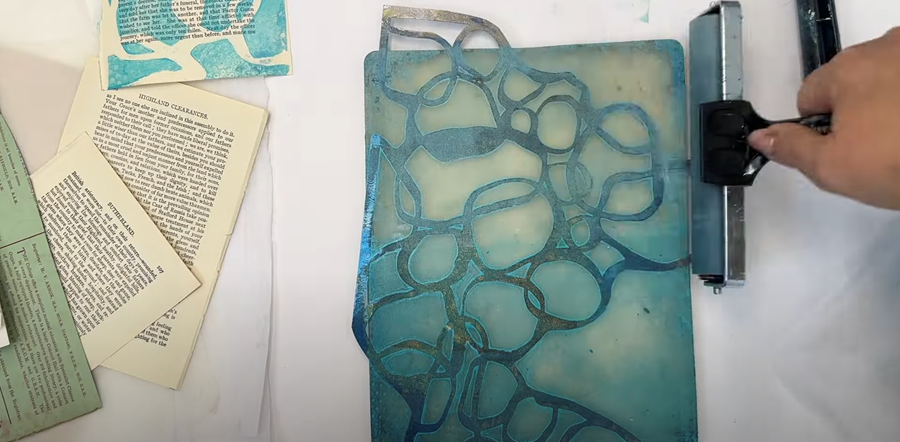
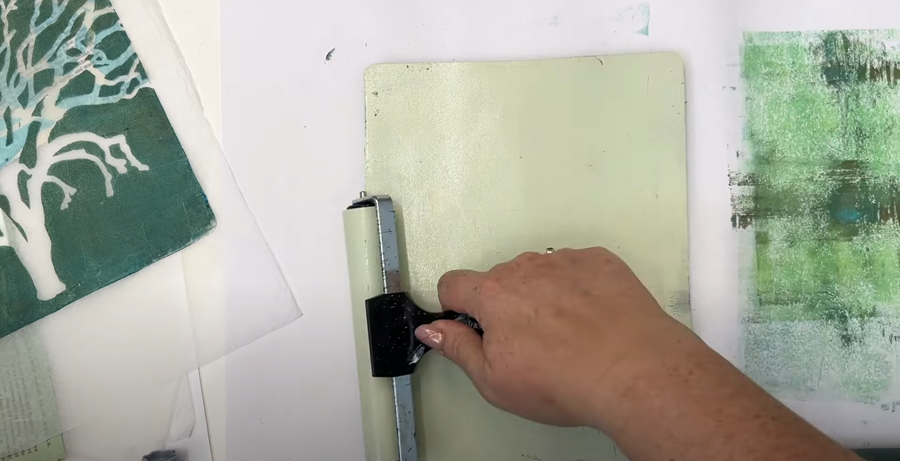
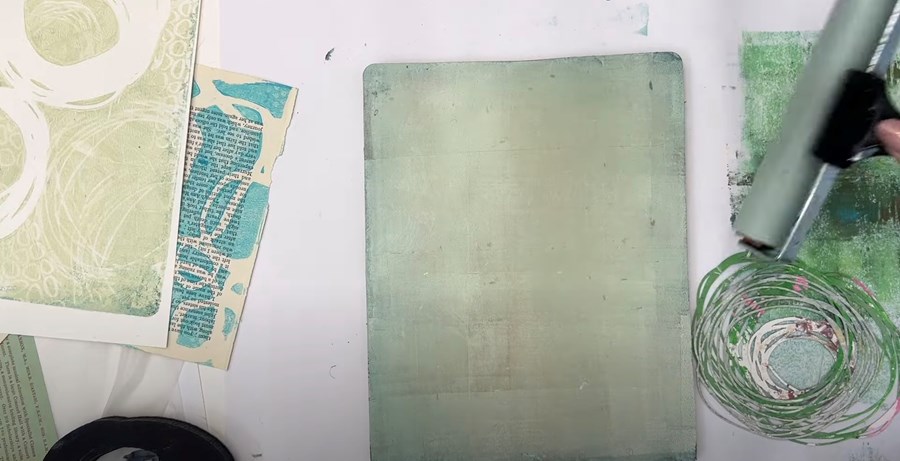
I’ve got my Gelli plate and brayers laid out in front of me, as well as variety of paint colours. I’m starting off with Manganese Blue, one of the Golden Open Acrylics with the longer working time. It’s quite a transparent paint, this one, and I just really love the colour.
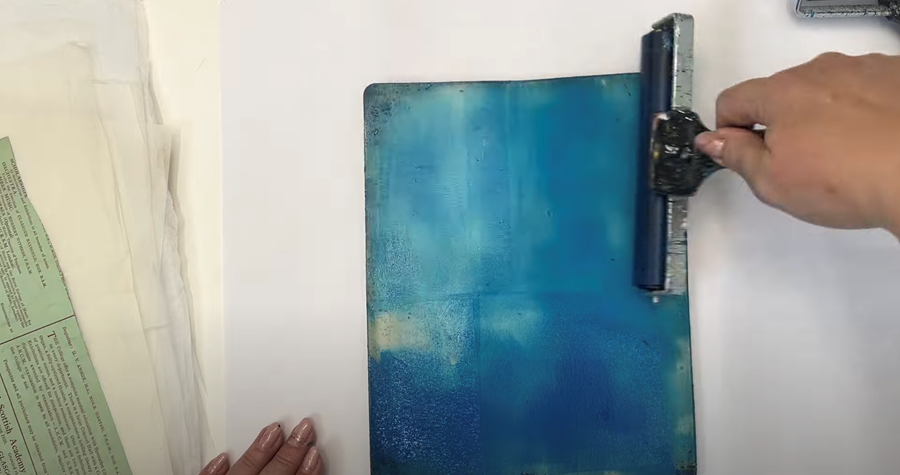
I apply a small amount onto the gel plate directly from the tube and just roll it out with my brayer into a nice, thin layer across the plate.
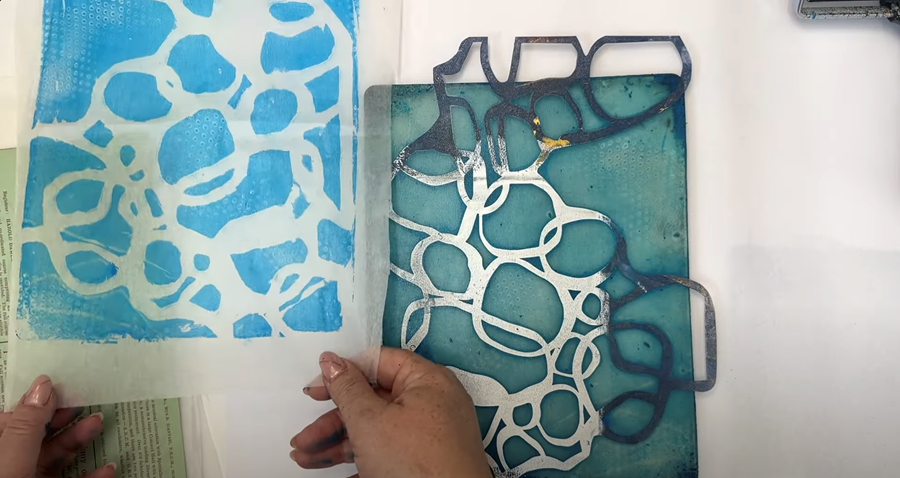
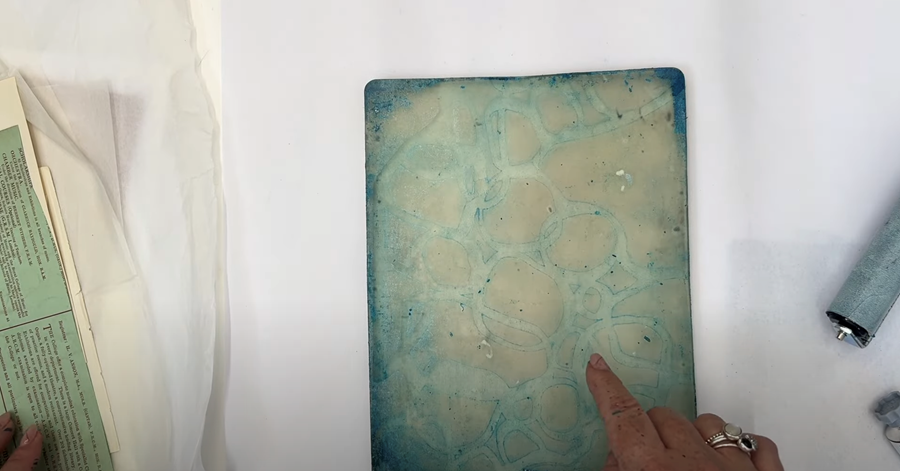
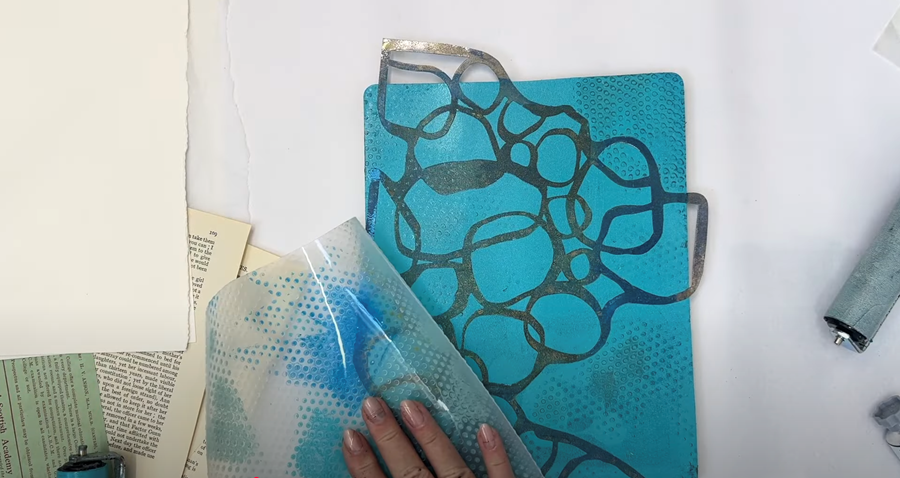
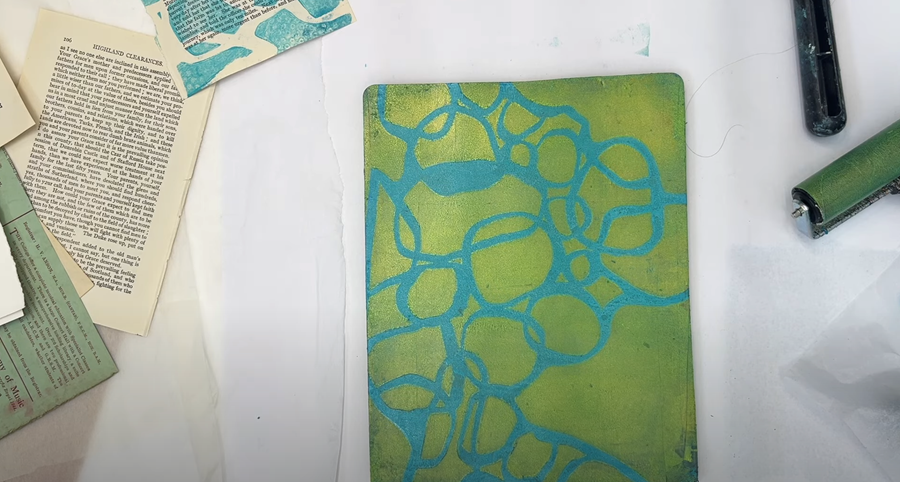
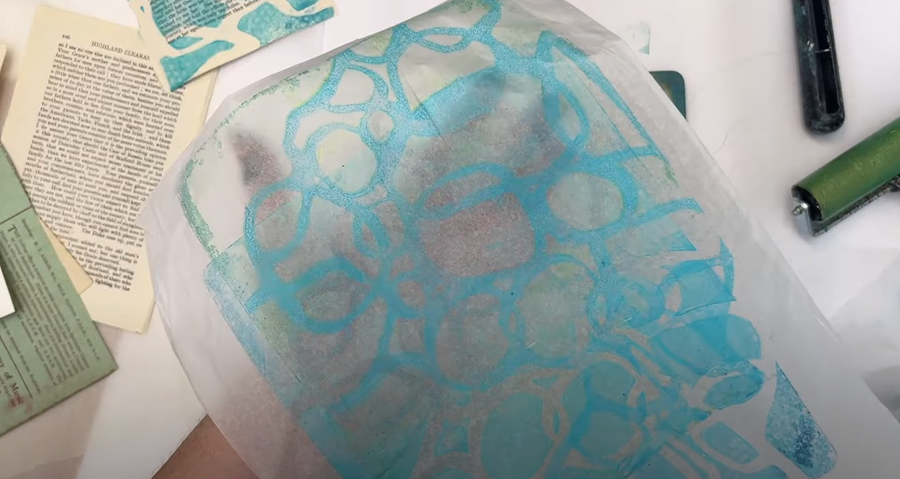
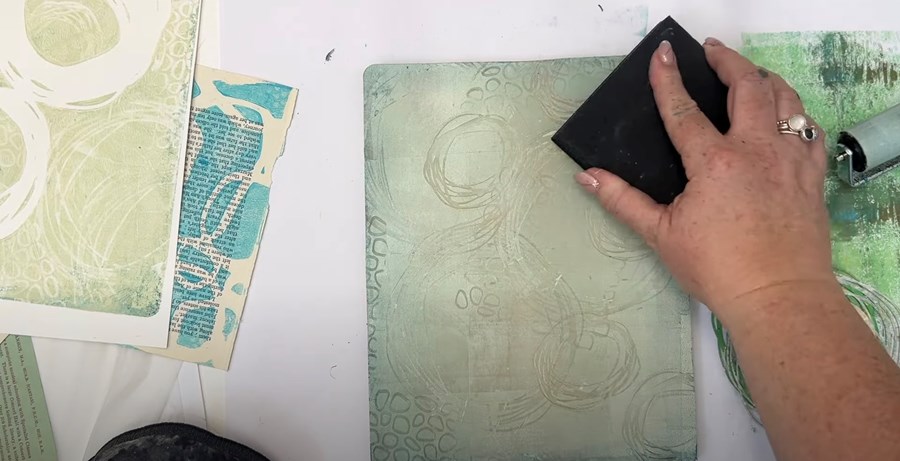
First I lay down a stencil into the wet paint. This one has gorgeous organic shapes - it was handmade and gifted to me by a friend.
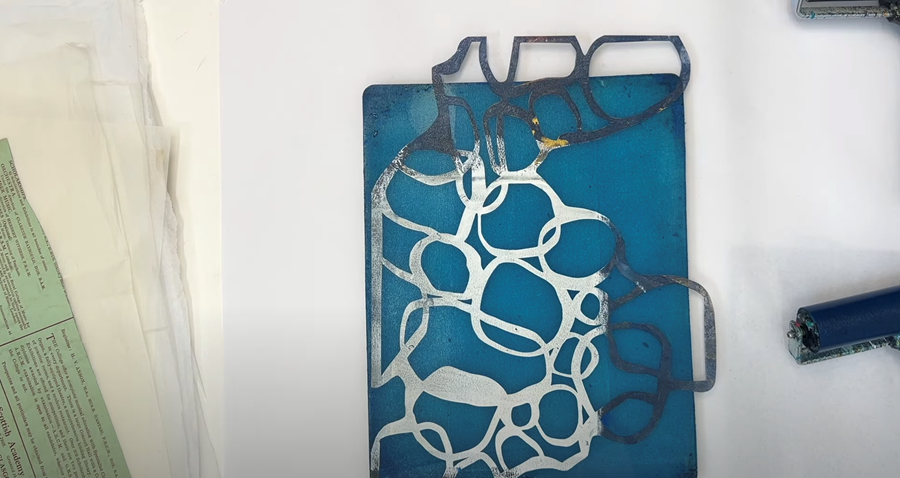
Next, I take a piece of textured silicone and press it gently into the plate to make some lovely circular patterns here and there. It just adds a bit more interest and breaks up the solid areas beautifully.

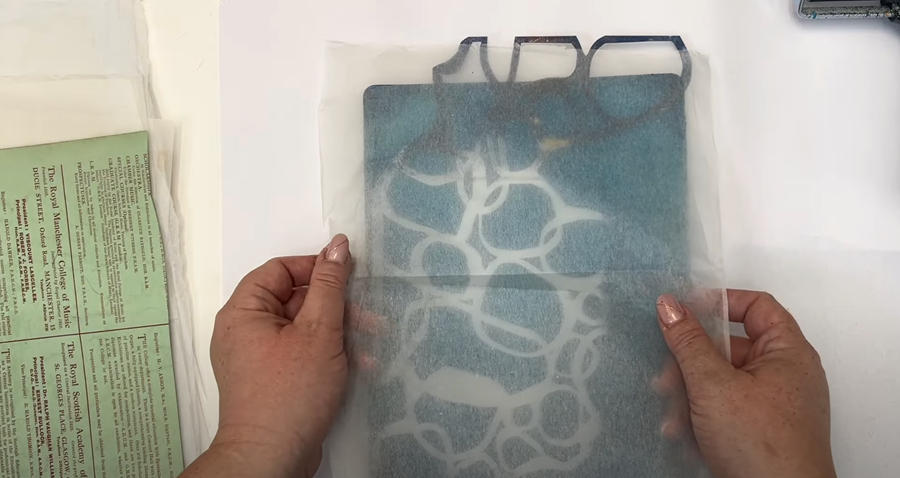
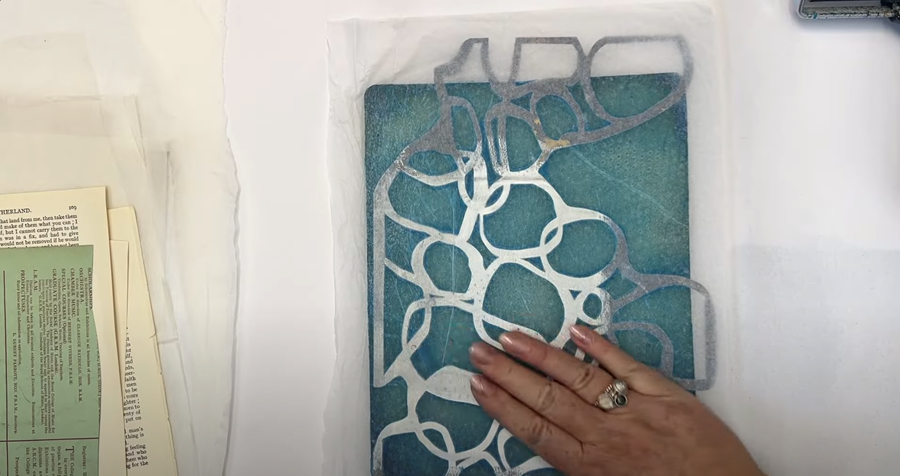
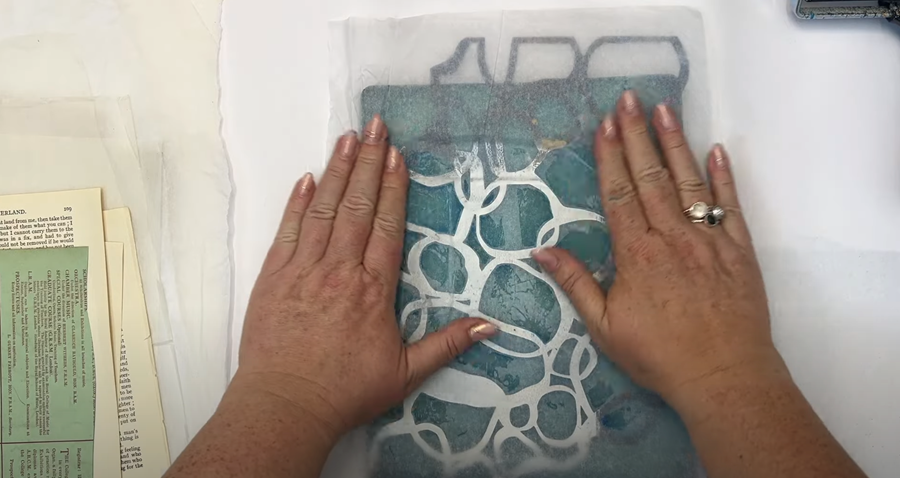
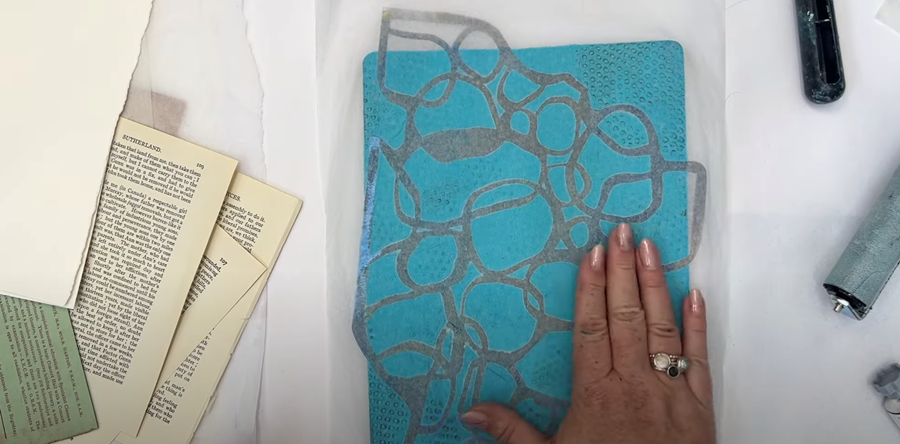
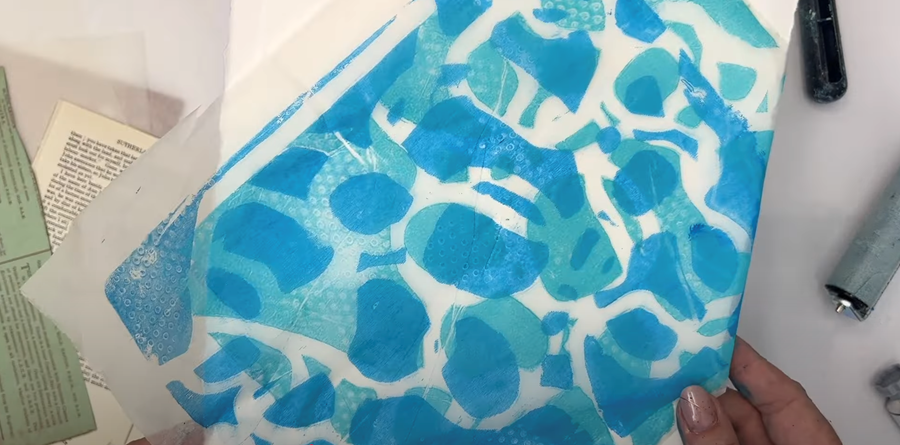
Just be aware ... Maruishi paper is thin and the paint can soak right through onto your hands as you’re smoothing it out.
It’s all part of the process, but you might want to keep a baby wipe nearby or wear gloves if you’re not keen on painty fingers!
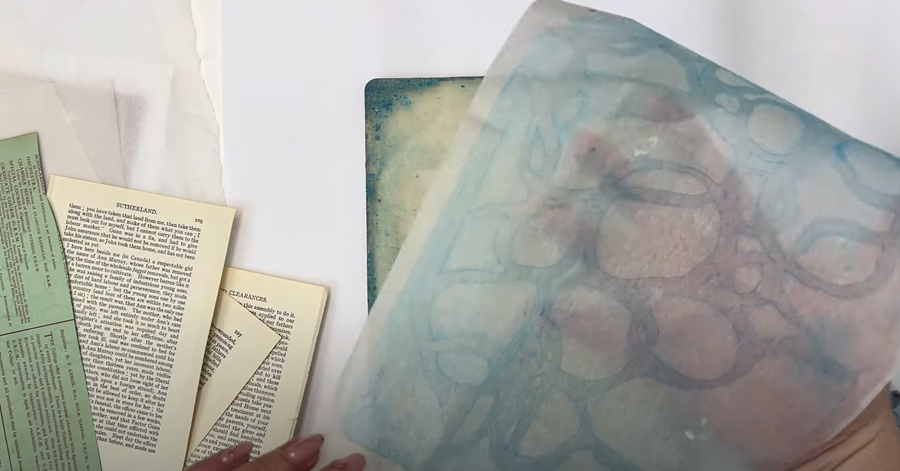
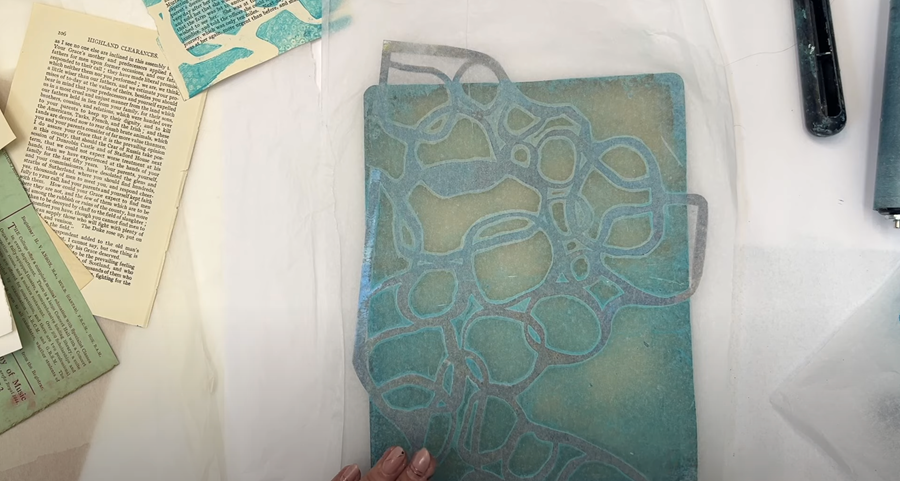
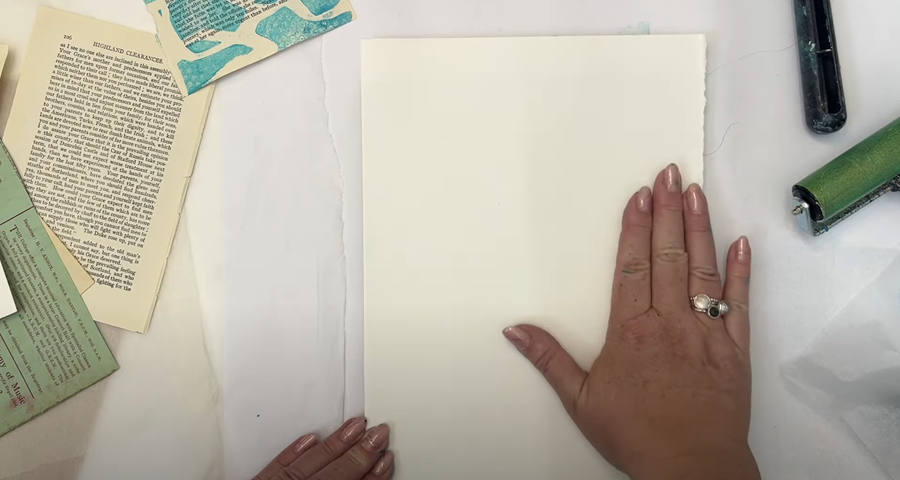
I gently remove the paper from the plate and set it off to one side.
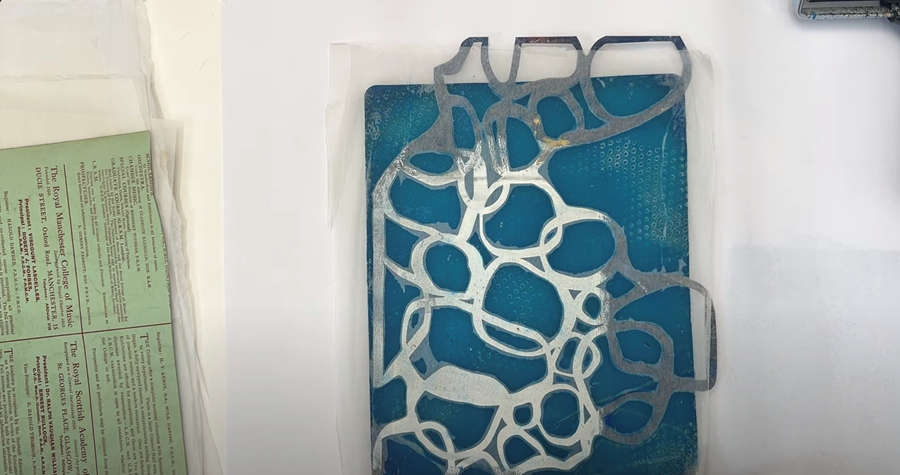
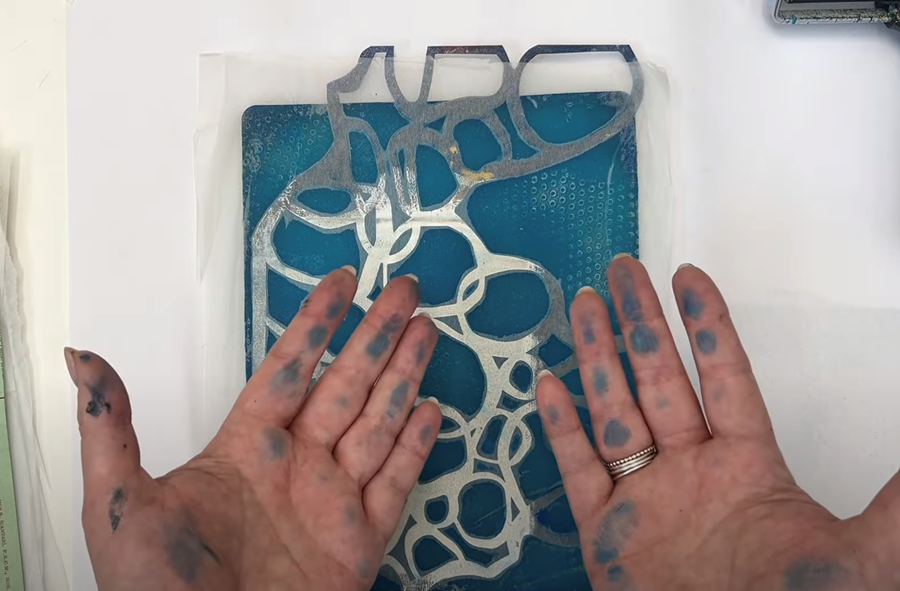
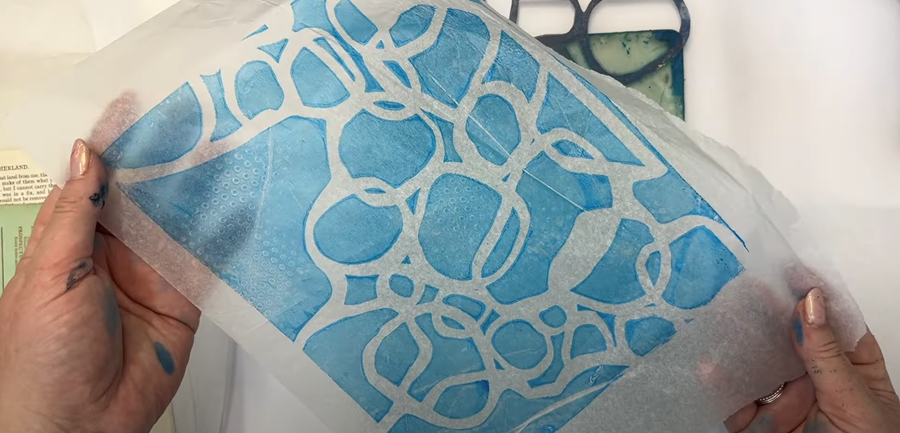
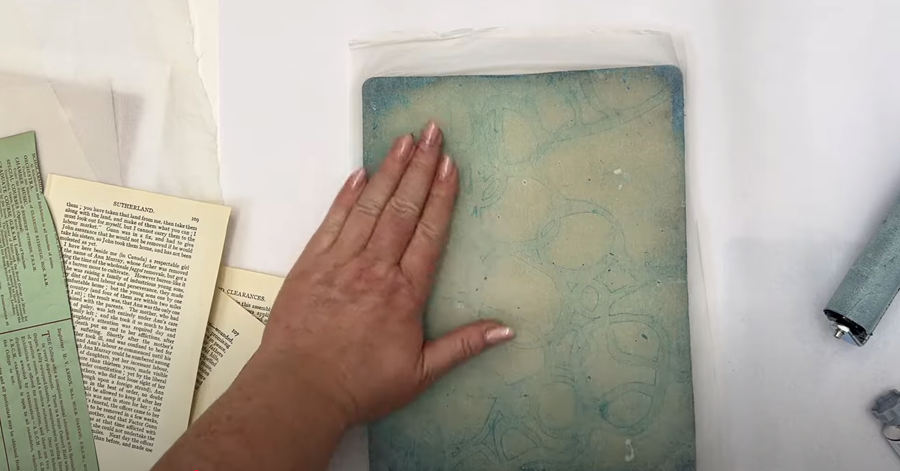
Next, I take a piece of the Carnival wet strength tissue paper and lay it over the plate, smoothing it down gently with my hands. There's still a good bit of paint left on there, so I should be able to lift up a decent amount.
This is what’s known as a “ghost print” — the second impression you pull from the leftover paint on the plate. Carnival tissue is brilliant for this. It picks up all those lovely leftover textures, and because it’s a wet-strength paper, the paint doesn’t soak through onto your hands the way it does with the Maruishi paper.
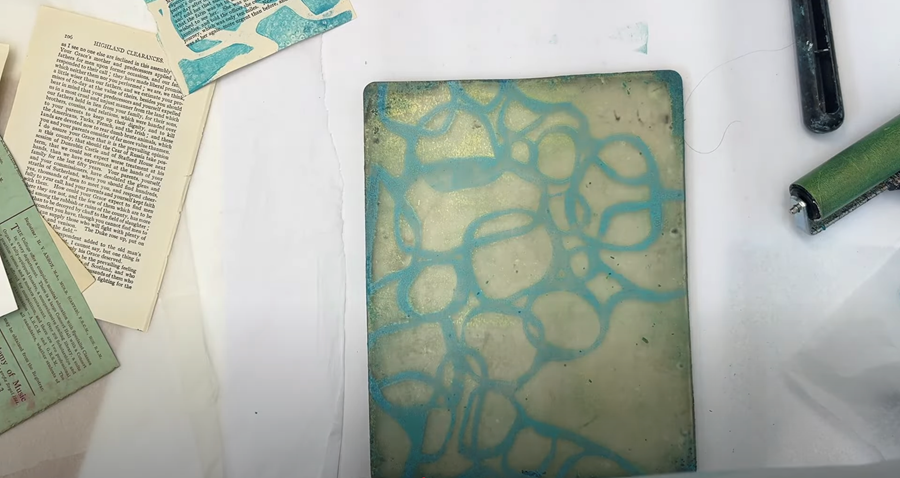
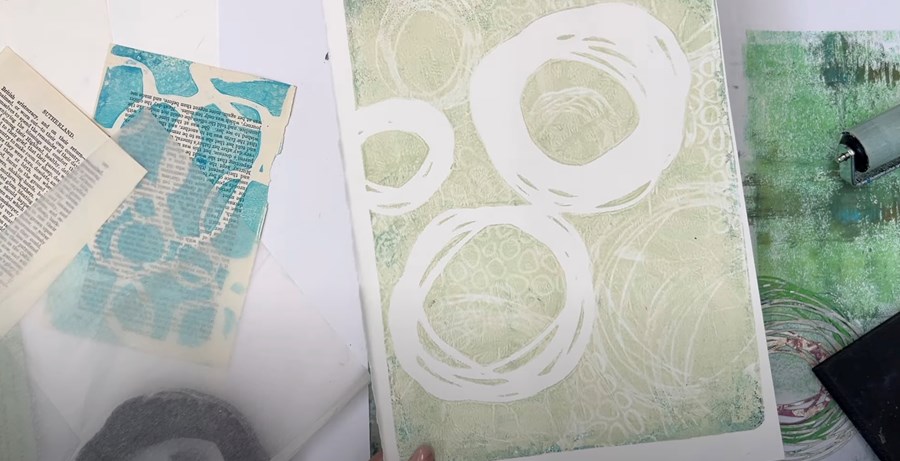
I’m swapping out my roller for a clean one, and I’m going to add a very thin layer of Golden’s Open Acrylics in Titan Buff over the top of the plate.
Then I’ll carefully lift off the stencil.
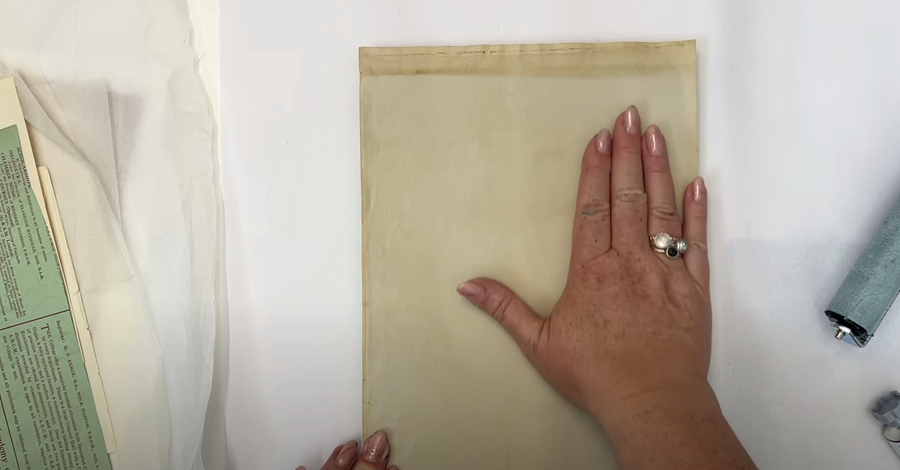
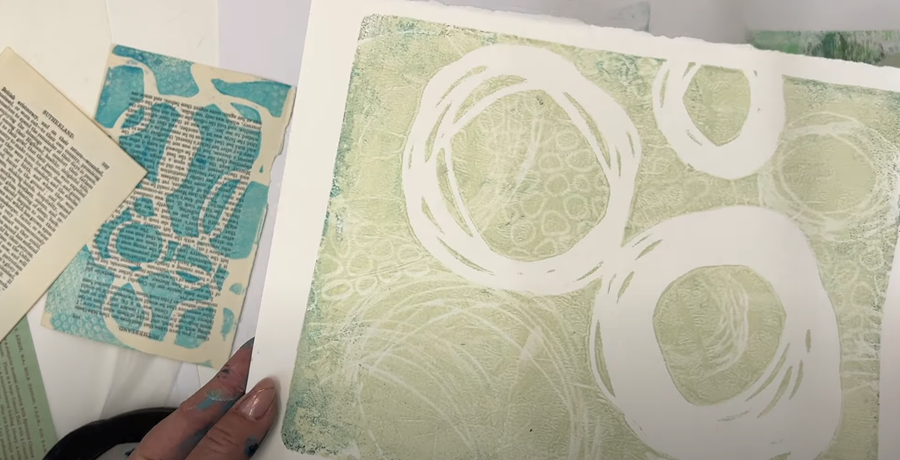
I’m going to try pulling the print with some of the copy paper I’ve dyed with tea bags. I think the soft, vintage tone will work beautifully with the buff and blue paint.
Once again, I lay the paper down and I’m just using my hands to gently smooth it out.
I think it's turned out lovely!
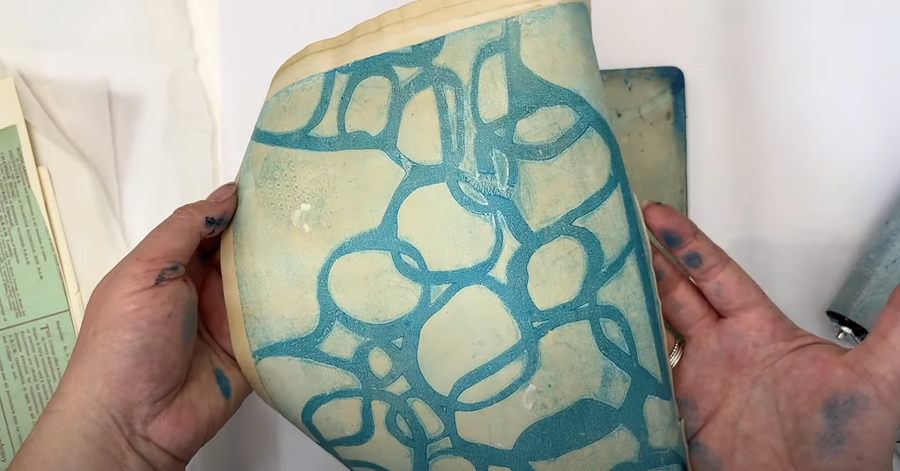
I might try putting the Maruishi paper on top of the gel plate to see if it’ll pick up the last of that detail.
Golden Open Acrylics give you a longer working time compared to standard acrylics and can help the process if you find this is a common issue for you. It's also a nice warm day here at the studio, which helps as well.
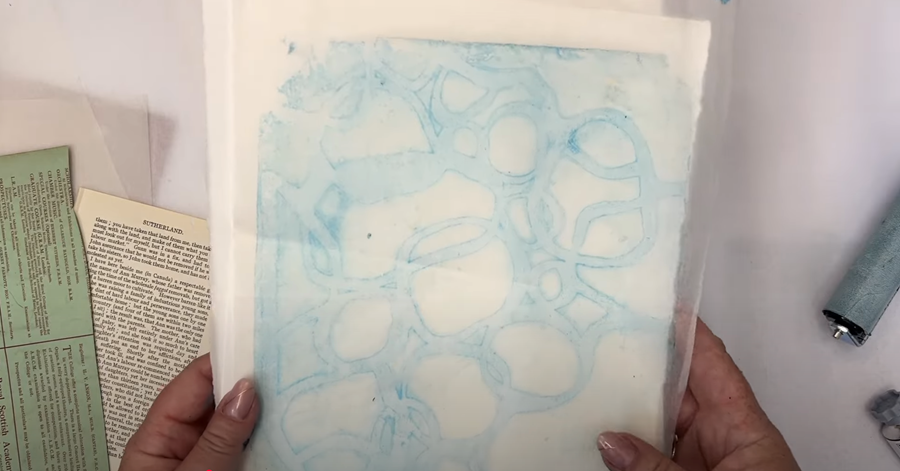
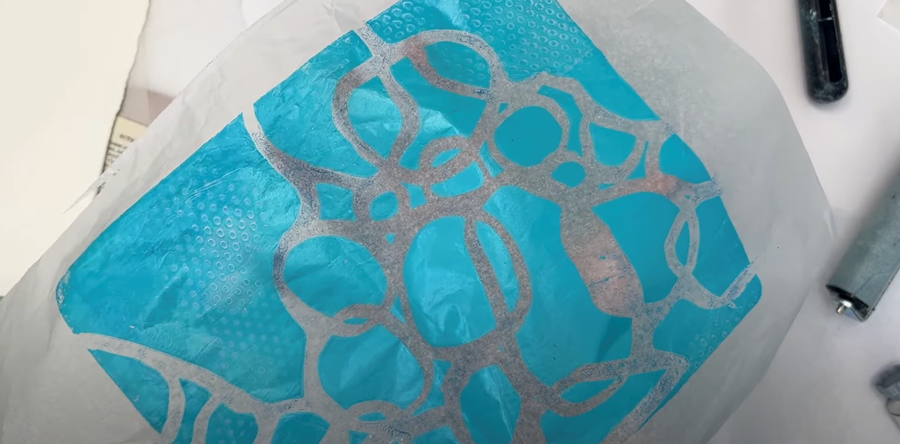
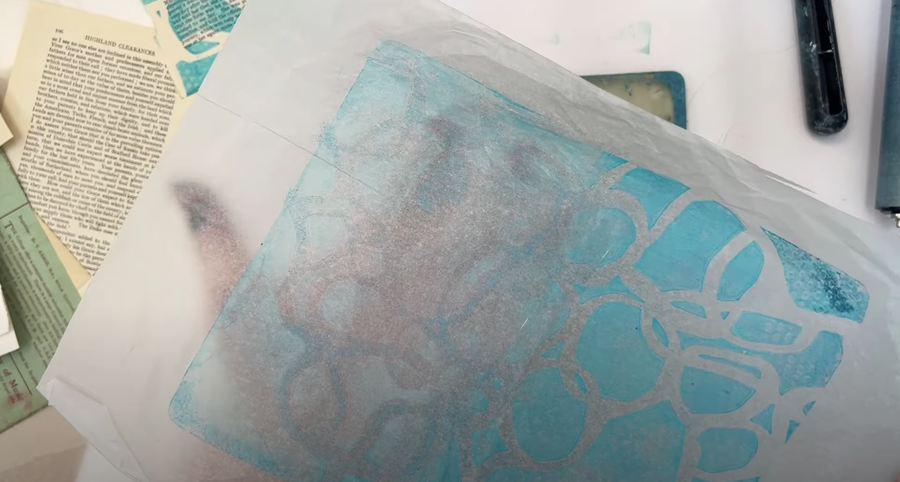
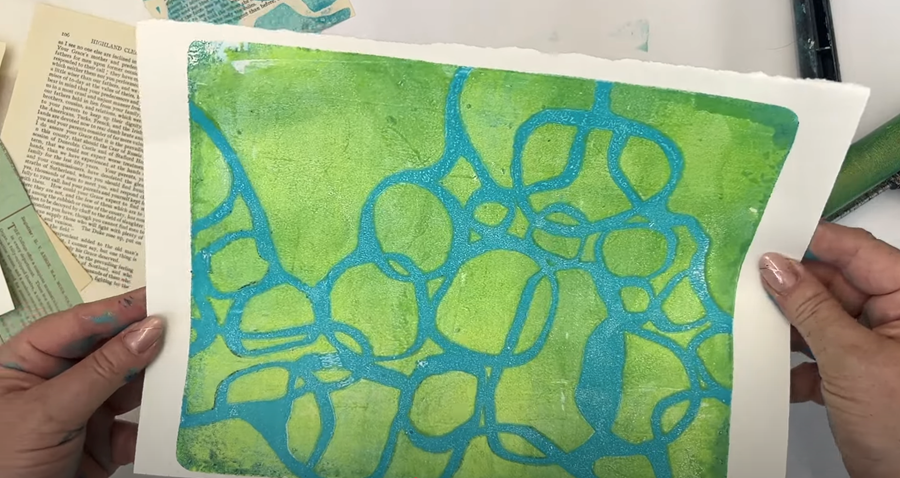
Yes, that worked brilliantly! It’s picked up the last of the detail there.
Tip: You can see the detail more clearly if you place the tissue on top of a plain white piece of paper.
Print Session 2
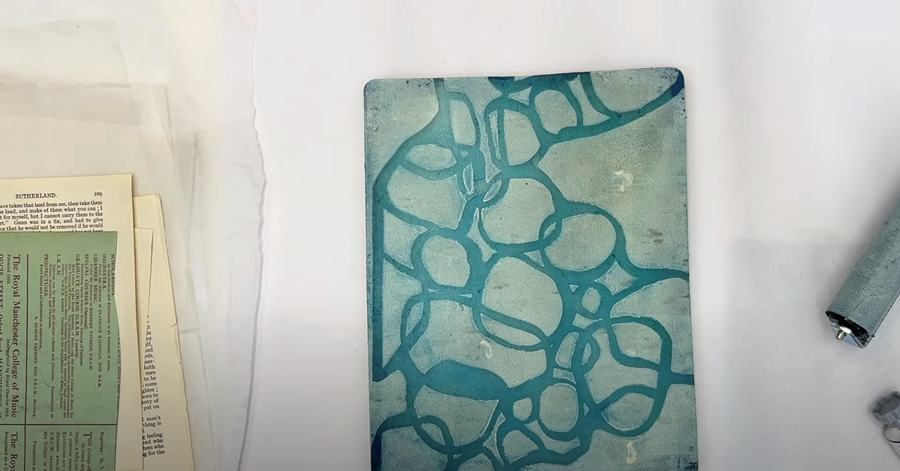
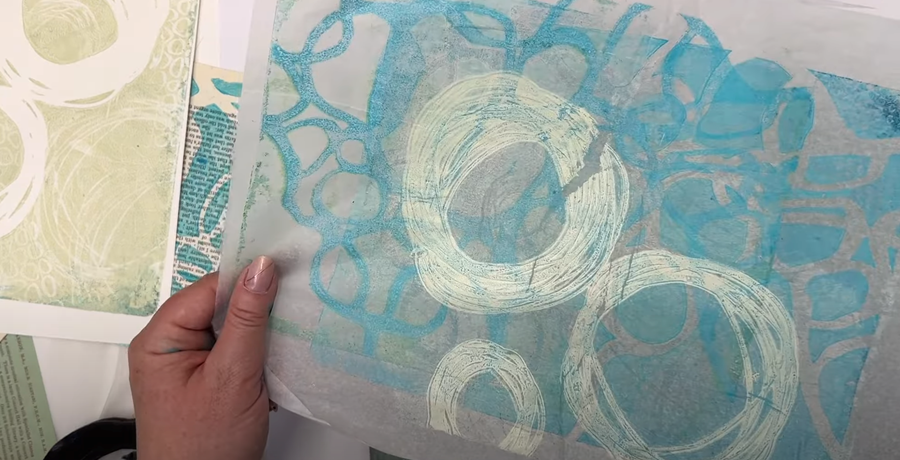
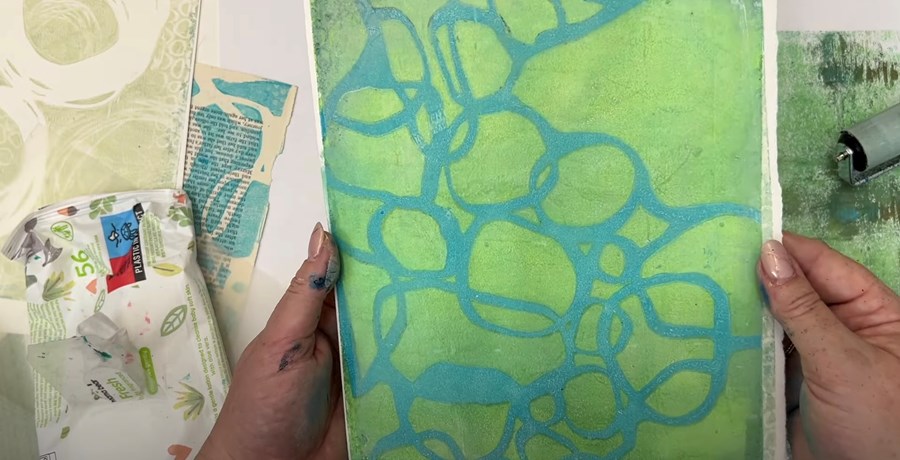
Sticking with the Golden Open Acrylics, I’m now adding a layer of Teal paint onto the gel plate. I’m not bothering to clean my roller in between - I’m just blending what’s left of the Manganese Blue with the Teal.
The Teal is a lovely, opaque colour, so it completely covers what’s underneath.
Then I place the same stencil over the top and create those same circular textures.
Next, I lay a piece of Carnival wet-strength tissue paper over the top and gently smooth it out.
This time, there’s no paint on my hands at all.
I carefully lift off the paper to reveal - and it’s turned out to be quite a good print!
There’s still quite a bit of paint left on the plate, so I think what I’ll take that very first Maruishi print and create a second print over top. I'll just shift the paper slightly on the print to get a bit of layering going on.
Tip: If you pull the print off carefully, you won't have to worry about the paper tearing. It holds up just fine, even though it’s quite wet.
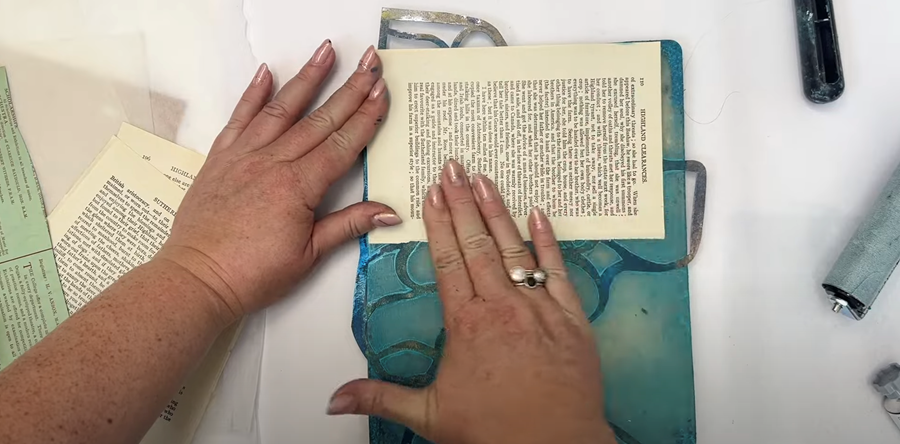
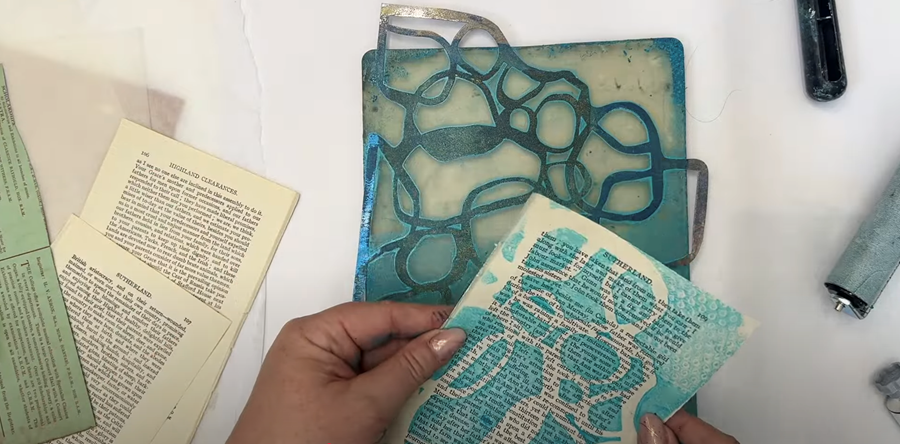
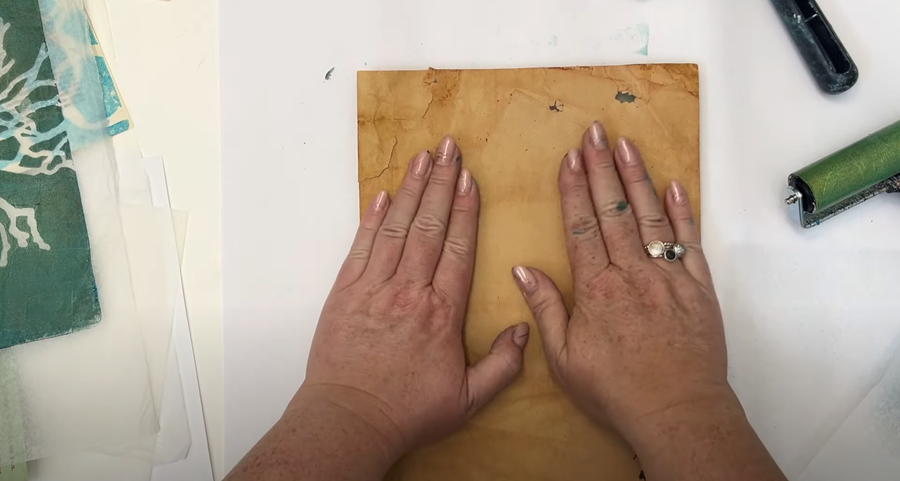
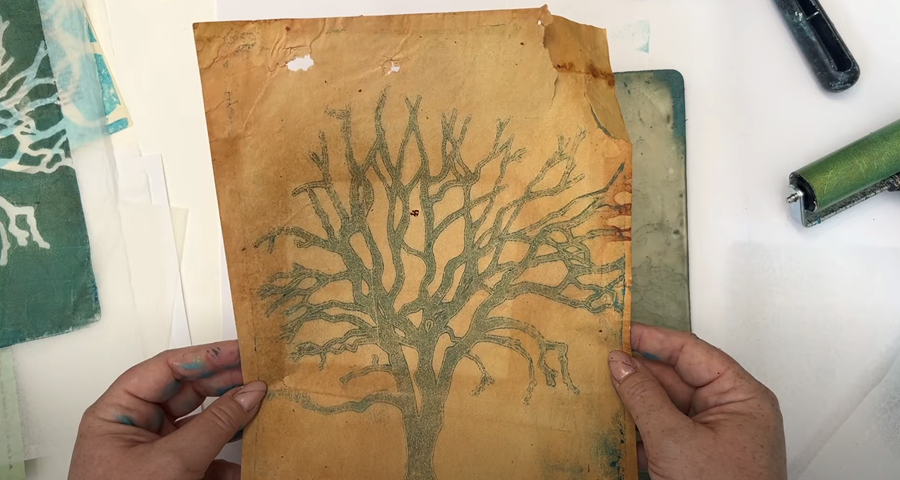
Next I try a book page across the top, smoothing it out with my hand to ensure it picks up the remaining paint on the gel plate.
You can see that there’s still quite a lot of paint there.
I still have quite a bit of Titan Buff left on my brayer, so I’m going to roll it onto the gel plate.
Then I’ll collect the paint with a piece of Maruishi paper to create a slightly different print.
Next, I’ll add a bit of Pebeo Iridescent Green Yellow - it’s got a lovely shimmer to it.
I'll remove the stencil to reveal the beautiful pattern left behind.
I’m going to try pulling the print onto some cartridge paper. It’s slightly heavier, so you’ll see a different kind of result.
You really do get a different print depending on the paper you use - it all depends on the look you’re going for.
I love how the iridescent paint catches the light!
Now I think I’m just going to see if I can pick up that last bit of paint from the gel plate using one of my earlier Maruishi paper prints.
That’s created a lovely bit of layering!
Print Session 3
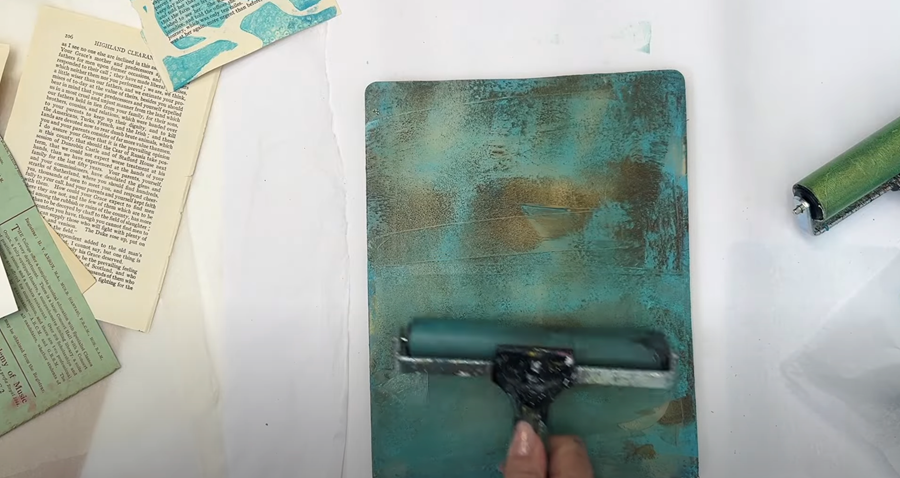
For this set of prints, I’m going to start with a darker tone, so I’m laying down some Raw Umber onto the gel plate.
Again, I’m using the Teal paint that’s still on the brayer and the plate, blending it with the Raw Umber. This softens the colour a bit so it doesn’t look like it’s straight out of the tube.

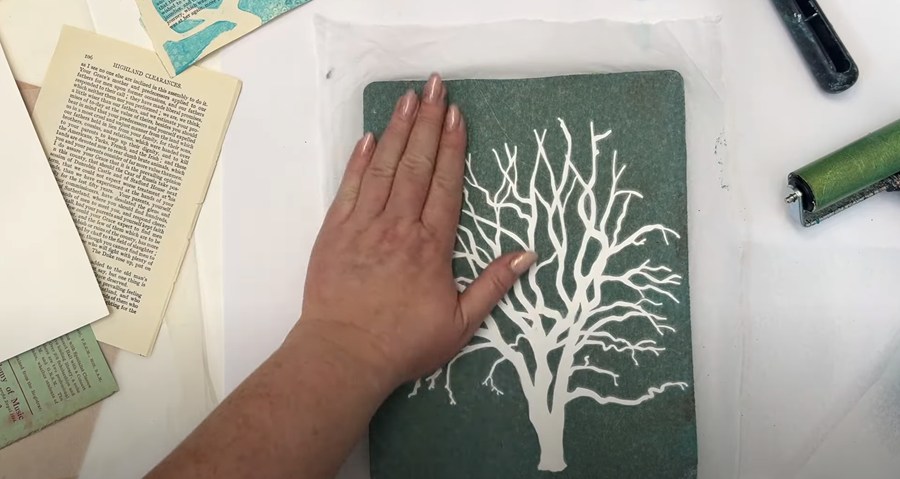
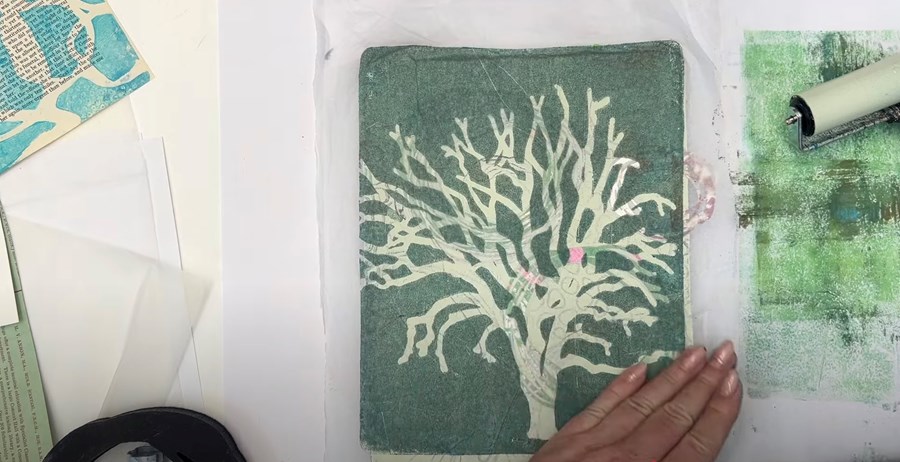
I’m going to give this tree stencil a go to create a silhouette on the page.
I lay the Carnival paper over top and gently smooth it out with my hands.
This kind of print, with those lovely large open areas, works brilliantly for layering over other prints. It allows the background to peek through just enough to add interest without overwhelming it.
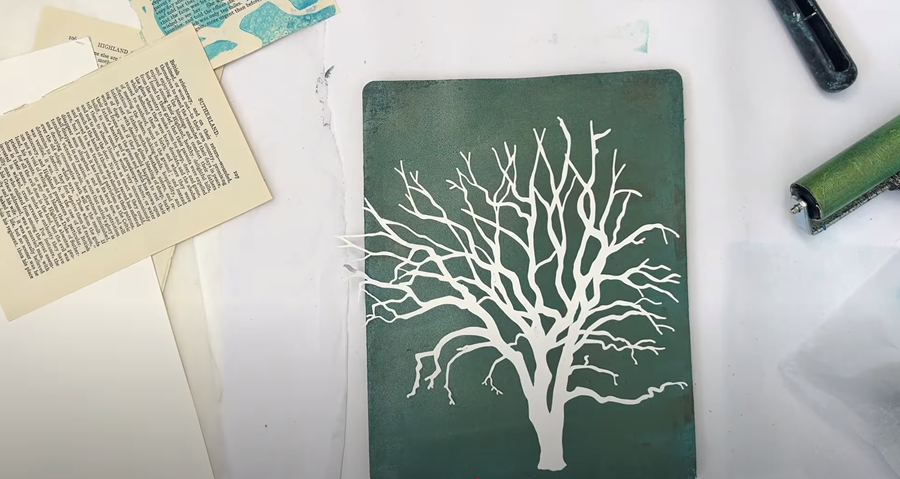
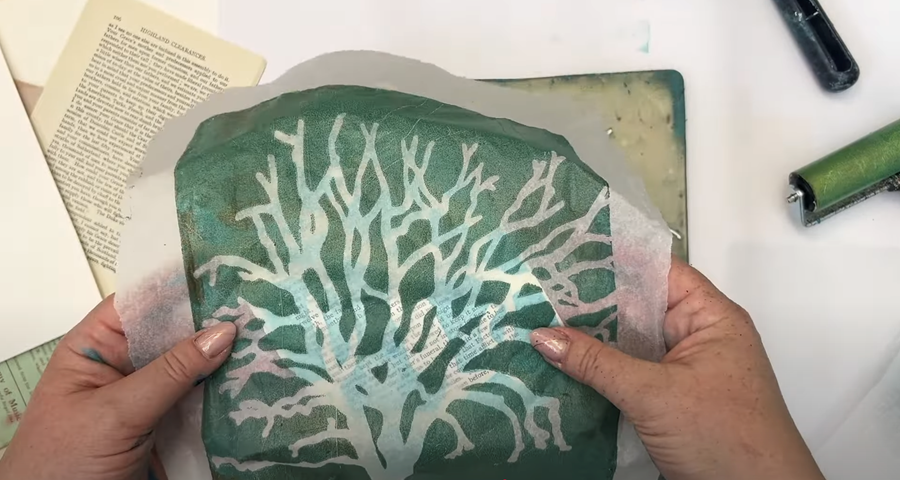
I quite like how this print turned out!

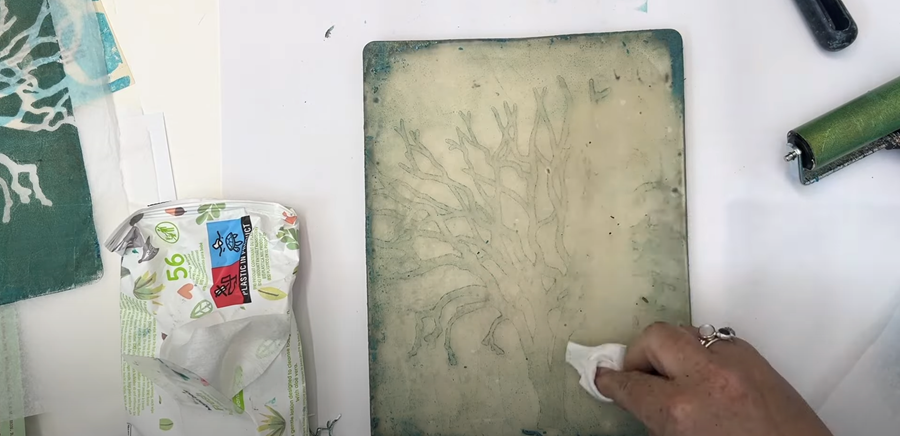
I’m not so keen on this colour, so I decide to clean my gel plate with a baby wipe.
To clean the brayer, I simply roll the paint off onto a scrap piece of paper until it’s dry.

Print Session 4
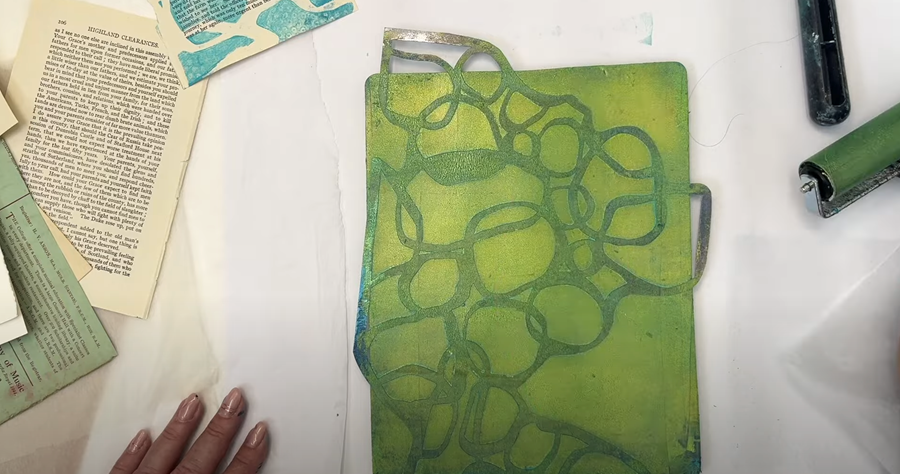
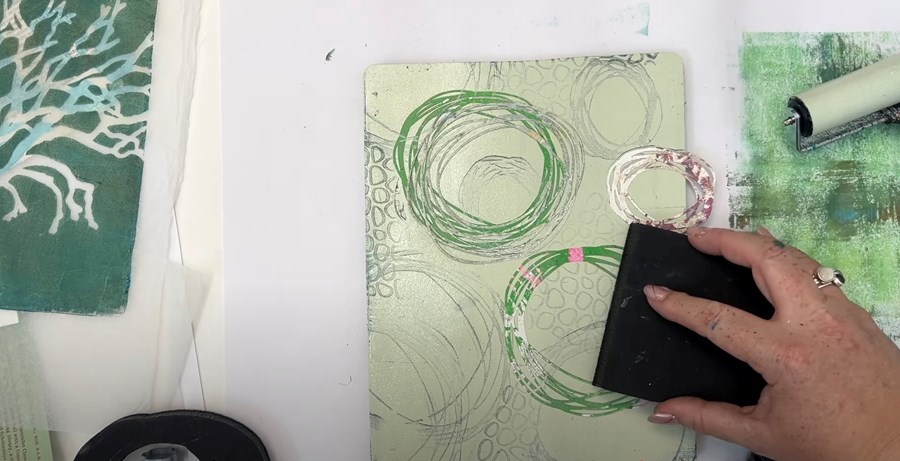
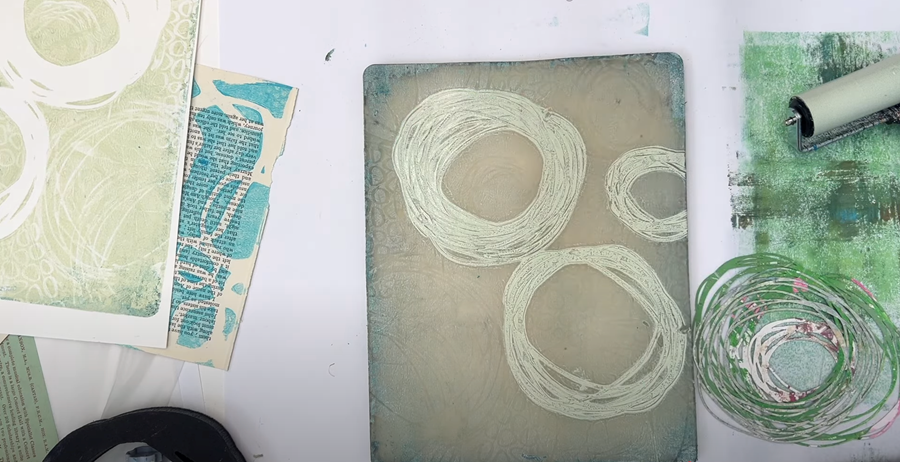
I'll start with a fresh colour on the gel plate - Golden’s Titan Green Pale. After rolling it out evenly, I add a few small nested circle stencils over top. I'm also using foam stamps to create a few small circular patterns.
I’m not too excited by how that the tree print turned out, so I might just print right over top of it.
The result is definitely a bit more interesting!
Next, I use a piece of my heavy cartridge paper to pick up the ghost print.
Now I remove the stencils and use one of my earlier prints to capture a second ghost print.
After pulling the second ghost print, there was still a little paint left behind on the gel plate, so I lay the paper down once again to pick that up too.
Then, I roll the leftover paint from the brayer onto the gel plate to create another thin layer - and stamp it lightly again.
I decide to pull this print using my Iridescent Green print from earlier - however, it turns out to be a bit of a fail. The paint is quite matte and so has muted that lovely iridescence.
Luckily all is not lost!
Because it’s a thicker paper and I’m using Open Acrylics with a longer working time, I can gently wipe away the top layer with a baby wipe and restore some of that lovely shine.

Print Session 5
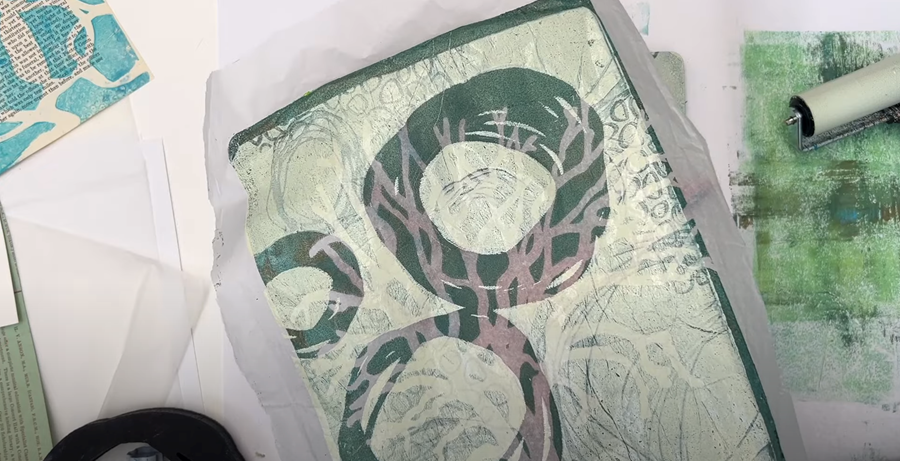
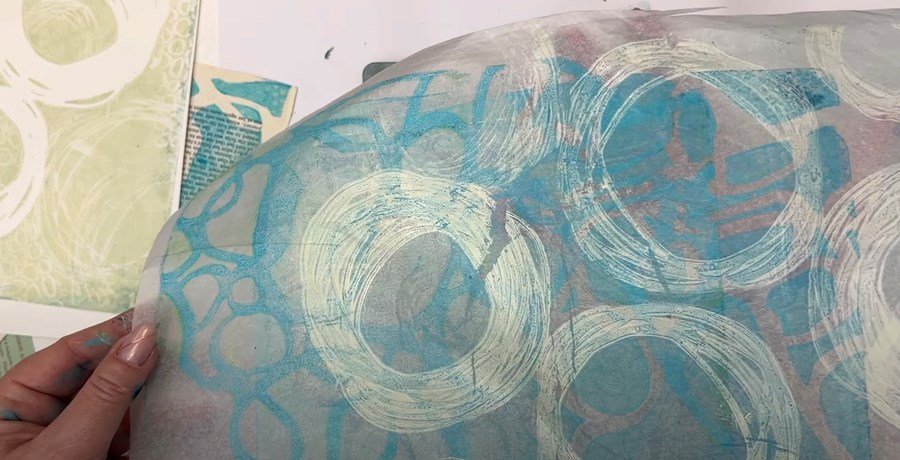
Looking over my prints, I decide that this one needs a little something. Perhaps a Maruishi print layered over the top might be nice.
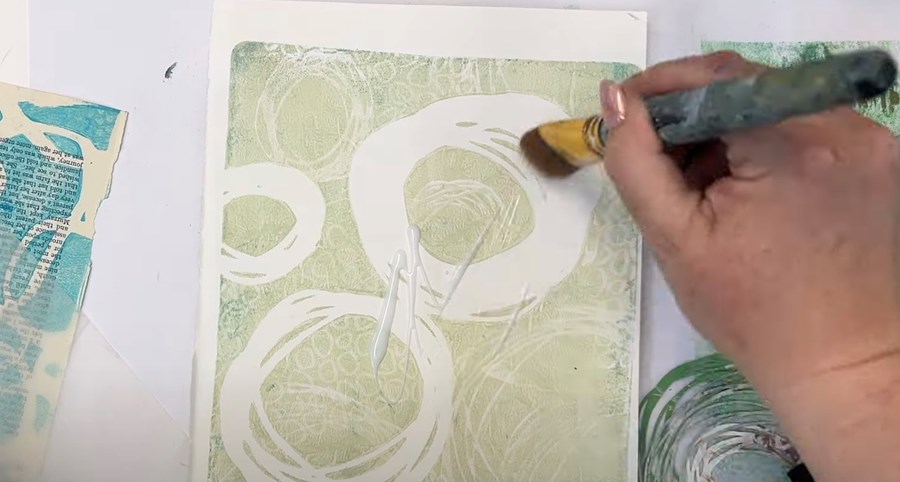
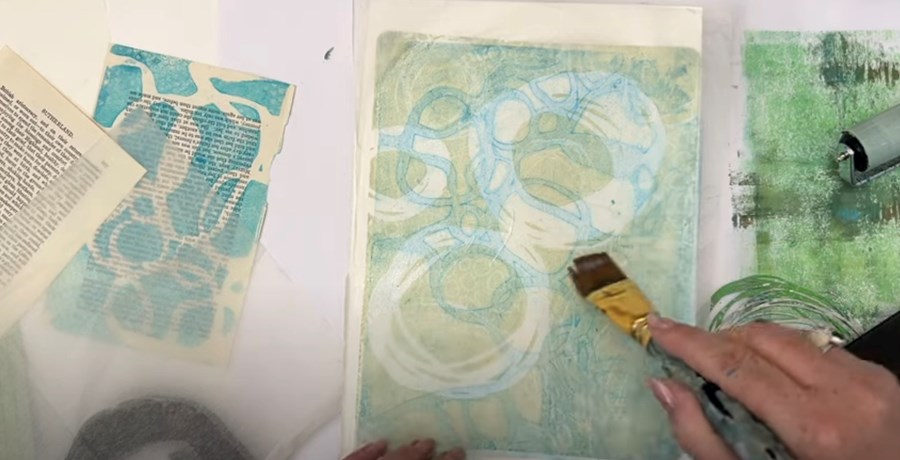
To do that, we’ll need matt medium - this is a clear drying acrylic medium I'll use to adhere the Maruishi paper to the cartridge paper. Once it dries, it’s totally clear, and the Maruishi paper disappears, leaving only the design behind.
First, apply a little matt medium onto the base print with a paintbrush.
Then, carefully lay down the layering print over top, and give it a light brush over with the matt medium.
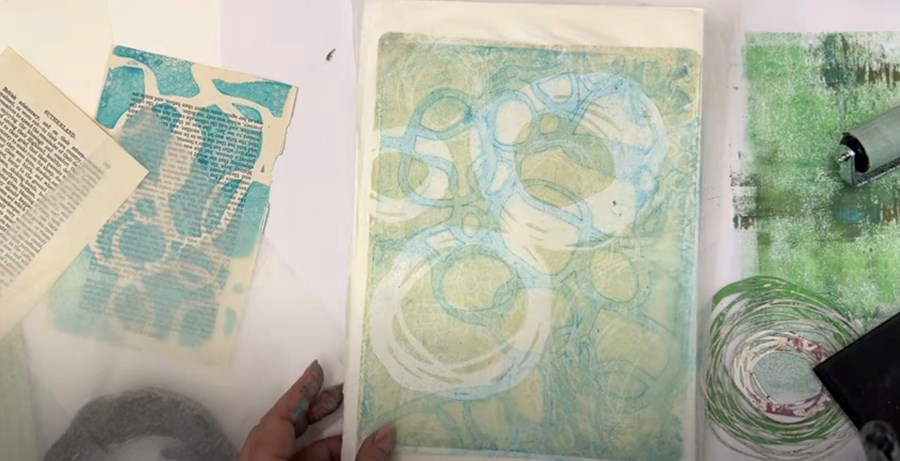
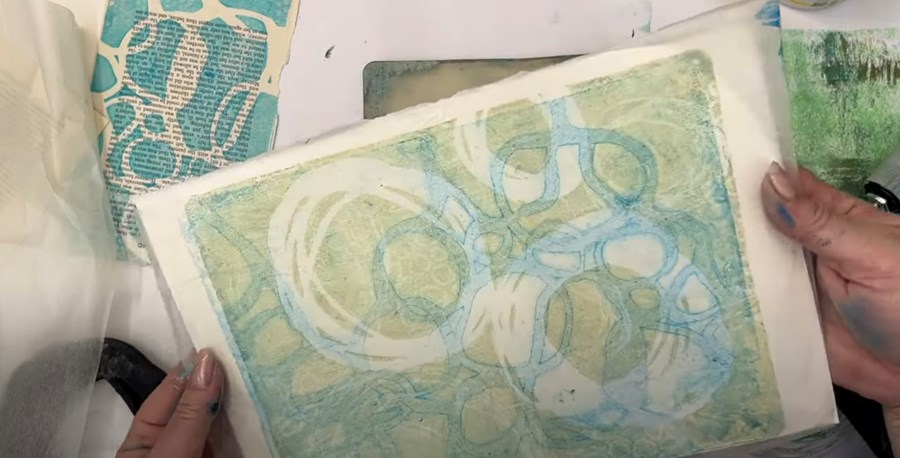
The Maruishi paper works beautifully for layering - it's one of my favourites. It gives such delicate, subtle effects and can really elevate your final piece!
So I think I’ve shown you all 5 of my favourite papers now! I hope that’s given you a few pointers if you’re not sure what papers to try with your Gelli plate.
Honestly, I'd just start with whatever you have to hand, which is likely the copy paper from your printer. But if you can, I'd recommend the wet-strength Carnival tissue paper. It's brilliant and opens up some lovely possibilities for layering and collage work.
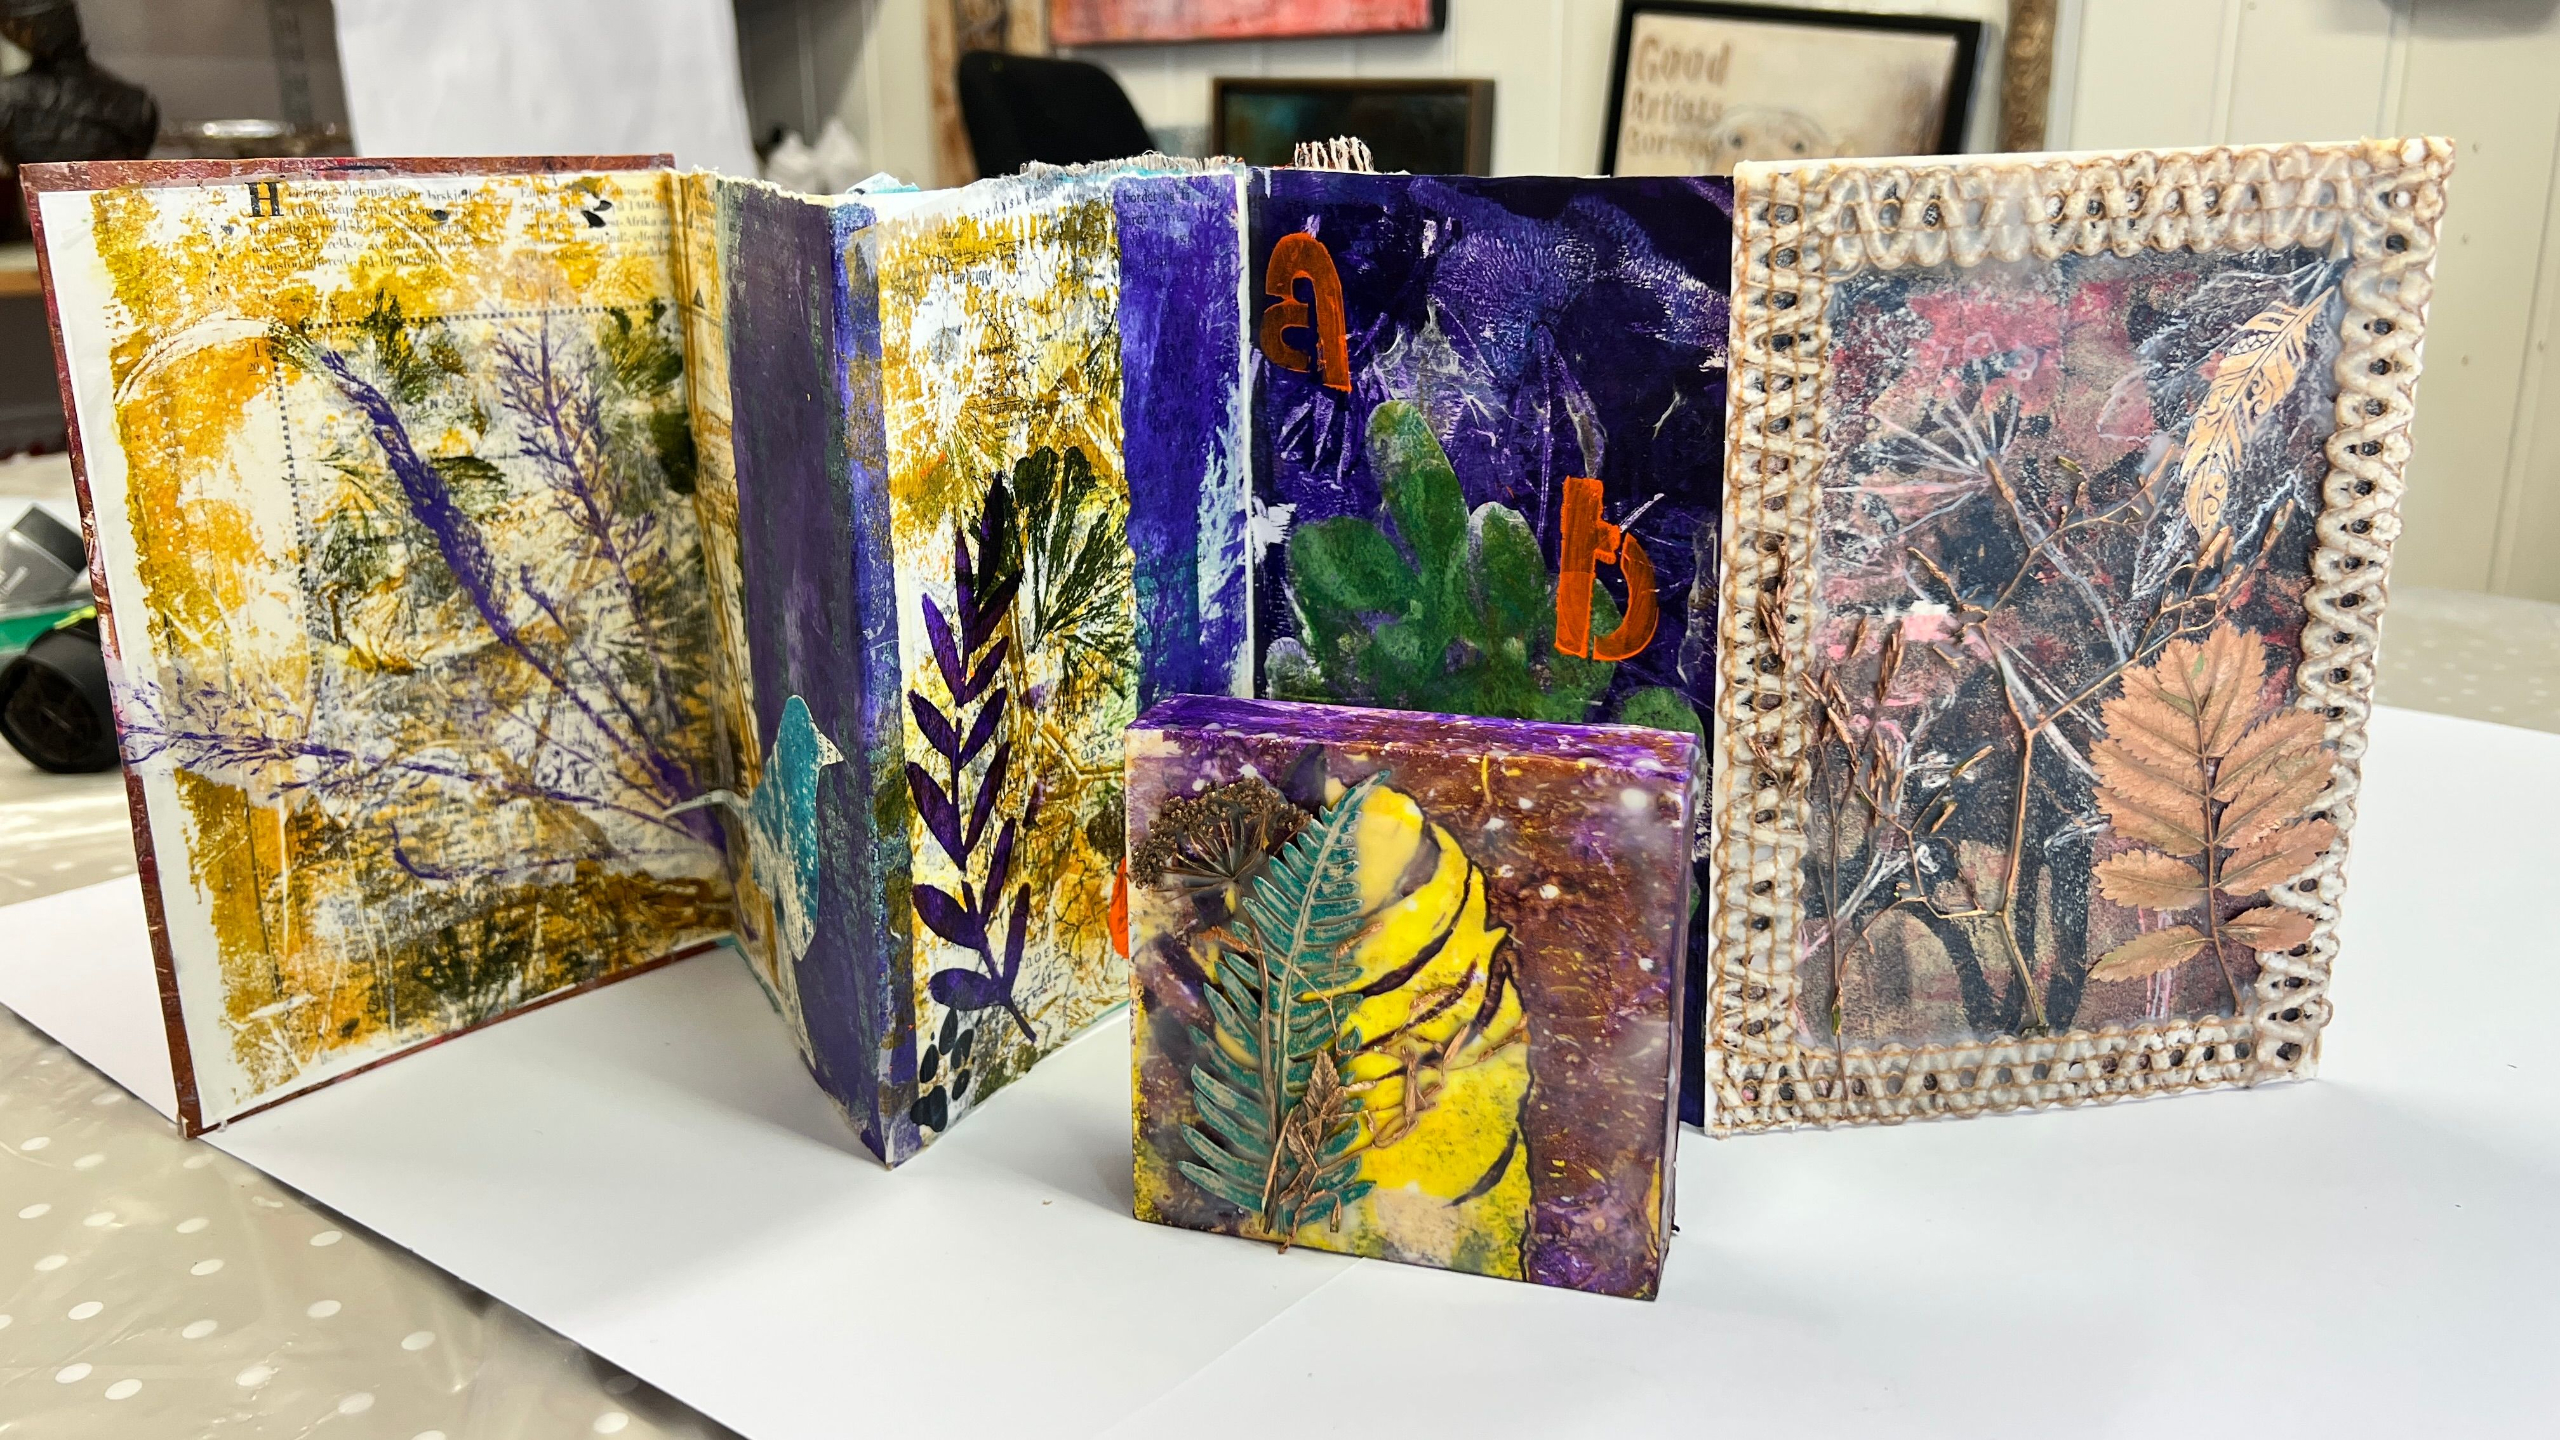
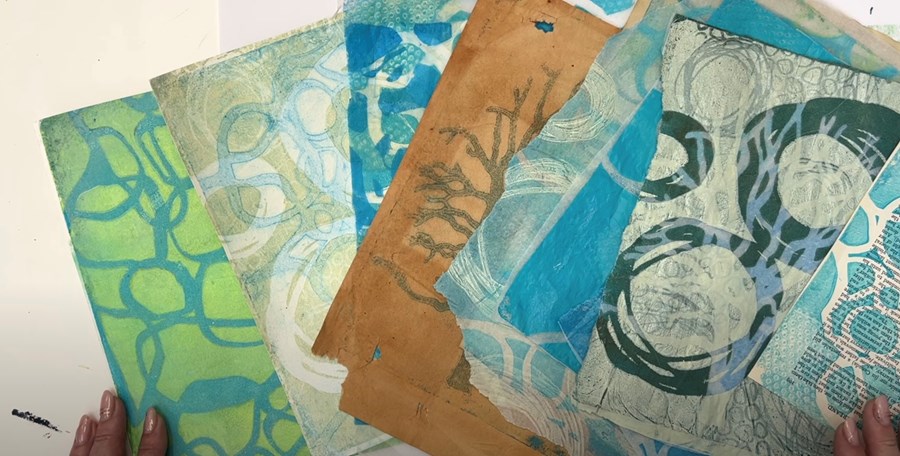
Here they are laid out so you can see what I created in this printing session:
That was a great printing session and I hope you enjoyed learning about my favourite Gelli printing papers!
Remember, it really does depend on the purpose of the prints, so just have a think about how you’ll be using them:
Are you planning to layer them into collage work, or is it a finished print where you’ll want something a bit sturdier?
It’s worth giving that a bit of thought before you start.
If you’d like to learn more, sign up to my newsletter so you never miss what's new.
I also offer a FREE course called The Essence of Landscape, where I teach how to turn your prints into finished paintings.
P.S. If you're interested in trying out some of the stencils and stamps I used in this session, PM Artist Studio have kindly offered a 10% discount if you spend over $35. Use the code SMAFAN10 at checkout to claim it!
Happy printing!
We hate SPAM. We will never sell your information, for any reason.